
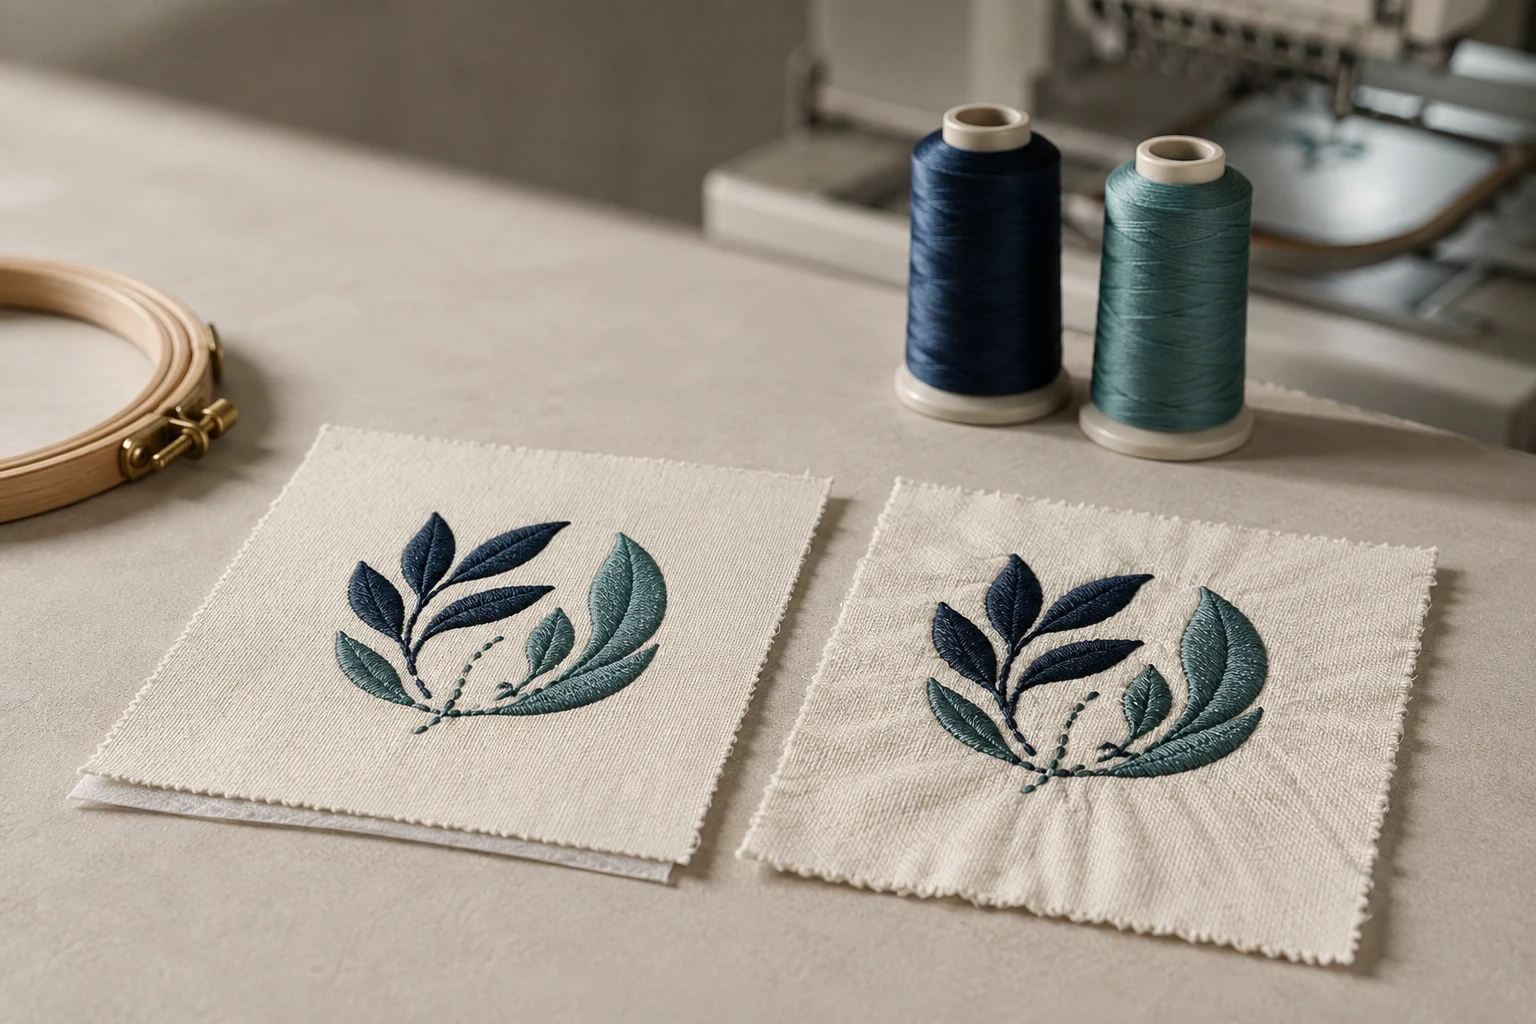
Cover image: AI-generated editorial concept; not a customer project or production proof.
To reduce stitch count, remove unnecessary overlapping fills, simplify details that do not reproduce clearly, and adjust density and underlay for the actual fabric. Change one setting at a time and test the revised design at its finished size. The goal is the fewest stitches that still deliver the required coverage, shape and stability.
A lower number alone does not prove that a design is better. Removing supporting stitches can leave gaps or unstable edges, while reducing visible detail can change the artwork. Start with redundant stitching before making changes to the design’s appearance.
What stitch count tells you
Stitch count is the number of stitches used to embroider a design. It reflects the combined contribution of visible stitching, underlay and connecting stitches. Size, filled area and construction all influence the total.
Density describes how closely stitches are packed within an area. Two designs with the same stitch count can place very different demands on fabric if one concentrates those stitches into a much smaller space. BERNINA’s stabilizer guidance explicitly distinguishes total stitch count from density relative to design size. BERNINA: All About Stabilizers
For production planning, record both the count and the actual sample run time. Ask your embroiderer whether a proposed reduction changes the quote; do not assume that the price will fall by the same percentage as the stitch count.
Start with an editable design and a baseline
Save the original before editing. Record the finished dimensions, stitch count, fabric, thread and stabilizer, and keep a sample or clear photographs for comparison.
Use the original object-based digitizing file when available. A machine file may contain stitch data without the original editable shapes. Hatch can reconstruct some objects from machine files, but its documentation explains that recognition does not recover the same quality as original outlines and may leave some sections as manual stitch blocks. Hatch: Machine file recognition
Keep the finished size fixed during the first optimization pass. Otherwise, you will be comparing both a construction change and a size change.
Practical ways to reduce unnecessary stitches
1. Remove hidden fill overlaps
Inspect areas where one filled shape covers another. A background may continue beneath a foreground shape even though that stitching contributes nothing to the visible surface.
Hatch’s Remove Overlaps tool removes covered stitching to reduce count and unnecessary buildup. Review the result object by object, especially around fine details and open effects. Hatch: Remove overlaps
Preserve a suitable overlap at adjoining edges. Removing every shared stitch can expose gaps when the design sews. BERNINA’s equivalent tool retains an overlap margin for this reason. BERNINA: Removing overlaps
2. Adjust fill spacing gradually
When a fill has more coverage than it needs, test a slightly more open setting. In Hatch’s tatami settings, a larger spacing value creates a more open fill; a smaller value increases density. Check how your own software defines its controls before editing. Hatch: Adjust tatami fill density
Avoid applying one percentage reduction across the whole design. A large background, a narrow border and small lettering need separate evaluation. Stop reducing density when unwanted fabric show-through, uneven coverage or exposed travel stitches appear.
Do not adopt a universal spacing value from an unrelated design. Use the intended thread and garment color for the sample, because those are the conditions under which coverage must be acceptable.
3. Match underlay to each object
Underlay is supporting stitching beneath the visible surface. Review whether every object needs its current underlay type and number of layers, particularly where construction has become unnecessarily complex.
Retain the support needed for the fabric and shape. Hatch notes that large areas and stretchy fabrics generally require more underlay than small areas and firm fabrics; it also distinguishes underlay for narrow columns, wider columns and large fills. Hatch: Automatic underlay
Test selective adjustments rather than switching underlay off throughout the design. A count reduction is not useful if the lettering loses definition or the fill becomes unstable.
4. Simplify artwork with the buyer’s agreement
Review details at actual embroidery size. Ask whether tiny decorative marks, repeated outlines or dense background elements are necessary to identify the design.
Possible revisions include opening up small negative spaces, removing an optional background or simplifying closely spaced decorative lines. Where a lighter visual treatment is acceptable, ask the digitizer to compare an outline version with the original filled version.
These changes affect appearance, so approve a visual proof before sampling. Preserve essential lettering, proportions and identifying features. Do not shrink the entire design merely to reach an arbitrary count.
5. Review stitch length and travel paths carefully
Stitch length and row spacing are different controls. Hatch allows tatami length adjustments, which also change the surface appearance. Avoid increasing stitch length indiscriminately just to make the count smaller. Hatch: Tatami fill settings
Use stitch simulation to flag repeated passes, awkward connections and unexpected stops for review. Keep necessary securing stitches. Compare actual run time as well as count: a file that contains fewer stitches still needs to run cleanly on the intended machine.
Protect fabric stability and prevent puckering
Retain the original article’s central quality check: inspect the fabric as carefully as the stitching. A reduction that leaves the design flat, covered and comfortable is more useful than one that only improves the software total.
Lightweight fabrics can be overwhelmed by stitch-intensive designs. Stretchy knits need ongoing support, and stabilizer selection should consider the fabric, design, desired feel and test results together. BERNINA recommends cut-away support for knits and stretchy fabrics. BERNINA: Choosing a stabilizer
Hoop with even pressure and align the fabric squarely. Avoid stretching the material to force it into position: distortion during hooping can contribute to puckering. BERNINA: Hoops and templates
For slippery or delicate material, test the complete setup before changing density further. Follow your machine and thread manufacturers’ guidance for compatible needles and tension adjustments; neither a larger needle nor lower tension is a universal solution.
Compare the original and revised sew-outs
Run both versions at the same finished size using the intended production materials. Change one variable at a time so that you can identify what helped.
Check | What to compare |
|---|---|
Stitch count | Record the original and revised totals. |
Coverage | Look for unintended fabric show-through or exposed connecting stitches. |
Detail | Check lettering, small gaps and essential artwork features. |
Registration | Inspect where fills meet borders or adjacent shapes. |
Fabric condition | Check flatness after unhooping and finishing. |
Production performance | Record run time, stops and thread breaks. |
For example, reducing a hypothetical file from 20,000 to 17,000 stitches is a 15% count reduction. That calculation does not establish a 15% reduction in production time or price. Accept the revision only after comparing the physical results.
What to send when requesting a revision
For orders in the US, Canada or UK, specify the finished width and height with explicit units—such as 3 inches (76.2 mm) wide. Include the garment type, fabric construction, placement, machine format and intended thread. Attach the existing editable file if available, plus photographs of any coverage or puckering problems.
State which details must remain and whether changes to backgrounds or outlines are acceptable. Request a lower-count version that preserves those requirements, rather than imposing a percentage reduction without reference to the design.
You can use DigitEMB’s embroidery digitizing service page to discuss the artwork and intended application. Confirm revision scope and sample expectations before production.
Frequently asked questions
How much can I safely reduce stitch count?
There is no universal percentage. A design with redundant covered fills may have room for reduction; an already efficient design may have little. Judge the revised sew-out against the required appearance and fabric stability.
Can I reduce stitch count in a DST file?
Some software can edit or reconstruct objects from machine stitch data, but results depend on what it recognizes. Request the original editable file when possible, and sample any revised export. Hatch: Machine file recognition
Will fewer stitches fix puckering?
Reducing excessive stitching may help, but fabric support and hooping also matter. If puckering persists, review those conditions before removing more stitches.
Should I remove all underlay to save stitches?
No. Review it selectively. Keep the underlay required to support the fabric, maintain shape and preserve the intended surface appearance.
Practical details for How to Reduce Stitch Count in Embroidery Digitizing
Use the article above as a starting point, then make the production brief specific to your own design. A stitch file is made for a finished size and material, so the artwork alone is only part of the instruction.
Work through these points in order and keep the answers with the artwork or production request. A short written brief makes it easier to compare a proof with the intended result, ask a useful follow-up question and avoid relying on assumptions made from a screen image alone.
The aim is not to add unnecessary steps. It is to identify the choices that change the final result before work begins. If a requirement is unknown, flag it for confirmation rather than guessing; that keeps the approval process focused on the design, material and use that apply to this particular project. Save the approved brief with the project files for future reorders or revisions.
Confirm the finished use
State the item, placement and finished width and height. A chest logo, cap front and jacket back do not use the same sewing area, even when they start from the same artwork.
Protect the smallest details
Review small lettering, narrow gaps, thin outlines and tiny colour changes at the final size. Simplifying a fragile detail before digitizing is often more reliable than trying to force it into a small sew-out.
Match the file to the machine
Tell the production team the embroidery machine or format required, along with the fabric or garment type. This lets them prepare the right export and make choices that suit the material rather than treating every job alike.
Quick questions to check before you proceed
What should I send with my artwork?
Send the clearest original available, the finished dimensions, placement, fabric or garment type and the required machine format if you know it.
Can the same file be used at every size?
Not always. Scaling changes the relationship between stitch length, detail and fabric, so a design may need review when the finished size or placement changes.
What should I check before production?
Confirm the spelling, colours, final size, placement and any details that must remain readable. A proof or sample is the best point to catch a change.