
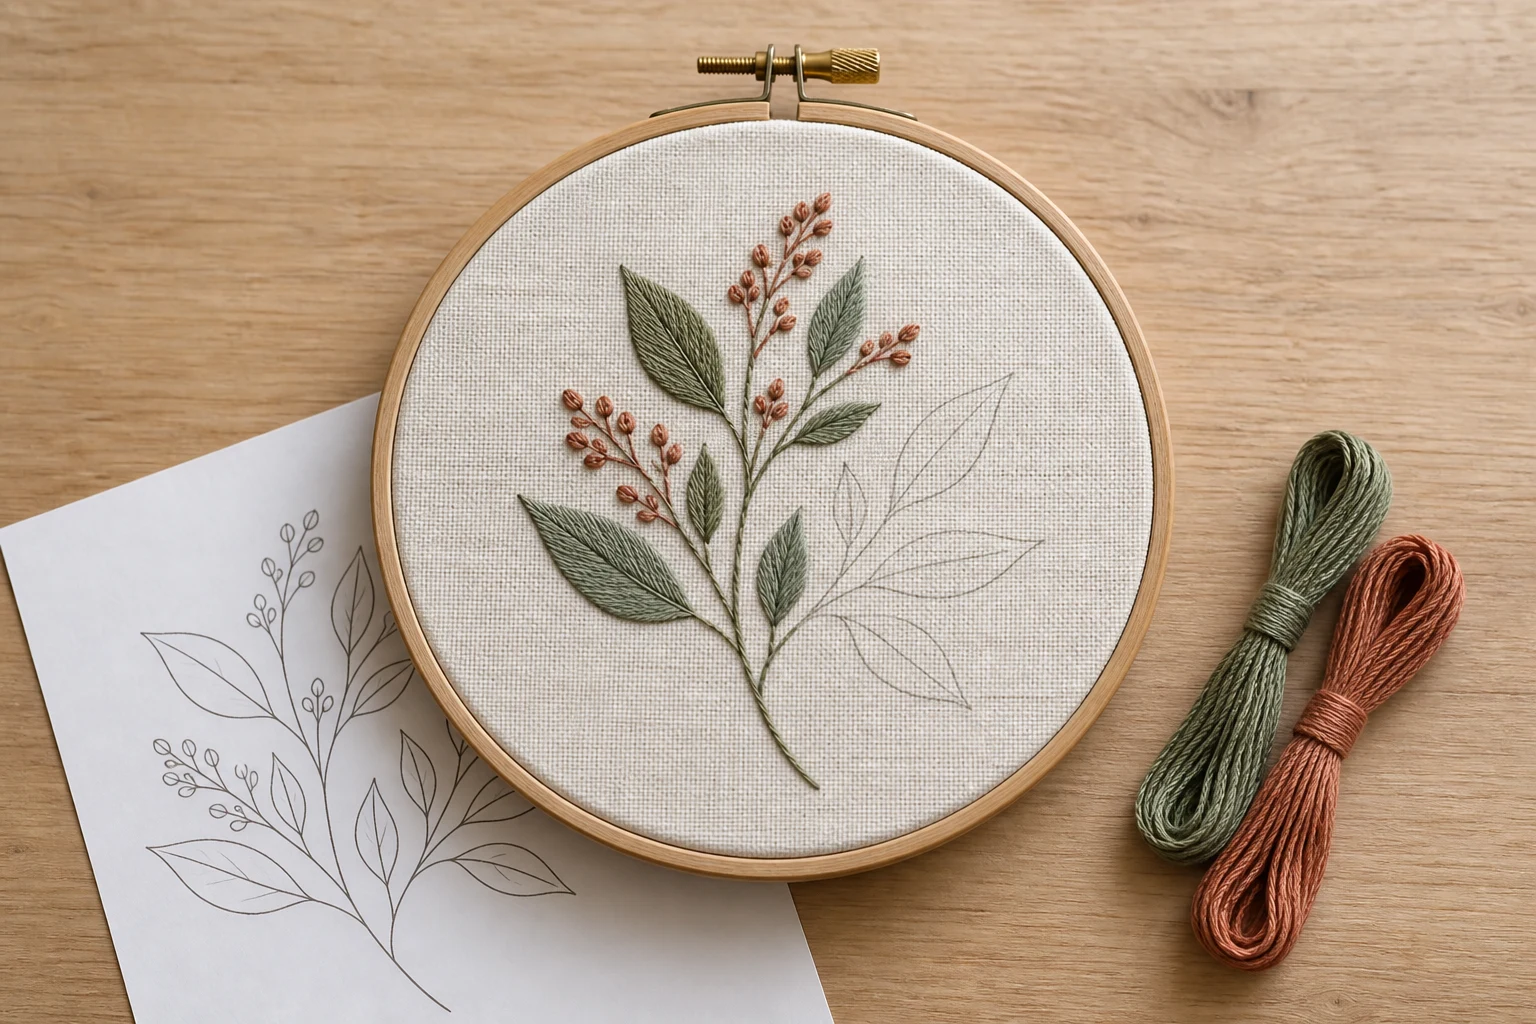
Cover image: AI-generated editorial concept; not a customer project or production proof.
To make your own embroidery pattern, draw or arrange a simple design at its finished size, create a clean outline, choose stitches and colors, then transfer it to fabric and stitch a sample. Paper and pencil are enough to begin; Canva offers a convenient way to combine drawings, shapes and text into a printable template.
This guide takes you from an idea to a hand-embroidery pattern, with a short explanation of the additional preparation needed for machine embroidery.
Plan your custom embroidery pattern

Choose a subject you can describe with clear lines: a leafy stem, a small landscape, initials or a simple geometric arrangement. Decide whether the finished piece will decorate clothing, become a gift or sit in a display hoop.
Start with a rough sketch. Remove details you would struggle to follow with a needle, and leave space between nearby lines. Keep a copy of the original so you can compare changes.
Gather paper, a pencil, a ruler, fabric, a hoop, an embroidery needle, floss and scissors. For a digital pattern, you will also need a design tool and access to a printer. Choose your transfer material before marking the final fabric, because removal methods differ.
Separate the pattern size from the hoop and fabric size
The stitched design, the hoop and the fabric cut are three different measurements. For a design displayed inside a hoop, measure the visible opening and leave room around the motif. Cut fabric large enough to grip securely and accommodate your intended finish.
For example, a motif about 5 inches wide (127 mm) could be a starting layout for a nominal 7-inch hoop. Check the actual opening and the motif’s height before committing. An 8 × 8-inch document does not make an 8-inch design fit inside a 7-inch hoop.
Keep units explicit when sharing a pattern with a maker in the US, Canada or UK. Record the intended stitched width and height in inches or millimeters.
Make your embroidery pattern in Canva

1. Create a document with physical dimensions
Start a new design and search for Custom size, or choose a page matching your printer paper. Use inches or millimeters for a printable pattern. Canva’s guide to designing from scratch explains custom dimensions, images, elements and text.
US Letter or A4 can work as the page size; the motif itself should retain your planned dimensions.
2. Add an optional hoop guide
Add a simple circle to represent the visible hoop opening. Position the motif inside it with breathing room. Treat the circle as a placement guide and remove it from the transfer copy unless you intend to stitch it.
3. Upload a drawing or arrange simple elements
Upload a clear photograph or scan of your own line drawing, or arrange suitable shapes and text. Use a plain background and a clear outline. Keep lettering spacious and inspect small details at the intended physical size.
4. Save a clean template and a stitch reference
Make one copy containing only the lines you need to transfer. Keep a separate reference with your color choices, stitch names and notes. This prevents planning labels from becoming accidental tracing marks.
5. Download a PDF
Open Share, select Download and choose a PDF option. Retain the editable design for revisions. Canva documents its PDF download controls in its PDF help guide.
Print and check the scale
Print the PDF using Actual size or the equivalent setting that avoids scaling. Adobe explains that Actual size prints without resizing, while Fit changes the page to suit the printable area. See Adobe’s PDF page-sizing guidance.
Measure the printed motif with a ruler before tracing it. You can add a separate 1-inch or 25 mm test square to the pattern sheet to check scale; keep it outside the transfer area.
Place the paper design against your hoop or garment. Check the overall position, the smallest letters and the gaps between details. If it does not fit, revise and reprint before transferring. Check the printer preview for clipping around the page edges.
Transfer the pattern onto fabric
Test the chosen method on a scrap of the same fabric, including the removal process. Let the scrap dry completely before deciding that the marks have disappeared.
Trace using light from behind
For fabric you can see through, place the printed pattern on a lightbox or against a bright window, then position the fabric over it. Secure both layers so they cannot shift and trace lightly with a suitable fabric marking tool. The light belongs behind the paper and fabric.
Sulky describes this approach for lightweight fabrics in its hand-embroidery transfer guide.
Choose another method for opaque fabric
If the lines are hard to see, use a transfer material suited to the fabric rather than pressing harder with a marker.
Transfer method | What to check |
|---|---|
Embroidery transfer paper | Choose a mark color visible on the fabric and follow the product’s tracing and removal instructions. |
Printable, water-soluble transfer material | Confirm printer compatibility and that the fabric and thread tolerate the required rinsing. |
DMC’s embroidery transfer paper uses different sheet colors for pale and dark fabrics. Sulky’s transfer guide also explains printing onto an adhesive, water-soluble material, stitching through it and rinsing it away.
Do not mirror an ordinary tracing template. If you choose a face-down iron-on transfer method, check its orientation instructions carefully, especially for lettering.
Choose stitches and make a sample
A useful pattern records how you intend to interpret each line or shape. As a starting plan, try backstitch for an outline, satin stitch for a small filled shape and French knots for dotted accents. The Royal School of Needlework’s Stitch Bank provides illustrated stitch instruction for developing your technique.
For a simple botanical motif, you might outline the stem, fill selected leaves and leave others open. You do not need to fill every part of the drawing.
Record the floss colors and strand counts you use. Stitch the smallest or most crowded part on a scrap first, then assess whether the lines remain distinct and the fabric lies comfortably flat. Adjust the drawing, thread thickness or stitch choice if necessary.
Once the sample works, transfer the final version, secure the fabric in the hoop without distorting it and stitch the design. Keep your reference nearby and note any changes worth saving for another project.
Remove marks according to the product instructions
Use the removal method specified for your actual marker or transfer material. A household cleaning eraser is not a general-purpose embroidery finishing tool.
For example, Clover’s Water Erasable Marker instructions require testing, warn against use on fabrics that cannot be washed with water and advise against detergent, bleach or solvent. Check the test fabric only after it is completely dry.
Remove the marks before final finishing, following the fabric, thread and marking-product instructions. Avoid improvised scrubbing or heat treatments.
If you want to stitch the design by machine
A printable outline is artwork. Machine embroidery requires a file containing stitch instructions, created through embroidery digitizing. Exporting a PDF or changing an image’s filename does not supply those instructions. Hatch explains the distinction between editable embroidery designs and exported machine files in its save-and-export guide.
Provide the artwork, finished dimensions, fabric, intended placement and machine model or requested file format. Agree who will stitch and review a sample before repeating the design on finished items.
For help with that stage, use DigitEMB’s embroidery digitizing service page to discuss the project requirements.
Frequently asked questions
Can I make a pattern without drawing skills or software?
Yes. Begin with simple shapes, initials or a small original sketch. Arrange them on paper at the intended size, then make a clean tracing copy. Software is useful for rearranging elements, but it is optional.
Can I use Canva without paying for every element?
Canva distinguishes free and paid content. Check the elements in your design and any download charge before proceeding. Using your own artwork can simplify content selection; Canva’s licensing explanation describes the differences.
Can I sell patterns made with stock artwork?
Check the specific license for the intended product, including whether it permits distributing a downloadable pattern. Permission to use artwork on a finished item does not automatically settle pattern resale. Review Canva’s licensing explanation for its content, and the original provider’s terms for other assets.
What if the printed pattern is too large?
First check whether the printer scaled it. If the print matches the intended dimensions but the design still does not fit, resize the artwork and reprint. Reassess lettering and small gaps after reducing it.
How long does creating a pattern take?
Allow time for the drawing, print check, transfer test and stitched sample. A simple outline needs fewer decisions than a detailed composition; the sample helps reveal how much revision is needed.
Practical details for How to Make Your Own Embroidery Pattern
Use the article above as a starting point, then make the production brief specific to your own design. A stitch file is made for a finished size and material, so the artwork alone is only part of the instruction.
Work through these points in order and keep the answers with the artwork or production request. A short written brief makes it easier to compare a proof with the intended result, ask a useful follow-up question and avoid relying on assumptions made from a screen image alone.
The aim is not to add unnecessary steps. It is to identify the choices that change the final result before work begins. If a requirement is unknown, flag it for confirmation rather than guessing; that keeps the approval process focused on the design, material and use that apply to this particular project. Save the approved brief with the project files for future reorders or revisions.
Confirm the finished use
State the item, placement and finished width and height. A chest logo, cap front and jacket back do not use the same sewing area, even when they start from the same artwork.
Protect the smallest details
Review small lettering, narrow gaps, thin outlines and tiny colour changes at the final size. Simplifying a fragile detail before digitizing is often more reliable than trying to force it into a small sew-out.
Match the file to the machine
Tell the production team the embroidery machine or format required, along with the fabric or garment type. This lets them prepare the right export and make choices that suit the material rather than treating every job alike.
Quick questions to check before you proceed
What should I send with my artwork?
Send the clearest original available, the finished dimensions, placement, fabric or garment type and the required machine format if you know it.
Can the same file be used at every size?
Not always. Scaling changes the relationship between stitch length, detail and fabric, so a design may need review when the finished size or placement changes.
What should I check before production?
Confirm the spelling, colours, final size, placement and any details that must remain readable. A proof or sample is the best point to catch a change.