
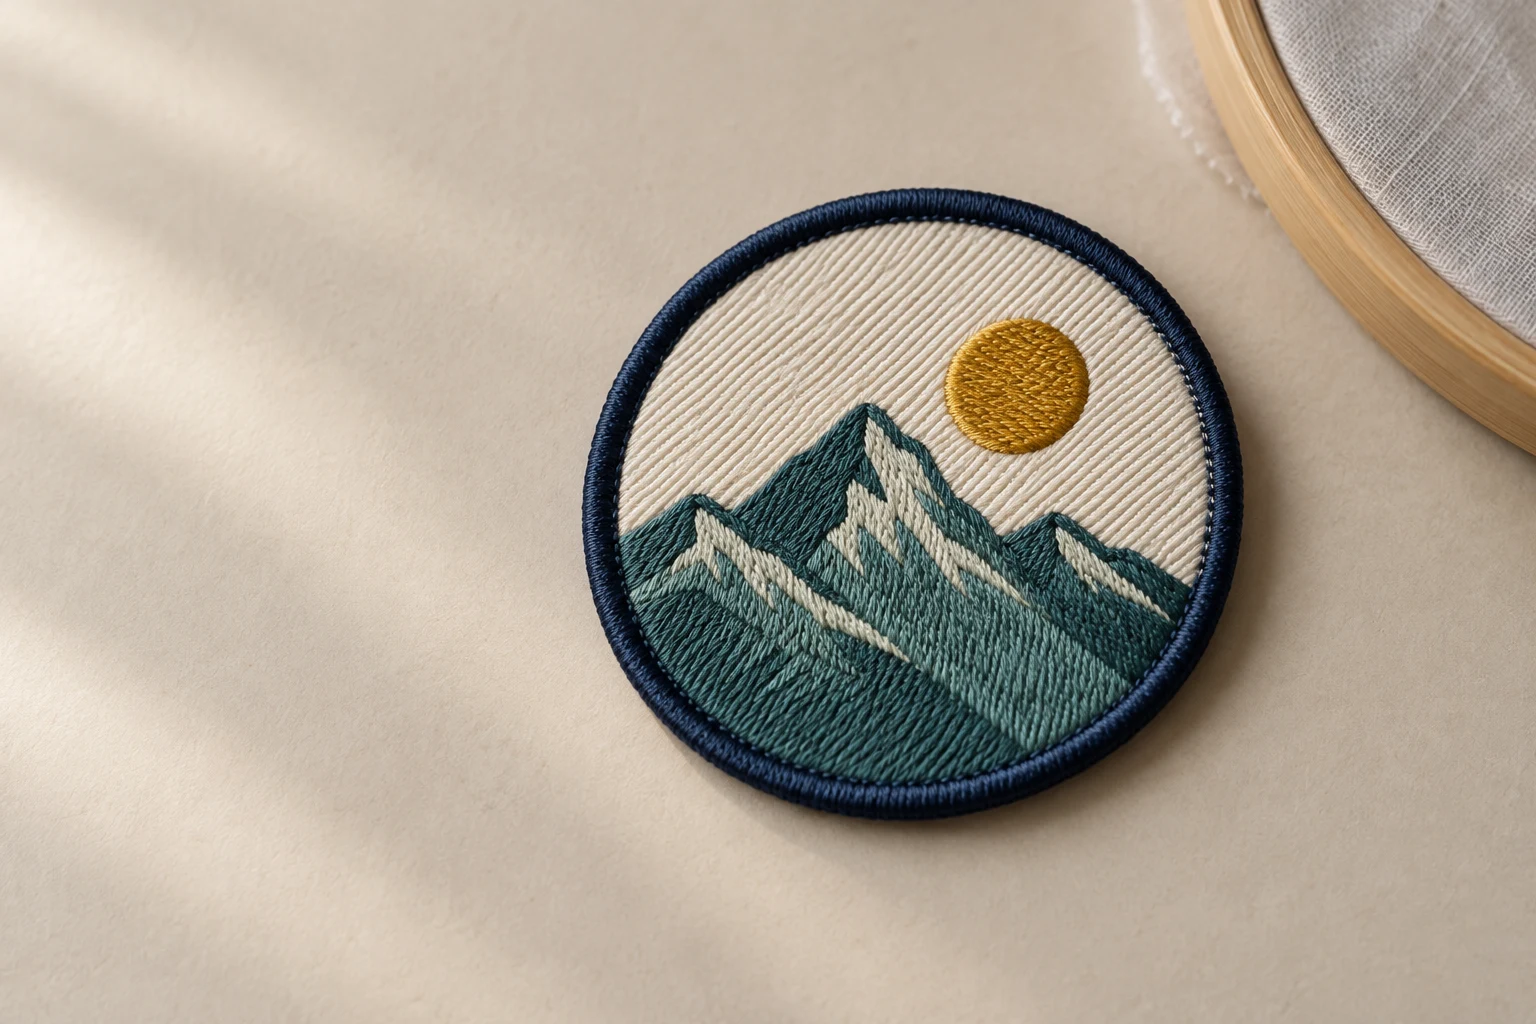
Cover image: AI-generated editorial concept; not a customer project or production proof.
To make a patch with an embroidery machine, stitch a patch-ready design on supported fabric or a purpose-designed thread foundation, finish its border, remove the temporary stabilizer and prepare it for attachment. A compatible single-needle or multi-needle machine can do this; a separate edging machine is optional when the file includes an embroidered border. Embroidery Legacy’s patch tutorial demonstrates both machine types.
“Any embroidery machine” needs a qualification: the machine must accept your stitch file, accommodate the complete design within its embroidery field and handle the chosen materials. Check those requirements before buying supplies or loading a design.
Traditional edging and embroidered borders

A traditional Merrow edge is a wrapped overlock finish made with dedicated equipment. Merrow’s emblem edging machine description identifies its machine as a three-thread edging system for badges and patches.
An embroidered satin border is sewn as part of the patch’s embroidery file. It offers a practical route for small runs using your embroidery machine. It is a different stitch construction from a true overlock edge. Madeira describes satin outlines as the usual final stitching stage in its badge and patch guide.
Choose the border before preparing the file: the fabric outline, cutting method and stitching sequence must work together. For a first sample, consider a simple rounded shape with enough room for the design inside its border.
Plan the patch-making process

Start with a fabric-based patch if you want the background material to remain visible. Twill is one option; Madeira also lists sailcloth and suitable cotton, polyester or blended fabrics in its patch-making instructions.
Keep three materials separate in your planning: the patch fabric, the temporary stabilizer that holds the work in the hoop, and any backing used to attach the finished patch.
Item | What to check |
|---|---|
Patch embroidery file | Finished dimensions, machine compatibility, border and required stops. |
Patch fabric | Surface, stability, color and compatibility with the finishing method. |
Temporary stabilizer | Suitability for the design and its specified removal process. |
Thread, bobbin and needle | Compatibility with your machine and the complete material stack. |
Scissors or precut shape | Access for trimming, or a template that matches the embroidery file. |
Optional attachment backing | Compatibility with both the patch and the receiving garment. |
Water-soluble support is useful for designs that must release cleanly from the surrounding stabilizer. BERNINA’s freestanding embroidery tutorial demonstrates this approach for both fabric-containing and thread-only designs. Follow the stabilizer and design instructions for layer count and rinsing; a thin topping is not automatically suitable as the sole support.
Purpose-made badge film provides another route. Its removal instructions are product-specific, so do not substitute unidentified household plastic or assume all films can be heated.
Seven steps to stitch a fabric patch

This sequence is for a patch file designed around a fabric shape and an embroidered border. Follow the file’s instructions where its preparation or trimming order differs.
1. Set the finished size and review the file
Confirm the overall width and height, including the border. Check the machine’s permitted embroidery area and preview the stitching sequence. Identify placement, tack-down, decorative stitching and border stages before starting.
Record the intended fabric and attachment method with the file. Avoid resizing a prepared patch design unless its creator permits it or a digitizer reviews the result.
2. Prepare the fabric shape
Use the file’s matching cutting template for a precut method. If it calls for trimming after tack-down, leave enough fabric to cover the placement outline. Do not mix the cutting template from one size with a stitch file prepared for another.
Embroidery Legacy’s preparation tutorial shows matching precut shapes to patch files and explains why its particular designs must stay at their supplied size.
3. Hoop the temporary support
Hoop the specified stabilizer smoothly and securely. Mount the hoop and check clearance using the machine’s preview or trace function, where available. Keep the design within the permitted stitching field.
4. Place and secure the fabric
Sew the placement outline, stop the machine and position the fabric. Run the tack-down stage. Use an embroidery-compatible temporary adhesive only if the chosen workflow requires it, following its instructions.
For a trim-in-place file, remove the hoop from the machine at the designated stop while leaving the material hooped. Trim excess fabric without cutting the support or securing stitches, then reinstall the hoop.
5. Stitch the decorative design
Run the interior design in the supplied order, changing colors as required. Check the sample as it develops. If the fabric shifts or the support begins tearing, stop and resolve the cause before continuing.
6. Complete the border
Run the border’s foundation and cover stitches as digitized. Inspect coverage around curves and corners before releasing the patch. Madeira’s emblem workflow explains the need for fabric-placement stops and the usual final satin outline.
7. Release and inspect the patch
Remove excess support according to its instructions. For a wash-away method, trim surplus stabilizer before rinsing the remainder, as shown in BERNINA’s tutorial. Let the patch dry before judging its shape or adding an adhesive backing.
Check the front, reverse and perimeter. Record any changes needed before repeating the design.
Thread-only patches and freestanding foundations
Thread-only patches omit the fabric insert. Their stitch sequence builds a supporting thread foundation before the visible design. This requires a file prepared for that construction; increasing the stitch count of an ordinary garment design does not establish a reliable foundation. Madeira distinguishes these designs from fabric-based appliqué patches in its emblem guide.
When using water-soluble support, select a design specifically digitized to hold together after rinsing. BERNINA emphasizes this requirement in its freestanding design guidance.
Treat the first piece as a sample. Assess flexibility, coverage and edge integrity after the temporary support is removed. Thread-only construction still involves finishing and inspection.
Hot-knife cutting and stitching several patches on a span
The original alternative of stitching several patches across one piece of material remains useful to consider. Each patch needs room for its border and the planned separation method. Test one complete patch before arranging a batch.
A hot knife is an optional specialist finishing tool in some patch workflows. Madeira’s badge guide notes that its necessity depends on the appliqué method. Confirm that the exact fabric, thread, film and adhesive are suitable before using heat. Follow the tool’s ventilation and work-surface instructions; do not assume an arbitrary plastic or backing can be melted safely.
For a scissor-cut workflow, plan the cut line and edge finish together. Madeira’s traditional patch instructions describe stitching on a supported fabric span, applying a specified heat seal, cutting individual shapes and finishing their edges. That sequence differs from trimming fabric before an in-the-hoop satin border.
Choose attachment and test the finished patch
A patch can be sewn on or prepared with a suitable heat-activated adhesive. The temporary embroidery stabilizer is not an iron-on attachment layer.
Follow the adhesive manufacturer’s instructions for temperature, time, pressure and cooling, while respecting the garment’s heat limits. For example, STAHLS’ Canada’s Thermo-Adhesive instructions specify a particular application process for its product. Those settings should not be transferred to another adhesive.
Before making a batch, attach a sample to the intended garment or a matching test piece. Inspect it after the planned care cycle. For customers in the US, Canada or UK, supply the applicable care instructions and clearly identify any temperature units as °F or °C.
Use these observations to guide revisions:
Sample observation | Next check |
|---|---|
Fabric shows outside the border | Compare cutting accuracy, placement and border coverage. |
Patch releases before stitching finishes | Review the support, hooping and stitch sequence. |
Shape changes after removal | Reassess the fabric, foundation and combined stitch load. |
Thread-only areas separate | Confirm the file was designed for freestanding construction. |
Attachment lifts or distorts the garment | Review adhesive compatibility and application instructions. |
Change one variable at a time and keep the successful sample with its production details.
What to send a digitizer
For DigitEMB embroidery digitizing, provide the artwork, finished patch dimensions, machine model or required format, patch fabric, border preference and intended attachment. Explain whether you want a precut, trim-in-place or thread-only workflow, and identify where the machine needs to stop.
Label measurements explicitly in inches or millimeters when working across the US, Canada and UK. Include a photo of any unsuccessful sew-out and describe when the problem occurred. Ask for the file sequence to match your actual production method, then verify it with a physical sample.
Frequently asked questions
Do I need a multi-needle machine?
No. A compatible single-needle embroidery machine can make patches, with manual thread changes as required. The design must fit its embroidery field and use a supported file format.
Do I need a Merrow machine?
Only if that specific edging construction is required. A patch-ready embroidery file can include a satin border made on the embroidery machine.
Can I make a patch without fabric?
Yes, with a thread-only design prepared for that purpose and the specified support. An ordinary embroidery design may not hold together when its stabilizer is removed.
Can every finished patch be ironed on?
No. It needs a compatible heat-activated adhesive, and the receiving item must tolerate the required application conditions. Confirm both before applying heat.
Practical details for How to Make Patches with an Embroidery Machine: Step-by-Step Guide
A patch works best when its artwork, size, border and attachment method are chosen together. Use the guidance in this article to create a production brief that is clear enough for a proof review.
Work through these points in order and keep the answers with the artwork or production request. A short written brief makes it easier to compare a proof with the intended result, ask a useful follow-up question and avoid relying on assumptions made from a screen image alone.
The aim is not to add unnecessary steps. It is to identify the choices that change the final result before work begins. If a requirement is unknown, flag it for confirmation rather than guessing; that keeps the approval process focused on the design, material and use that apply to this particular project. Save the approved brief with the project files for future reorders or revisions.
Choose the patch type for the artwork
Consider whether embroidered, woven, chenille or PVC construction best suits the amount of detail, texture and finish you want. Fine lettering and small shapes should be assessed at the real patch size.
Set the size and edge treatment
Give the finished width and height, including any outline or border. A merrowed edge, hot-cut edge or shaped outline changes the usable design area and how the patch reads from a distance.
Select the backing for the use case
Iron-on, sew-on, hook-and-loop and other backings serve different garments and applications. Confirm the item surface and whether the patch must be removable before approving the proof.
Quick questions to check before you proceed
What should be on a patch order brief?
Include the artwork, finished size, quantity, patch type, border preference, backing choice and the product or garment where it will be used.
Why can small text change on a patch?
Patch construction has physical limits. At a small size, very thin lettering or tight spaces may need adjustment so the finished patch stays legible.
When should I approve the proof?
Approve only after checking spelling, dimensions, border, colours, backing and every detail that must be visible in the finished patch.