
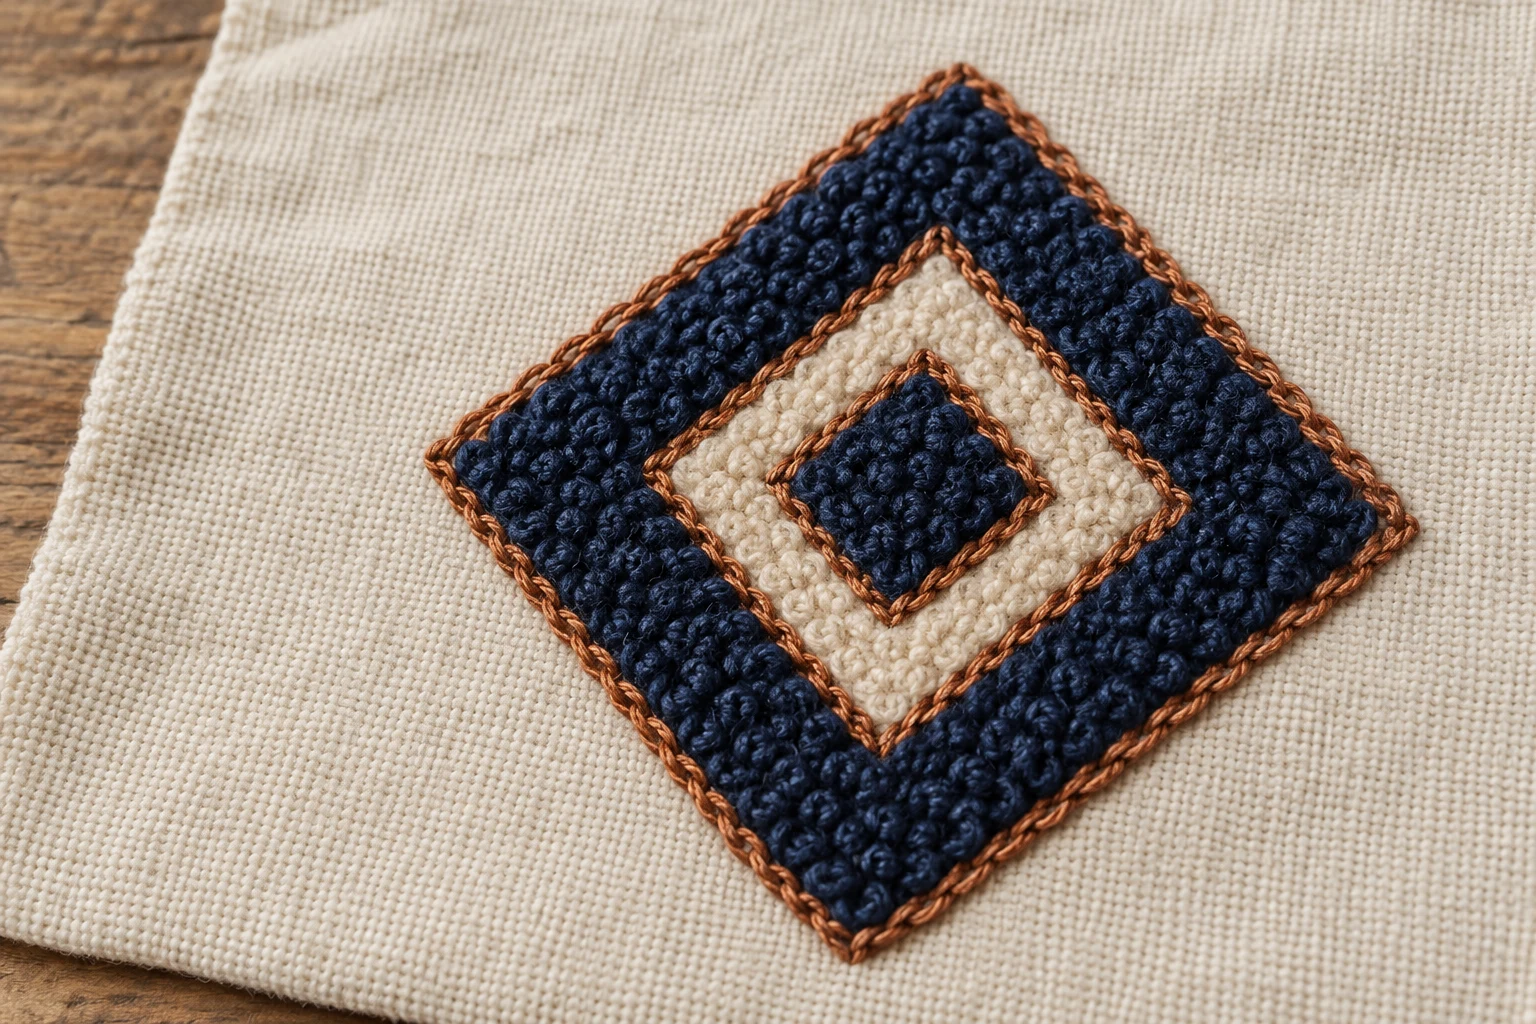
Cover image: AI-generated editorial concept; not a customer project or production proof.
To digitize a chenille embroidery design, simplify the artwork at its finished size, assign moss and chain stitching, build suitable fills and borders, and export using the receiving machine’s chenille settings. Test the file with the intended yarn, fabric and backing before production.
This guide covers artwork planning, stitch selection, lettering and a practical Wilcom workflow for both garment decoration and patch designs.
Understand moss and chain stitching
Chenille embroidery creates its characteristic texture through loop and chain stitches. A chenille head forms loops with a hook mechanism; equipment with both chenille and standard embroidery heads can combine textured areas with conventional embroidery. Tajima’s TCMX documentation explains these mechanisms and machine configurations.
Stitch type | Role in the design |
|---|---|
Moss | Creates a raised, looped pile for textured areas. |
Chain | Creates linked stitching used for outlines, borders and selected decorative areas. |
In Wilcom, the stitch type and fill pattern are separate choices. Moss describes the stitch formation; square and coil describe how stitching travels through a shape. Plan clear shapes and an efficient sequence to reduce unnecessary jumps. Wilcom’s chenille digitizing guidance introduces these distinctions.
Prepare the artwork and production details
Start with the actual finished dimensions. For buyers and decorators working across the US, Canada and UK, record both inches and millimeters where helpful—for example, 4 inches wide equals 101.6 mm. State whether that measurement includes an outer patch border.
Before digitizing, agree on:
The machine model, chenille capability and required output settings.
Finished width and height, placement, and whether the design is a patch or direct embroidery.
Fabric, backing, yarn specification and colors.
Which areas need raised texture and which need finer detail.
Who will stitch and approve the production sample.
Favor clear silhouettes, open spaces and substantial letter strokes. Review tiny gaps and pointed corners at actual size instead of relying on a magnified screen preview. Wilcom emphasizes simple, clearly defined shapes in its chenille planning guidance.
If fine details are essential, discuss a combination of chenille and conventional embroidery with the decorator. Confirm that their equipment and production sequence support that combination.
Choose chenille fills and borders in Wilcom
Wilcom’s Compound Chenille tool builds filled shapes with offset borders. Its documented options include:
Fill pattern | Documented use |
|---|---|
Square | Narrow shapes filled with one layer of straight lines. |
Double Square | Larger shapes filled with two layers of straight lines. |
Island Coil | Larger shapes filled with a double spiral path. |
These choices belong to the Compound Chenille workflow; they are not interchangeable with every input method. Wilcom’s Compound Chenille instructions describe the available combinations.
Borders help contain moss fills and define edges. With Complex Fill, Wilcom uses Island Coil rather than ordinary Coil. Column input methods cannot use Compound Chenille, so their moss objects need borders added separately. Inspect border-to-fill relationships again after resizing. Wilcom’s chenille input-method reference explains these limitations.
Digitize a Compound Chenille object step by step
The following follows Wilcom’s documented workflow. Check the help for your installed version and confirm that its chenille tools are available.
Open a design with the Chenille template and select the appropriate machine format.
Choose Complex Fill or another supported closed-shape tool.
Select Moss, enable Compound Chenille, and choose a supported fill pattern and yarn color.
Trace the boundary with corner and curve points, then complete the outline.
Set entry and exit points and define the stitch angle when prompted.
Generate the object, then inspect its fill and offsets in Object Properties > Compound Chenille.
Follow the official object-creation instructions for the exact controls.
Work through the remaining shapes in the intended sewing order. Keep a record of decisions that the machine operator must reproduce, including color sequence and any changes between stitch types.
Control texture through machine settings
Needle height is a control for loop height on compatible chenille machines. Tajima documents adjustable needle height for loop height or chain size on its TCMX series. The available controls depend on the equipment, so agree on settings with the operator and verify the effect in a sample. Tajima’s machine documentation describes this adjustment.
Avoid treating one density, stitch length or needle-height setting as suitable for every combination of yarn and fabric.
Digitize chenille lettering
Start with a dedicated chenille font when available. In Wilcom’s documented lettering workflow, these fonts carry a CH prefix and use the As Digitized joining method. Some use Coil fills and others Double Square.
Wilcom describes its chenille fonts as intended for relatively large applications, approximately 2–6 inches (50–150 mm). This is guidance about those fonts, not a universal minimum or maximum for all chenille lettering. Check the selected font’s intended size and inspect each letter’s openings and borders. Wilcom’s chenille lettering documentation provides these details.
For a compact name or small chest placement, ask the decorator to assess whether the required text should use conventional embroidery. Approve readability at finished size before committing to the full design.
Export for the receiving machine
Confirm more than the filename extension. Chenille output must communicate the stitch-type changes and other functions expected by the receiving equipment.
For example, Wilcom’s documentation for older Tajima TMCE machines describes different stop-code arrangements between models. It also explains that exporting with the TMCE-600 format as DST creates an accompanying .cc0 condition file. These are model-specific instructions; confirm the correct profile and companion files for your machine. Wilcom’s Tajima chenille output reference explains the differences.
Retain the editable design and supply the agreed machine files with a production sheet showing dimensions, colors and setup notes. Have the operator verify that the imported sequence matches the intended design.
Test the sew-out before production
Use a sample made with the intended materials to decide whether the file is ready. A screen preview cannot establish the finished feel or appearance.
Inspect the sample for:
Even coverage and the intended pile height.
Defined borders without exposed gaps.
Open letter counters and readable spacing.
Clean transitions between textured areas and finer embroidery.
Flat fabric and secure stitch endings.
If a problem appears, review both the digitizing and machine setup with the operator. Record each adjustment and repeat the relevant sample before running the order. Select backing for the actual fabric and construction rather than assuming every large chenille design needs the same backing.
What to send when requesting digitizing
Send the artwork, finished dimensions, placement, fabric and yarn details, machine model, and an explanation of the desired texture. Specify whether you need a digital stitch file or finished physical patches, and ask who will handle sample approval.
You can review DigitEMB’s embroidery digitizing services and ask about compatibility with your particular chenille setup before placing an order.
Frequently asked questions
Can a standard embroidery machine make this chenille texture?
True loop-and-chain chenille requires equipment capable of those stitch formations. Confirm that the decorator has a suitable chenille head; a conventional embroidery file alone does not add that mechanism. Tajima’s TCMX overview shows dedicated and mixed-head configurations.
Can I resize a chenille design without changing anything else?
Recheck the borders and fills after resizing, especially when borders were created separately. Wilcom notes that scaling can change the gaps between them. Stitch another sample at the requested size. Wilcom’s input-method guidance explains this concern.
Is a DST file enough for every chenille machine?
Confirm the machine profile, function handling and any companion files with the operator. Wilcom’s older Tajima workflow demonstrates why a DST extension alone does not describe the complete setup. Wilcom’s chenille output guidance gives a model-specific example.
Practical details for How to Digitize Chenille Embroidery Designs for Machine Embroidery
Use the article above as a starting point, then make the production brief specific to your own design. A stitch file is made for a finished size and material, so the artwork alone is only part of the instruction.
Work through these points in order and keep the answers with the artwork or production request. A short written brief makes it easier to compare a proof with the intended result, ask a useful follow-up question and avoid relying on assumptions made from a screen image alone.
The aim is not to add unnecessary steps. It is to identify the choices that change the final result before work begins. If a requirement is unknown, flag it for confirmation rather than guessing; that keeps the approval process focused on the design, material and use that apply to this particular project. Save the approved brief with the project files for future reorders or revisions.
Confirm the finished use
State the item, placement and finished width and height. A chest logo, cap front and jacket back do not use the same sewing area, even when they start from the same artwork.
Protect the smallest details
Review small lettering, narrow gaps, thin outlines and tiny colour changes at the final size. Simplifying a fragile detail before digitizing is often more reliable than trying to force it into a small sew-out.
Match the file to the machine
Tell the production team the embroidery machine or format required, along with the fabric or garment type. This lets them prepare the right export and make choices that suit the material rather than treating every job alike.
Quick questions to check before you proceed
What should I send with my artwork?
Send the clearest original available, the finished dimensions, placement, fabric or garment type and the required machine format if you know it.
Can the same file be used at every size?
Not always. Scaling changes the relationship between stitch length, detail and fabric, so a design may need review when the finished size or placement changes.
What should I check before production?
Confirm the spelling, colours, final size, placement and any details that must remain readable. A proof or sample is the best point to catch a change.