
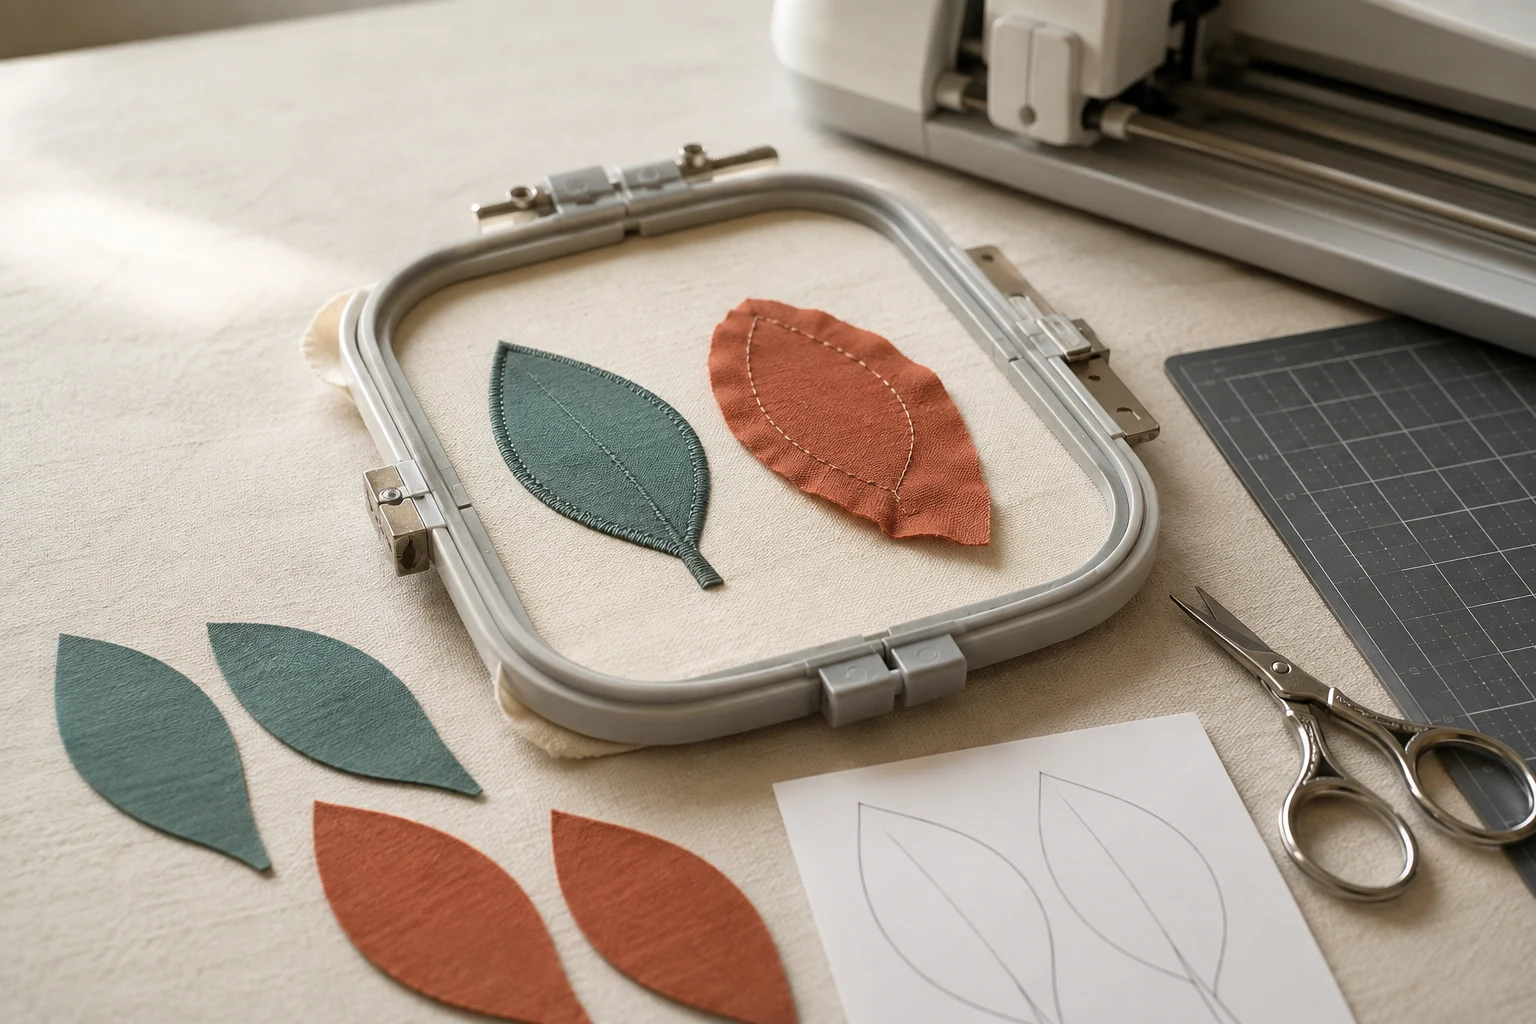
Cover image: AI-generated editorial concept; not a customer project or production proof.
To precut appliqué fabric for machine embroidery, use the design’s matching cutting template or cut file, confirm its size, and cut the fabric before placing it on the stitched placement outline. Alternatively, stitch an oversized piece onto the base fabric and trim the excess after tackdown, following the design’s instructions.
Precutting can reduce trimming pauses, especially for repeated shapes. It still requires accurate sizing and placement; it does not guarantee a clean finish.
Why appliqué fabric needs accurate cutting
Appliqué uses fabric shapes to form parts of an embroidered design. Cutting controls where those shapes end. For a covered-edge design, the fabric edge needs to sit beneath the intended finishing stitches. A piece that is too small can leave gaps; one that is too large can protrude beyond the border.
The stitch sequence commonly includes a placement outline, stitches that secure the fabric, and an edge finish. Follow the design’s sewing instructions because the sequence can vary. Brother’s appliqué instructions demonstrate cutting the fabric separately and attaching it at the stitched position.
Choose precutting or trimming in the hoop
Cutting method | When it is useful |
|---|---|
Precut by hand | A few pieces, a printable cutting template, or no electronic cutter available. |
Precut with a cutting machine | Repeated pieces and a compatible cut file matched to the embroidery size. |
Trim in the hoop | A design supplied with trimming instructions, especially shapes you can reach easily with scissors. |
Precutting can make enclosed openings easier to handle before the fabric reaches the garment. Very small or intricate shapes can still be difficult to cut, lift and position. Choose a method that suits both the design and your tools.
Prepare the design and materials
Gather the embroidery file and instructions, matching cutting templates if provided, appliqué fabric, base fabric, suitable embroidery stabilizer, scissors, and any adhesive specified by the design.
Before cutting a batch:
Confirm which file is for stitching and which outlines are for cutting. Do not assume the outside of the finished satin border is the cutting line.
Check the template against the exact embroidery size you intend to stitch. Print at actual size or 100%, with page fitting disabled, and measure a known dimension.
Check orientation, particularly for letters and directional prints. A template intended for the fabric’s front may need reversing when transferred to its back.
Keep a sample piece aside for a complete trial sew-out.
For US, Canadian and UK workflows, state dimensions with units when exchanging files. For example, 4 inches is 101.6 mm. Letter and A4 paper differ, so verify the printed scale even when the template fits the page.
How to precut appliqué fabric by hand
Open the supplied cutting template or dieline in suitable software and print it at the verified size.
Prepare the appliqué fabric with any backing specified in the design instructions.
Hold the template securely on the fabric without stretching it. Check the fabric’s right side and print direction.
Cut carefully along the designated cutting outline with sharp scissors. Do not add an arbitrary seam allowance.
Keep each piece with its template until needed. Label similar shapes and mark their orientation on the paper.
Embroidery Library’s multi-piece appliqué tutorial illustrates printed dielines, fabric preparation and labeling pieces before placement.
If your design uses paper-backed fusible adhesive, choose a product intended for sewing and follow its application instructions. Some templates are already reversed: check before mirroring them again. Therm O Web’s fusible appliqué tutorial shows reversed templates, bonding to fabric and cutting on the marked lines.
How to precut fabric with a cutting machine
Use a cut file supplied for the exact embroidery design size. Before buying a file or cutter accessory, confirm that your machine, software edition and blade support the file format and fabric you plan to use.
Import the cut file and verify its dimensions before arranging copies.
Select the manufacturer’s recommended blade, mat and material setting.
Press out wrinkles where the fabric’s care instructions permit. Position the fabric flat without stretching it.
Check whether the chosen fabric orientation requires mirroring the cut.
Make one test cut, then lift it carefully and check its fit before cutting the remaining pieces.
Blade choice matters. Cricut distinguishes its Bonded-Fabric Blade for bonded fabrics from its Rotary Blade for fabric cutting without a backer on compatible machines. Its rotary guidance also cautions against very small shapes. Check the official blade compatibility guide for your model.
Keep fabric inside the mat’s adhesive area and avoid pulling stretchy material taut. Remove surrounding waste first, then lift the shapes gently. These handling steps are covered in Cricut’s FabricGrip mat instructions.
Place and stitch the precut pieces
Hoop the base fabric with appropriate stabilizer and load the full embroidery design. Stitch the placement outline, pause, and align the corresponding fabric piece. Secure it using the method specified by the design, then continue through tackdown and finishing stitches.
For multiple pieces, follow the color-change sheet rather than placing everything at once. Embroidery Library’s placement example shows pieces being added as their outlines stitch.
Inspect the sample before repeating it: look for exposed edges, gaps and movement. If a piece does not fit, check its size and orientation before changing the cutting outline.
How to trim appliqué fabric in the hoop
In ordinary trim-in-the-hoop appliqué, you cut the fabric with scissors. The embroidery machine stitches the guide and securing stitches.
Stitch the placement outline and cover it with an oversized appliqué piece.
Run the designated tackdown step, then stop at the instructed trimming point.
Detach the hoop from the machine while keeping the base fabric and stabilizer clamped in it. Rest the hoop on a flat surface.
Lift only the excess appliqué fabric and trim close to the tackdown with small curved embroidery scissors. Protect the stitches and underlying fabric.
Remove loose fibers, reattach the hoop, and continue the design.
Brother’s in-hoop trimming guide demonstrates removing the intact hoop and using the tackdown as a cutting guide.
Tight corners and enclosed openings need particular care. If you cannot separate the top layer safely, reassess the cutting method before continuing. Start with accessible shapes, use stabilizer suitable for the base fabric, and follow the design’s thread specifications.
What to request when ordering a custom design
When discussing a project through DigitEMB’s embroidery digitizing service, specify the finished size, garment and appliqué fabrics, machine format, preferred edge finish, and whether you will precut or trim in the hoop.
Ask whether matching cutting templates or compatible cut files are included, and request clear placement and trimming instructions. Confirm those deliverables before ordering; a stitch file alone does not establish what cutting files will accompany it.
Frequently asked questions
Can I precut without a cutting machine?
Yes. A correctly sized cutting template and sharp scissors are enough for hand precutting. Check one piece before preparing a batch.
How close should I trim to the tackdown?
Follow the design’s instructions. Trim close enough for the intended finish to cover the edge while protecting the securing stitches and base fabric. There is no single trimming distance suitable for every design.
Does precutting eliminate hoop removal?
It removes the need to trim those pieces at the machine, but you may still detach the hoop to position them accurately. Keep the base fabric clamped throughout placement.
Should raw-edge appliqué hide every fabric edge?
No. Raw-edge appliqué intentionally leaves an exposed edge. Follow its intended cutting line and finish instead of applying the coverage expectations of a satin-bordered design.
Practical details for How to Precut Applique Fabric for Machine Embroidery
Use the article above as a starting point, then make the production brief specific to your own design. A stitch file is made for a finished size and material, so the artwork alone is only part of the instruction.
Work through these points in order and keep the answers with the artwork or production request. A short written brief makes it easier to compare a proof with the intended result, ask a useful follow-up question and avoid relying on assumptions made from a screen image alone.
The aim is not to add unnecessary steps. It is to identify the choices that change the final result before work begins. If a requirement is unknown, flag it for confirmation rather than guessing; that keeps the approval process focused on the design, material and use that apply to this particular project. Save the approved brief with the project files for future reorders or revisions.
Confirm the finished use
State the item, placement and finished width and height. A chest logo, cap front and jacket back do not use the same sewing area, even when they start from the same artwork.
Protect the smallest details
Review small lettering, narrow gaps, thin outlines and tiny colour changes at the final size. Simplifying a fragile detail before digitizing is often more reliable than trying to force it into a small sew-out.
Match the file to the machine
Tell the production team the embroidery machine or format required, along with the fabric or garment type. This lets them prepare the right export and make choices that suit the material rather than treating every job alike.
Quick questions to check before you proceed
What should I send with my artwork?
Send the clearest original available, the finished dimensions, placement, fabric or garment type and the required machine format if you know it.
Can the same file be used at every size?
Not always. Scaling changes the relationship between stitch length, detail and fabric, so a design may need review when the finished size or placement changes.
What should I check before production?
Confirm the spelling, colours, final size, placement and any details that must remain readable. A proof or sample is the best point to catch a change.