
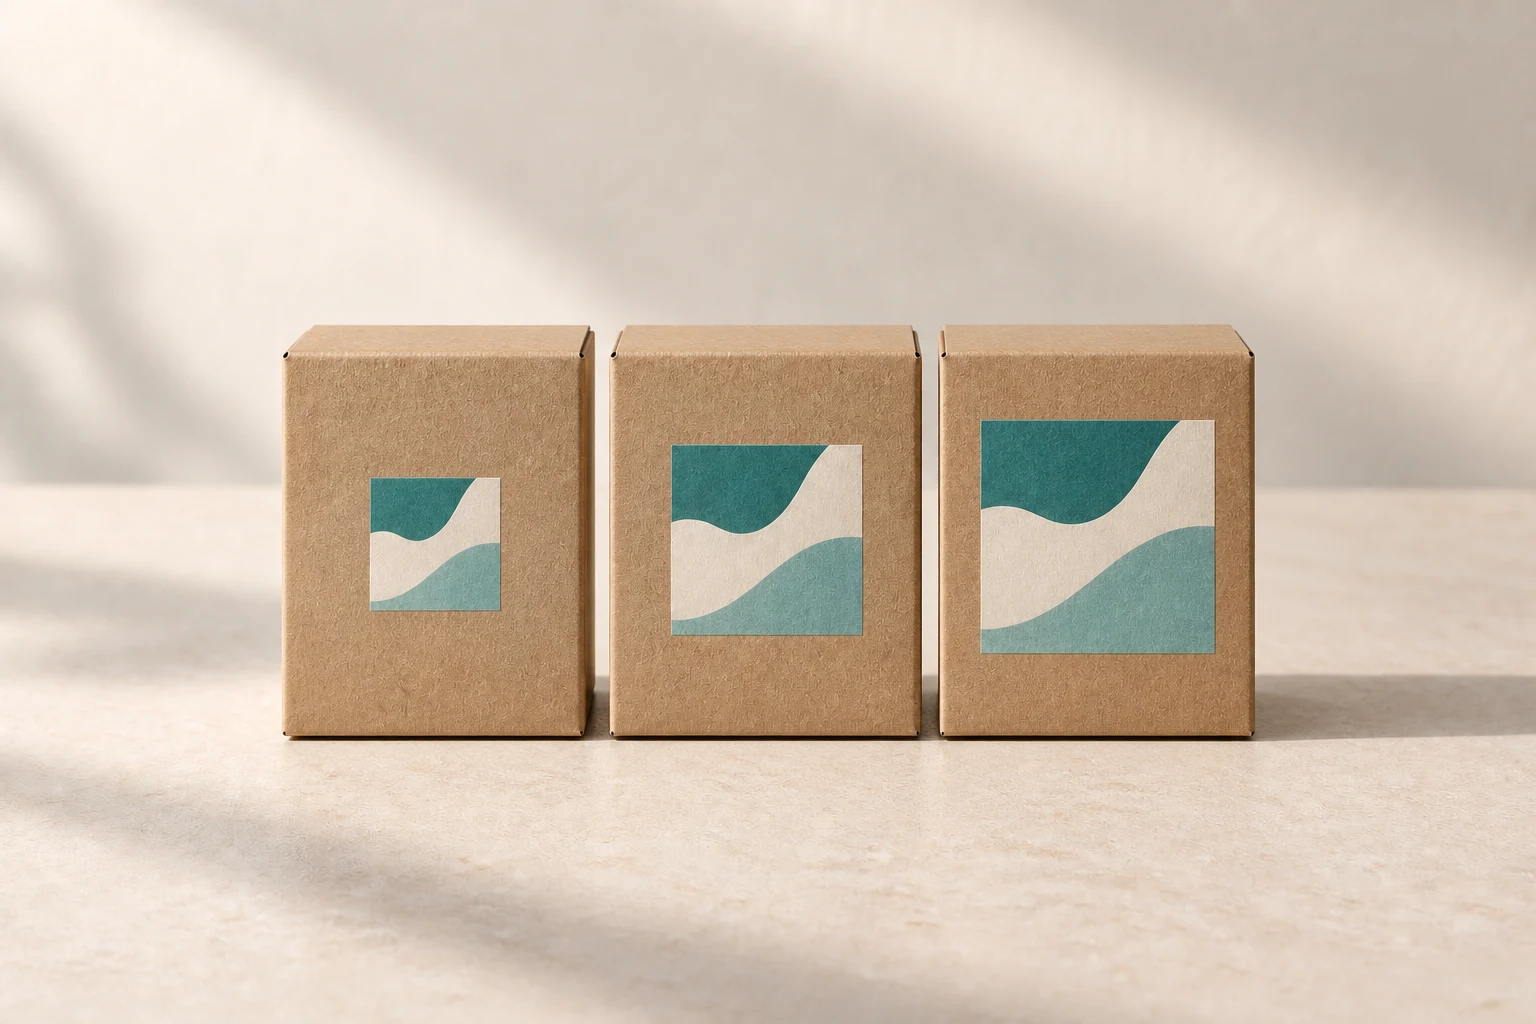
Cover image: AI-generated editorial concept; not a customer project or production proof.
Choose a sticker size by measuring the usable surface, laying out the essential information and testing two or three paper mock-ups at actual size on the real package. The right dimensions should keep the wording readable and leave suitable room around folds, rims and openings.
A logo that looks clear when enlarged on screen can become difficult to read on a small label. A rectangle that fits an unassembled box may cross a fold once the carton is built. Test the size while the artwork is still easy to change.
Decide what the sticker needs to do
Choose the content before settling on dimensions. A simple logo on a mailer needs a different layout from a product label carrying a name, variant and instructions. A sticker bridging a closure also needs contact area on both sides of the join.
Write down the essential information, then add optional decoration. If the layout becomes crowded, try a larger sticker, simplify the design or allocate supporting information to a separate label.
For products intended for the United States, Canada or United Kingdom, establish the wording and presentation requirements for the product and destination market before fixing the dimensions. This sizing method helps you plan the layout; it does not establish regulatory compliance.
Measure the usable surface
Use an actual production package where possible. Assemble a carton or fill a pouch to its normal shape before measuring.
On a flat panel, record the usable width and height. Mark folds, seams, windows, raised details and existing information that the sticker should avoid. The visible space around the sticker is a design decision to test, rather than a universal production allowance.
For a jar or bottle, wrap a strip of paper around the intended label position, mark the desired edges and trim it. Check the paper against the container, then measure it flat. Avery explains this method and notes that tapered containers may need a curved label shape. Avery’s label measurement guide.
Application | What to measure and test |
|---|---|
Box or mailer panel | Measure usable width and height on the assembled package. Keep the mock-up clear of folds, openings and existing information. |
Jar lid | Measure the usable central diameter. Check that the sticker stays inside any raised rim. |
Bottle front | Measure the available height and width at the intended position. Check whether the main wording remains visible from the front. |
Wraparound label | Measure circumference and usable height. Test the intended gap or overlap and the effect of container taper. |
Flexible pouch | Measure with the pouch filled. Check the position against gussets, closures and prominent creases. |
Sticker across a closure | Measure across the join and allow contact area on each side. Test how the package opens. |
A paper mock-up checks shape, placement and readability. Confirm adhesive performance, moisture resistance and finished-material behavior separately with the supplier and suitable samples.
Specify the finished dimensions clearly
Describe the size of the sticker that will remain on the product after removal from its backing.
Rectangle or oval: width × height, with orientation identified.
Circle: diameter.
Custom shape: maximum width × maximum height of the finished outline, including any intended border.
For a kiss-cut sticker or sticker sheet, specify individual sticker dimensions separately from the backing card or sheet dimensions. Ask the supplier which measurement the quote uses.
Use one controlling unit throughout the order. If you include a conversion for buyers or colleagues working in another unit, mark it as a reference. For example: 60 × 40 mm finished size; approximately 2.36 × 1.57 inches.
Keep finished size separate from artwork bleed and internal safety margins. Ask the printer to confirm the template, required allowances, cut tolerances and available shapes before preparing the production file.
Print and test at actual size
Create two or three versions around your measured starting point. Include the real wording and artwork: blank shapes help you judge coverage but cannot show whether the design is readable.
Set the physical dimensions. Place each candidate on a PDF page large enough to hold it within your printer’s printable area.
Add a scale check. Include horizontal and vertical reference lines, each marked with its intended length, such as 50 mm.
Print without scaling. In Adobe Acrobat, select Actual size. Adobe explains that Fit may enlarge or reduce a page, while Actual size prints without scaling; content that does not fit can be cropped. Adobe’s page-size printing guidance.
Measure the print. Check both reference lines and the sticker outline with a ruler. Correct any scaling problem before judging the layout.
Cut and position the mock-up. Trim along the finished outline and temporarily attach the paper to the package with removable tape where suitable.
Inspect it in use. Hold the product, place it on a shelf and open the packaging. Read the smallest essential wording without enlarging anything.
If a design fails the reading check, enlarge it or revise the layout. Simply shrinking every element can make the information harder to use.
A desktop print establishes size and layout only. Confirm final color, finish and adhesive suitability through the appropriate production proof or sample.
Worked example: a sticker for a small carton
Suppose an assembled carton has a usable front panel 90 mm wide × 60 mm high—approximately 3.54 × 2.36 inches. The sticker needs a logo, a product name and a short variant line. Other product information has been allocated elsewhere for separate review.
This hypothetical example compares three centered rectangular stickers:
Finished sticker size | Clearance on the example panel |
|---|---|
50 × 30 mm (1.97 × 1.18 in) | 20 mm on each side; 15 mm above and below |
60 × 40 mm (2.36 × 1.57 in) | 15 mm on each side; 10 mm above and below |
70 × 45 mm (2.76 × 1.77 in) | 10 mm on each side; 7.5 mm above and below |
For a centered sticker, side clearance = (panel width − sticker width) ÷ 2. Calculate top and bottom clearance the same way using the heights.
For the middle option, (90 − 60) ÷ 2 = 15 mm on each side.
Print all three at actual size. If the smallest version makes the variant line difficult to read, try the next size or simplify the layout. If the largest version dominates the panel, compare it with the middle option.
The 60 × 40 mm version is a candidate to test. Arithmetic alone cannot select it: check readability, appearance and placement on the real carton. These clearances are example design choices, not manufacturing tolerances or recommended minimums.
Allow for curves and repeated application
For a straight cylindrical container, a starting calculation for a wraparound label with a gap is:
Label width = measured circumference − intended gap
If the circumference at the label position is 220 mm and the proposed gap is 5 mm, the starting width is 215 mm. These are illustrative dimensions. Test the fit and gap physically before ordering.
For an overlap, confirm whether the chosen adhesive and finish are suitable where one label edge sits on the other. The width calculation cannot answer that material question.
Check the exact label position on tapered containers rather than assuming a rectangle will fit. A paper template can help reveal a mismatch before artwork is finalized.
Apply several mock-ups by hand to see how small positioning changes affect the result. If an edge sits too close to a fold or rim, allow more room. For machine application, obtain the applicator’s label and roll requirements before approving dimensions.
For product information labels, see DigitEMB’s product label sticker service. For carton branding and closure placement, see the packaging sticker service and describe the assembled package.
Send a clear size specification
When requesting custom stickers from DigitEMB, send the artwork, proposed finished dimensions, quantity and intended use. Include the package material, usable surface measurements and a photograph of the paper mock-up if available.
Identify the controlling unit and distinguish sticker dimensions from backing or sheet dimensions. Explain any intended closure placement, wraparound gap or overlap. Confirm production allowances with the printer and arrange separate material testing where needed.
If the design contains a barcode or QR code, have its size and placement reviewed for its intended use and arrange testing of the final printed label. Keep that requirement in the layout discussion before reducing the sticker dimensions.
Frequently asked questions
What is the best sticker size for a small box?
Start with the usable panel dimensions and the actual design. In the example above, 60 × 40 mm is one candidate for a 90 × 60 mm panel, but it is not a universal recommendation. Compare paper versions on your box before choosing.
Should I specify sticker size in inches or millimeters?
Use whichever unit you and the supplier agree will control production. You can include the other unit as an approximate reference, but avoid two competing specifications.
Does sticker size include the backing?
Specify the finished sticker separately from its backing. This is particularly useful for kiss-cut stickers and sheets, where the backing can be larger than the individual sticker.
Can I use the same size on every jar or bottle?
Test each container shape and size. Differences in the usable label area, circumference or taper can change the fit, even when containers look similar.
Does a paper mock-up prove that the sticker will stay attached?
No. It helps you evaluate size, shape and readability. Use appropriate finished-material samples to assess adhesion and performance under the intended handling and storage conditions.
Practical details for How to Choose Sticker Size for Packaging and Products
A sticker is more than a picture on adhesive material. Surface, shape, size, finish and handling conditions affect the right production choice, so define those details before artwork approval.
Work through these points in order and keep the answers with the artwork or production request. A short written brief makes it easier to compare a proof with the intended result, ask a useful follow-up question and avoid relying on assumptions made from a screen image alone.
The aim is not to add unnecessary steps. It is to identify the choices that change the final result before work begins. If a requirement is unknown, flag it for confirmation rather than guessing; that keeps the approval process focused on the design, material and use that apply to this particular project. Save the approved brief with the project files for future reorders or revisions.
Identify the surface and environment
Explain whether the sticker will be used on packaging, a jar, a bottle, a window, a laptop or another surface. Note curves, moisture, handling and expected wear so the material and adhesive can be matched to the job.
Set the cut shape and safe area
Provide the final size and decide whether the sticker is die-cut, kiss-cut, rectangular, circular or another custom shape. Keep important text and marks away from the cut edge so they are not crowded or trimmed.
Check the artwork at print size
Review small type, fine lines, colour contrast and transparent areas at the real finished size. A proof should confirm the wording, shape, finish and placement of the design elements.
Quick questions to check before you proceed
What information helps quote a sticker project?
Share the artwork, final size, quantity, intended surface, cut style and the finish or material you are considering.
Why does the surface matter?
Flat paper packaging, curved containers and outdoor equipment place different demands on adhesion, flexibility and finish.
What should I check on a proof?
Check spelling, dimensions, cut line, safe margins, colour, finish and whether the design still reads clearly at the final size.