
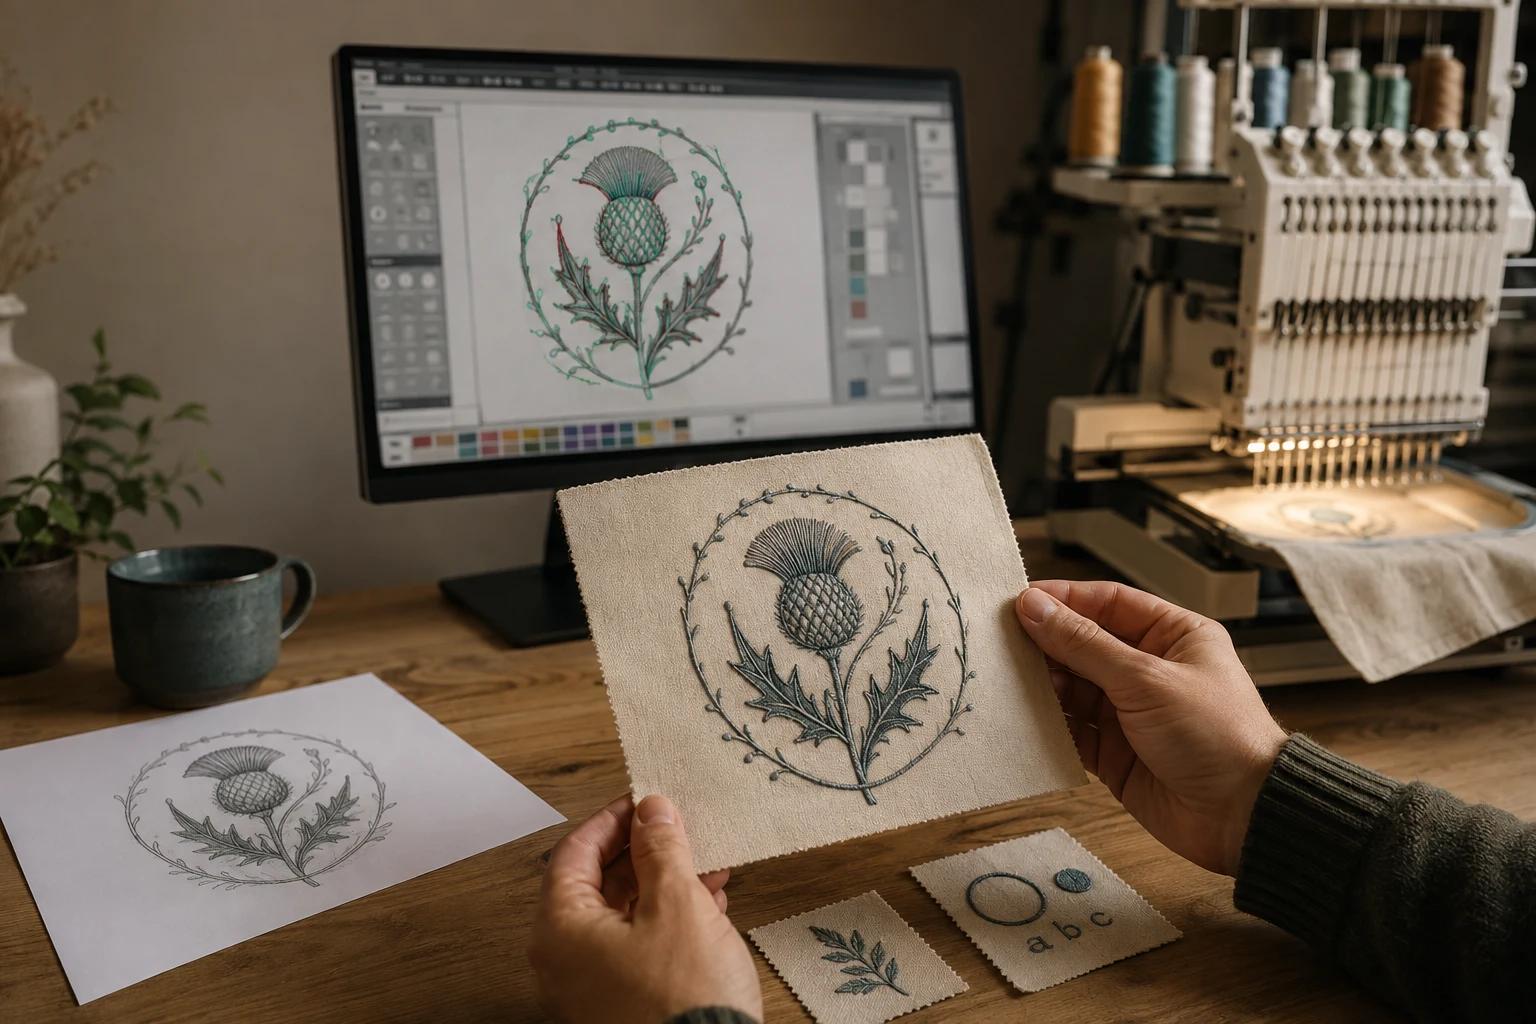
Cover image: AI-generated editorial concept; not a customer project or production proof.
To become a professional embroidery digitizer, learn to turn artwork into controlled stitch paths, choose settings for the intended fabric, and improve your designs through physical sew-outs. Build a portfolio of tested work and learn to explain your production decisions clearly. Software practice matters, but a convincing screen preview alone does not demonstrate production readiness.
The five skills below provide a practical learning path, followed by a workflow for preparing files for customers and embroidery operators.
1. Understand artwork and embroidery file formats
Start by separating the artwork you receive from the embroidery files you create.
Raster artwork, such as a JPG or PNG, represents an image with pixels. Enlarging it can reveal blurred or jagged edges. Vector artwork describes shapes with mathematical lines and curves, which retain crisp edges when resized. Adobe explains the distinction between raster and vector graphics.
A clear vector file can make shapes easier to interpret, but a usable raster image can also serve as digitizing input. Neither automatically supplies all the stitch decisions a design needs. Hatch supports digitizing from both bitmap and vector artwork. See Hatch’s artwork conversion guidance.
Before tracing, establish the finished size and identify details that need clarification or simplification. Ask for a better original when edges or lettering are ambiguous; tracing a blurry image does not reveal missing information.
Keep these file roles separate:
File role | What to understand |
|---|---|
Source artwork | The visual reference used to interpret shapes, lettering and colors. |
Editable embroidery design | A working file, such as Wilcom EMB, that retains design objects and settings for revision. |
Machine embroidery file | An exported file, such as DST or PES, selected for the receiving machine’s requirements. |
Wilcom distinguishes editable design information from exported machine stitch data. Keep the working file so future revisions do not depend solely on reconstructing objects from stitches. Read Wilcom’s embroidery file guide.
Practice: Use artwork you created or have permission to use. Digitize a simple emblem at its intended size, save the editable design, and export the format required by your test machine.
2. Choose stitch types and density deliberately
Learn three foundational stitch families before exploring decorative effects:
Stitch family | Typical application |
|---|---|
Running stitch | Fine linework, outlines and travel paths. |
Satin stitch | Letter strokes and column-shaped details with a smooth surface. |
Tatami or fill stitch | Larger areas covered with rows of shorter stitches. |
These are starting points for selecting stitches by shape and purpose. Hatch’s digitizing reference describes running, satin and tatami stitches.
Next, learn how your software expresses density. When a setting measures spacing between stitch rows, reducing the spacing places rows closer together. Stitch length is a separate control; changing it is not the same as changing row spacing. Wilcom also explains that satin spacing can vary with column width. See Wilcom’s explanation of stitch spacing and density.
Treat presets as starting points. Compare coverage, flexibility and stitch behavior on the intended material before accepting a setting. Avoid trying to solve every coverage problem by adding more top stitching.
Practice: Create three versions of one fill shape with different spacing values. Sew them on the same fabric with the same production setup, then compare the results. Record the settings alongside the samples so the exercise remains useful later.
3. Build a suitable underlay foundation
Underlay is stitching placed beneath the visible cover stitches. It helps support the design, and its selection depends on object size, shape and fabric. Wilcom identifies center run, edge run, zigzag and tatami as common options. See Wilcom’s underlay selection guidance.
Underlay type | Starting application |
|---|---|
Center run | A line through the center of a narrow column. |
Edge run | Support near the perimeter of a shape or letter. |
Zigzag | Support beneath wider satin columns. |
Tatami | An open foundation beneath larger filled shapes. |
Names and available combinations vary between software packages. Learn what the stitches actually do instead of assuming labels such as “parallel” or “perpendicular” have universal meanings.
There is no single edge inset suitable for every design. Check curves and corners for exposed underlay, then adjust the margin to suit the shape. Wilcom specifically advises increasing the margin when necessary to keep tatami underlay beneath the cover stitches. Read the tatami underlay settings.
Practice: Compare a narrow satin column with center run underlay and a wider column with an appropriate supporting combination. Inspect both the edges and the underside after sewing.
4. Learn production terminology through sew-outs
A professional digitizer needs to describe a problem precisely enough to make a useful revision.
Pull compensation extends stitches beyond the digitized boundary to counter the fabric’s tendency to pull inward during stitching. It can help address gaps and distorted outlines, but should work alongside suitable underlay, backing and topping. Wilcom explains pull compensation.
Push-pull distortion describes changes between the planned shape and the sewn result. When assessing compensation, compare the actual edges and joins with the intended design. Avoid treating one compensation value as a universal correction for every object or material.
Fabric stretch is a production variable to record during testing. Hatch allows pull compensation to be adjusted for different degrees of stretch and notes the supporting role of underlay, backing and topping. See Hatch’s fabric and compensation guidance.
Jumps, trims and color changes describe movements or commands within the machine file. Understanding these helps you communicate the intended sewing sequence and inspect the export. Hatch explains information retained in machine stitch files.
Use a repeatable review method:
Sew the design at its intended size on representative fabric.
Record the fabric, stabilizer, thread, needle and machine setup.
Photograph the result and identify specific defects, such as an exposed underlay edge or a gap at a join.
Change one relevant variable at a time where practical.
Repeat the sample and keep the revision history.
This practice helps you connect a software adjustment with an observable result rather than changing several settings and guessing which one helped.
5. Develop shading, blending and texture
Once you can produce clean basic shapes, use decorative effects to expand your range.
Accordion spacing varies stitch spacing to create graduated shading or perspective. Color blending combines two thread colors through controlled stitching patterns. Wilcom documents both within its shading and open-fill features. Explore Wilcom’s shading tools.
Cross stitch offers a different surface character using crosses and related stitch variations. It is a design technique to learn deliberately, with its own controls, rather than a shortcut around production planning. See Wilcom’s cross-stitch options.
Practice: Create a small leaf study with a solid fill, a graduated fill and a two-color blend. Compare the sewn samples under consistent lighting. Keep the version that communicates the intended shape and shading clearly at the actual viewing size.
Bonus: Turn practice into professional delivery
Build a portfolio around photographed sew-outs, supported by clear project notes. Include straightforward lettering, a simple emblem, a larger fill and a textured design. Describe the fabric and finished dimensions for each sample, and identify practice projects as your own work.
For buyers and embroidery operators in the US, Canada and UK, make the handoff easy to interpret. State the measurement units explicitly and confirm the receiving shop’s requirements.
Information to confirm | What to record |
|---|---|
Finished dimensions | Width and height with units, rather than “small” or “left chest size.” |
Garment and placement | Fabric description and intended embroidery location. |
Machine requirements | Machine model, accepted format and usable embroidery area. |
Color information | Agreed thread references and sewing order. |
Delivery contents | Machine file, production notes and any agreed editable file. |
Validation status | Whether a physical sample was sewn, on which material, and which revision it represents. |
Save the editable design before exporting, then inspect the exported file in compatible software. Hatch recommends preserving the working EMB file because machine formats retain the information needed for stitching rather than all the original editing properties. Read Hatch’s saving and exporting guidance.
If you are commissioning work while developing your skills, review DigitEMB’s embroidery digitizing service and prepare the same clear brief: artwork, dimensions, fabric, placement and machine requirements.
Frequently asked questions
How long does it take to become a professional embroidery digitizer?
There is no dependable timeline that applies to everyone. Assess progress by whether you can produce repeatable sew-outs, diagnose defects, revise files and explain production requirements—not by how many tutorials you have completed.
Do I need to own an embroidery machine?
You need reliable access to physical testing. That can be through your own machine or an embroidery operator who can provide samples and detailed feedback. Build that testing arrangement into your learning process.
Must every image be converted to vector first?
No. Both raster and vector artwork can be used as digitizing input in supported software. Start with clear artwork, and resolve ambiguous details before generating stitches. Hatch describes both input types.
Is a DST or PES file enough for future editing?
Keep the native working file as well. Exported machine files and editable design files serve different purposes, and reopening stitch data does not necessarily recover the original objects and settings. Wilcom explains these file differences.
Practical details for How to Become a Professional Embroidery Digitizer: 5 Essential Skills
Use the article above as a starting point, then make the production brief specific to your own design. A stitch file is made for a finished size and material, so the artwork alone is only part of the instruction.
Work through these points in order and keep the answers with the artwork or production request. A short written brief makes it easier to compare a proof with the intended result, ask a useful follow-up question and avoid relying on assumptions made from a screen image alone.
The aim is not to add unnecessary steps. It is to identify the choices that change the final result before work begins. If a requirement is unknown, flag it for confirmation rather than guessing; that keeps the approval process focused on the design, material and use that apply to this particular project. Save the approved brief with the project files for future reorders or revisions.
Confirm the finished use
State the item, placement and finished width and height. A chest logo, cap front and jacket back do not use the same sewing area, even when they start from the same artwork.
Protect the smallest details
Review small lettering, narrow gaps, thin outlines and tiny colour changes at the final size. Simplifying a fragile detail before digitizing is often more reliable than trying to force it into a small sew-out.
Match the file to the machine
Tell the production team the embroidery machine or format required, along with the fabric or garment type. This lets them prepare the right export and make choices that suit the material rather than treating every job alike.
Quick questions to check before you proceed
What should I send with my artwork?
Send the clearest original available, the finished dimensions, placement, fabric or garment type and the required machine format if you know it.
Can the same file be used at every size?
Not always. Scaling changes the relationship between stitch length, detail and fabric, so a design may need review when the finished size or placement changes.
What should I check before production?
Confirm the spelling, colours, final size, placement and any details that must remain readable. A proof or sample is the best point to catch a change.