
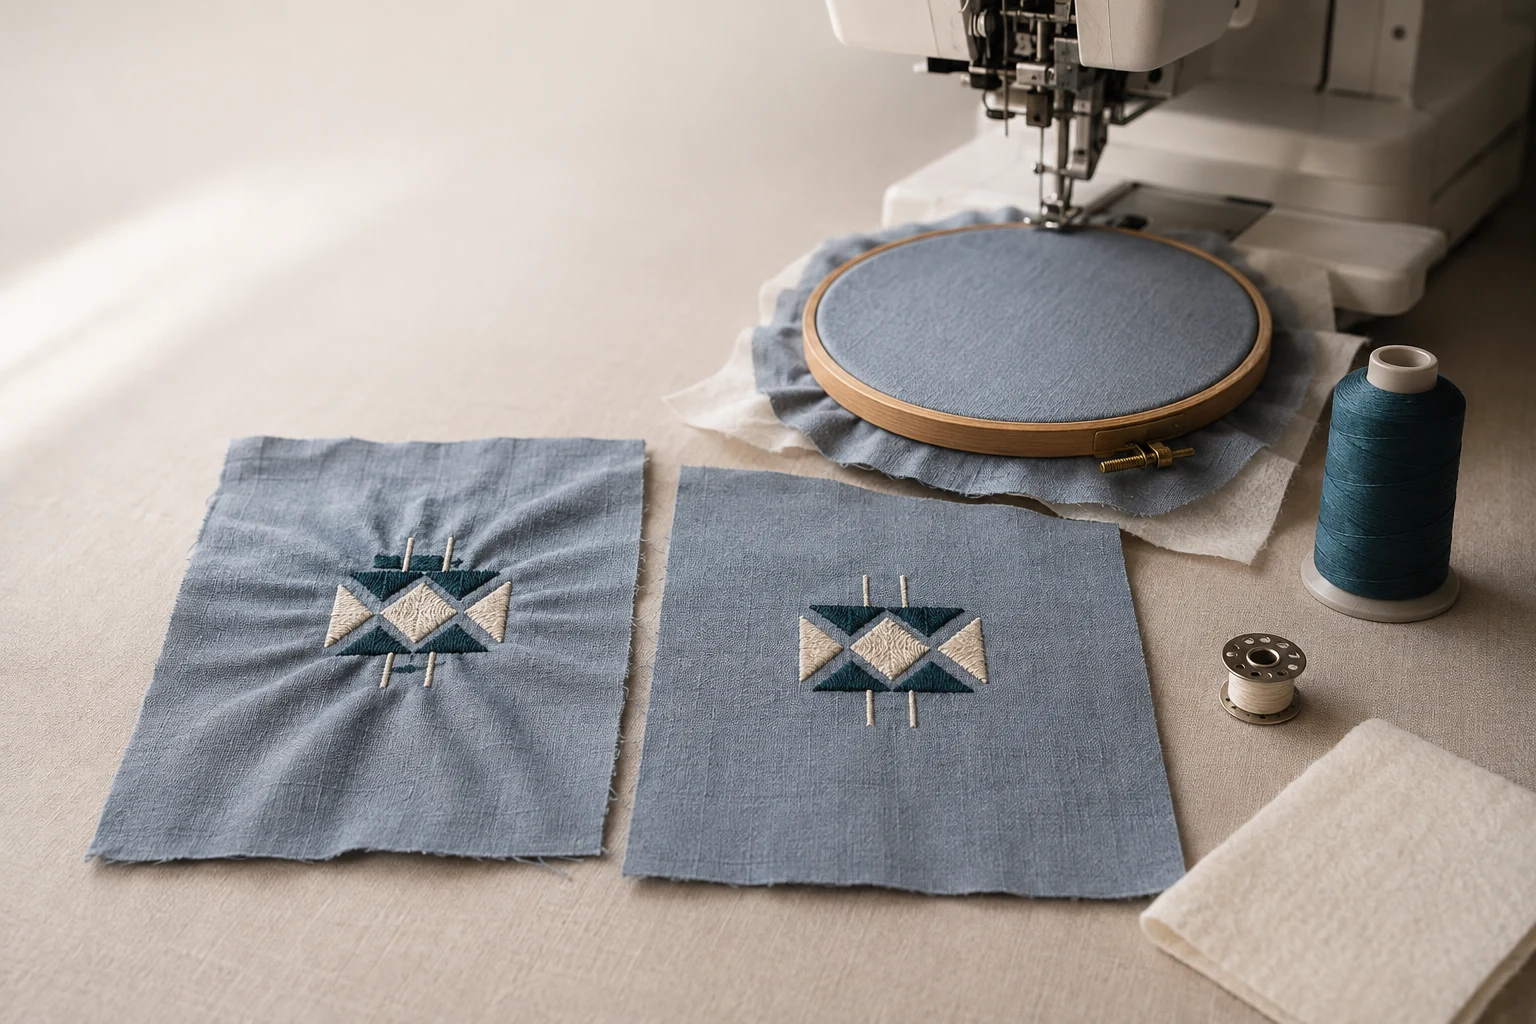
Cover image: AI-generated editorial concept; not a customer project or production proof.
To troubleshoot embroidery puckering, check the hoop and backing first, then the stitch file, then machine tension and the needle. Change one variable at a time and compare fresh sew-outs on the intended fabric. Correcting the cause can improve the next sample; it does not guarantee that an already puckered garment can be restored.
Puckering is the rippled or gathered fabric around embroidery. Several problems can produce a similar appearance, so use the following sequence to narrow down the cause.
1. Record the problem before changing anything
Lay the finished sample flat without pulling it smooth. Photograph the front and back, including the surrounding fabric. Record whether the ripples appeared during stitching, after unhooping or after laundering.
Keep the original file and note the fabric, backing, hoop, thread, needle and machine settings. Use matching scrap fabric or a spare blank for tests. Label each sample with the single change you made so you can compare results.
2. Start with the hoop and backing
Check these points before editing the design:
Fabric position: Hold the fabric flat and secure without stretching it out of its natural shape.
Hoop security: Check for loose areas or slipping fabric and backing.
Backing support: Confirm that the stabilizer type and amount suit the project and are attached correctly.
Brother identifies unsuitable stabilizer and fabric that is overstretched or insufficiently taut in the frame among the causes of gathering and puckering. Follow the embroidery instructions for your machine and hoop. Brother troubleshooting guidance.
Consider the design as well as the fabric when choosing backing. Embroidery Library’s comparative sew-outs show that a complex, layered design can need cutaway support even on denim, while a lighter design may work with tearaway. Its tests also show that stronger backing alone may not make a dense design suitable for lightweight fabric. Embroidery Library’s puckering tests.
Run a fresh sample after correcting any obvious hooping or support problem.
3. Check the stitch file
If the setup is secure, ask whether the file was prepared for this fabric and final design size. Review these settings with your digitizer:
File check | What to review |
|---|---|
Underlay | Is there an appropriate foundation beneath the cover stitches? |
Density | Are stitches packed too closely for this material? |
Push and pull compensation | Are sewn shapes narrowing, extending or leaving gaps? |
Underlay: Suitable underlay helps support the cover stitching and reduce pulling and puckering. Adding more top stitches to hide poor coverage can miss the underlying support problem. Wilcom’s underlay guidance.
Density: Review dense areas rather than reducing every setting by the same amount. Fabric-specific settings balance coverage, stitch spacing and underlay; delicate fabrics may need less density and less underlay. Wilcom’s fabric settings guidance.
Push and pull: Stitching can contract shapes across their width and extend them along their length. Compensation needs to work with stabilization and underlay, with the result checked in a sew-out. Wilcom’s push and pull explanation.
4. Check the machine
Rethread the upper thread and bobbin according to the manual. Check for trapped thread or lint, and replace a bent or dull needle with the correct type and size for the machine, thread and fabric. These are among Brother’s recommended checks for gathering and puckering. Brother troubleshooting guidance.
Then assess top and bobbin tension using your machine’s procedure. Excessive tension can contribute to puckering; avoid copying a tension number from a different machine. Make small adjustments and test between changes. Brother’s embroidery tension guide.
5. Confirm the correction or request a file review
Judge the new sample out of the hoop. For washable apparel, also assess a sample after washing and drying according to the garment’s care label before approving a production run.
If puckering persists, send your digitizer:
The exact stitch file used and its final dimensions, with units clearly stated in inches or millimeters.
Front and back photographs of the relaxed sew-out.
The garment’s fabric composition, construction and intended placement.
Backing, hoop, thread, needle and machine details.
A short record of the changes tested and their results.
You can use DigitEMB’s embroidery digitizing service page to discuss file adjustments. A photo helps explain the defect, but a fresh sew-out on the intended material is still needed to assess a revision.
Frequently asked questions
Why does puckering appear only after unhooping?
The hoop can hold the work flat while stitching. Once released, contraction around the stitches may become visible. Recheck support and design suitability before approving the sample. Embroidery Library’s sew-out observations.
Should I always add more underlay?
No. Suitable underlay can improve stability, but the amount should match the material and design. Wilcom notes that delicate fabrics may require less underlay to avoid puckering. Wilcom’s fabric settings guidance.
Is puckering always a digitizing problem?
No. Hooping, backing, threading, tension and needle condition can also contribute. Check those alongside the file before deciding which correction to make. Brother troubleshooting guidance.
Practical details for Fixing Puckering: A Step-by-Step Checklist
Use the article above as a starting point, then make the production brief specific to your own design. A stitch file is made for a finished size and material, so the artwork alone is only part of the instruction.
Work through these points in order and keep the answers with the artwork or production request. A short written brief makes it easier to compare a proof with the intended result, ask a useful follow-up question and avoid relying on assumptions made from a screen image alone.
The aim is not to add unnecessary steps. It is to identify the choices that change the final result before work begins. If a requirement is unknown, flag it for confirmation rather than guessing; that keeps the approval process focused on the design, material and use that apply to this particular project. Save the approved brief with the project files for future reorders or revisions.
Confirm the finished use
State the item, placement and finished width and height. A chest logo, cap front and jacket back do not use the same sewing area, even when they start from the same artwork.
Protect the smallest details
Review small lettering, narrow gaps, thin outlines and tiny colour changes at the final size. Simplifying a fragile detail before digitizing is often more reliable than trying to force it into a small sew-out.
Match the file to the machine
Tell the production team the embroidery machine or format required, along with the fabric or garment type. This lets them prepare the right export and make choices that suit the material rather than treating every job alike.
Quick questions to check before you proceed
What should I send with my artwork?
Send the clearest original available, the finished dimensions, placement, fabric or garment type and the required machine format if you know it.
Can the same file be used at every size?
Not always. Scaling changes the relationship between stitch length, detail and fabric, so a design may need review when the finished size or placement changes.
What should I check before production?
Confirm the spelling, colours, final size, placement and any details that must remain readable. A proof or sample is the best point to catch a change.