
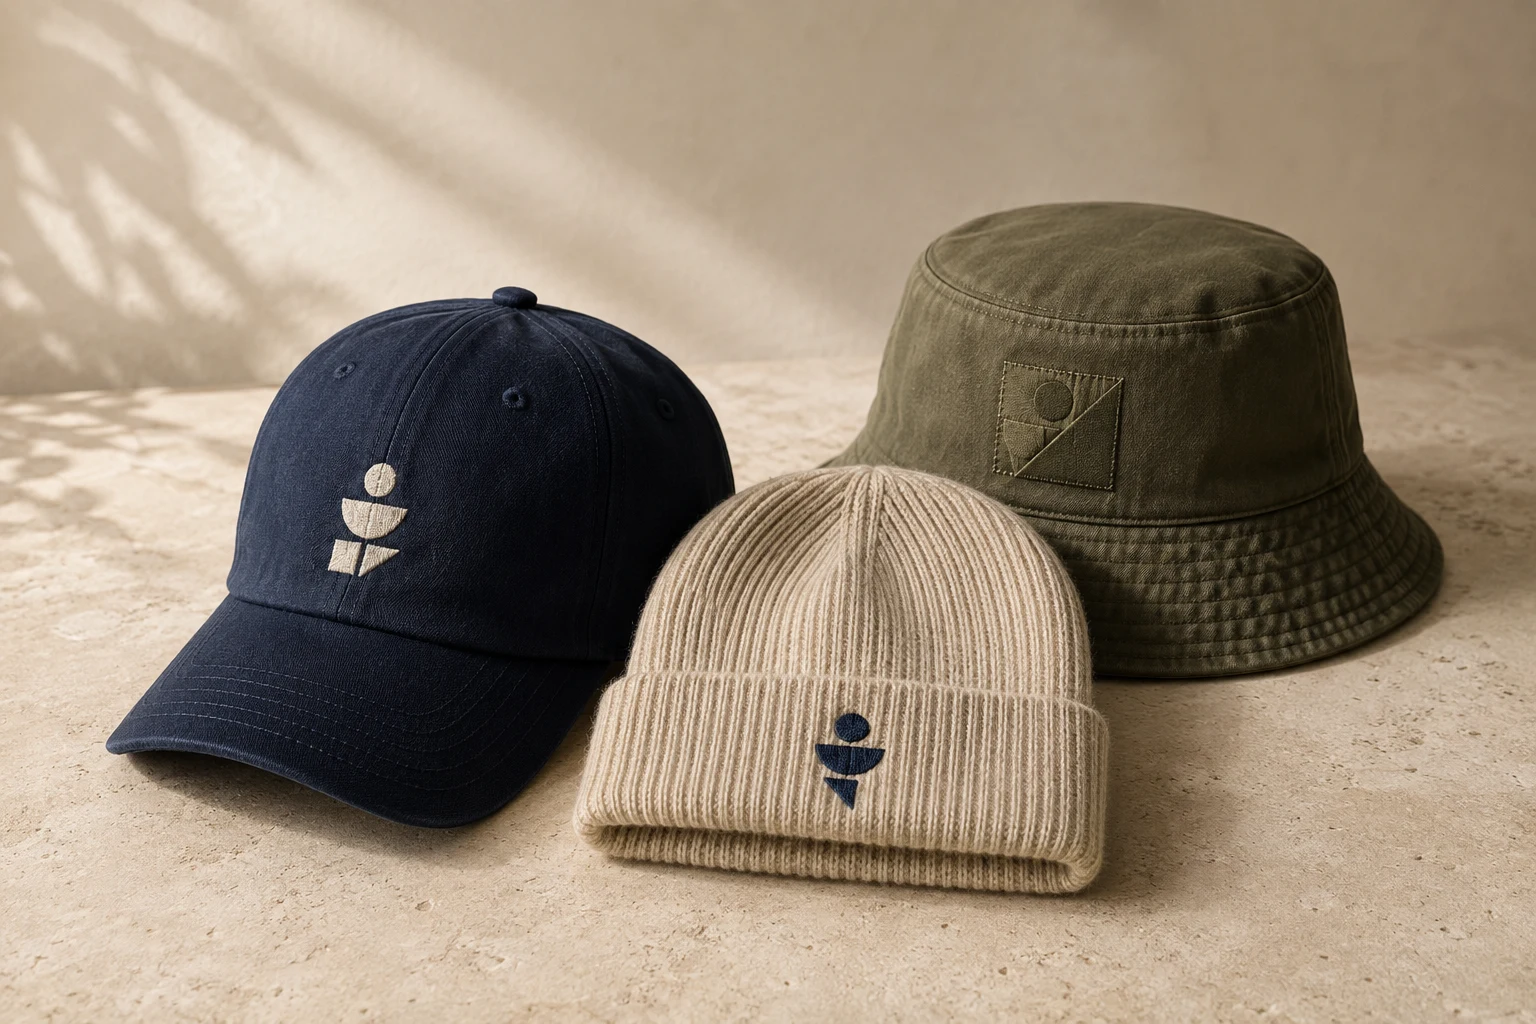
Cover image: AI-generated editorial concept; not a customer project or production proof.
Hat embroidery digitizing prepares artwork as a stitch file for a particular hat, design size and embroidery setup. Before ordering, confirm five things: hat construction, artwork complexity, embroidery technique, thread and stitch settings, and size and placement. Then approve a physical stitched sample on the intended hat.
For sports teams, business promotions or personal projects, these decisions give the digitizer and embroiderer a clear brief. A digital preview helps you review the design, but a sample reveals its appearance, comfort and position when worn.
1. Check the hat type and fabric
Start with the undecorated hat—the blank. Share its manufacturer, style reference, fabric composition and photographs of the outside and inside. Include the proposed embroidery area, seams, lining and any cuff.
Look beyond descriptions such as snapback or fitted. Ask whether the front has internal support, where the seams sit and how the chosen area can be held for embroidery. Madeira recommends specialist hoops for caps and cautions against overstretching knits. Madeira’s hooping guidance
Hat type | What to confirm before digitizing |
|---|---|
Baseball cap, including snapback or fitted styles | Front-panel support, centre seam, crown profile and available frame |
Trucker cap | Actual front-panel material and whether the proposed placement reaches mesh or a seam |
Bucket hat | Crown depth, seam positions, brim clearance and access to the inside |
Visor | Usable front-band height and clearance above the brim |
Beanie, toque or knitted hat | Knit texture, stretch, lining, cuff depth and which layers should be stitched |
Give knit hats an additional construction check
A beanie’s looped fabric behaves differently from woven cap fabric. Madeira distinguishes close knits from coarse knitwear when recommending needle points; the machine also determines the compatible needle system. Give the embroiderer the actual blank details instead of carrying over a woven-cap needle specification. Madeira’s needle guidance
Fold the cuff as it will be worn and identify its outward-facing surface. Agree whether embroidery may join the cuff layers and whether the fold must remain adjustable. Do not remove securing stitches or open a lining without agreeing how the alteration will be finished.
2. Review artwork at its finished size
Provide the clearest original artwork available, then review a printout at the proposed embroidery dimensions. Identify the wording, symbols and colours that must remain recognizable.
Use that review to discuss:
Small lettering, narrow outlines and tight spaces that may need simplifying.
Optional taglines or decorative details that could be removed with the artwork owner’s approval.
Contrast between the selected thread colours and the actual hat.
Whether separate layouts are needed for the front, side or back.
Choose colours for readability and the intended appearance. There is no need to impose an arbitrary two- or three-colour limit on every project. Ask the supplier how the design’s detail and colour changes affect the proposed production scope.
Have an existing shirt or cap file reviewed before using it on another hat. Wilcom documents fabric-dependent changes to density, underlay and pull compensation, including different settings for stretch knit and structured caps. The same artwork does not establish that the same stitch file suits both. Wilcom’s fabric settings documentation
3. Choose the embroidery technique before the file is prepared
Specify the intended finish at the outset. Flat embroidery, raised foam embroidery and appliqué require different planning.
Flat embroidery stitches the design directly onto the hat without added foam. Discuss which details should be prominent and which can be simplified at the available size.
3D puff embroidery uses foam beneath the embroidery to create raised areas. It requires a file prepared for that process; Madeira’s foam tutorial explicitly calls for an embroidery file adapted to 3D use. Identify which elements should be raised and approve the result after excess foam is removed. Madeira’s dimensional embroidery guide
Appliqué incorporates fabric pieces into the design. Its stitch plan can include guide runs, cutting lines, tack stitches and cover stitches. Before choosing it for a hat, ask the embroiderer to confirm access for positioning and securing the fabric. Wilcom’s appliqué documentation
For very coarse knitwear, discuss a separately made patch if direct embroidery cannot reproduce the required detail acceptably. Madeira identifies patches as a common approach for coarse knits. The attachment still needs its own appearance and comfort check. Madeira’s knitwear guidance
Ask how the cap’s stitching order will be handled
For cap designs, Melco recommends working from the bill toward the crown, from the centre toward the sides, and completing elements progressively to help outlines stay aligned. These are cap-specific sequencing considerations for the digitizer to assess against the design and equipment. Melco’s cap digitizing guidance
4. Coordinate thread, stitch settings and fabric support
Choose thread with the desired sheen, feel and care requirements in mind. Madeira describes rayon/viscose as soft with a silky sheen, while polyester is designed for endurance and resistance to chemical processing. Confirm the selected thread’s care instructions alongside the hat’s care label. Madeira’s thread comparison
Ask the digitizer to assess the stitch types, spacing, underlay and compensation together. Underlay forms a foundation beneath the visible embroidery; pull compensation addresses the way stitching draws fabric inward. Wilcom explains that these choices must suit the fabric, shape and cover stitch. Increasing density alone is not a dependable correction for gaps or distortion. Wilcom’s underlay and compensation guidance
Backing and topping are physical materials used during embroidery. Backing supports the fabric underneath; topping sits above the surface. Madeira’s beanie tutorial demonstrates both stabilizer and water-soluble topping. Treat that as a setup to evaluate for the intended knit, with removal methods compatible with the hat’s care requirements. Madeira’s beanie tutorial
Secure the hat without stretching it to make the design fit. Madeira advises smoothing fabric and backing without stretching and rehooping material that moves or ripples. Madeira’s hooping guidance
Use the sample to review surface definition, surrounding fabric shape and stiffness. If the result is unsatisfactory, ask the digitizer and embroiderer to investigate the file and physical setup together.
5. Confirm size and placement on the actual hat
Choose dimensions from the usable embroidery area and the appearance you want when the hat is worn. A generic height range for low-, mid- or high-profile caps cannot confirm that a particular design will fit.
Melco notes that a cap frame may accommodate a larger design than the cap itself. Crown profile and clearance around the machine affect the usable area. Have the embroiderer confirm both dimensions before the file is finalized. Melco’s design-size guidance
For front, side or rear embroidery, record the design centre and a measurement from an agreed reference, such as the centre seam, brim seam or rear opening. Ask for access to be checked separately for each placement.
A practical layout review is to:
Make a paper outline at the proposed finished width and height.
Position it on the hat and view it from the front and side.
Check its appearance on a suitable head form or wearer.
Record the placement and dimensions with units.
Have the embroiderer confirm the usable stitching field and clearance.
When working with suppliers in the US, Canada or UK, state inches or millimetres explicitly and nominate one as the production reference. For example, 2 inches equals 50.8 mm; that is a conversion, not a recommended logo size.
Measure a beanie with its cuff folded as worn
Record the visible cuff depth, design width and height, and distance from the finished lower edge. Mark the design’s top as well as its centre. Madeira’s beanie tutorial demonstrates marking both before turning the hat inside out for embroidery; the appropriate access method depends on the blank and equipment. Madeira’s beanie placement example
For a hat without a cuff, agree a reference from the finished lower edge. Confirm that the opposite side, loose lining and unintended layers remain outside the stitching path.
Send a complete brief and approve a physical sample
When enquiring about DigitEMB’s embroidery digitizing service, include the artwork, blank details, finished dimensions, placement photographs and preferred embroidery technique. Add the machine model, required file format and planned thread or stabilizer if known. Supply any existing stitch file with its original application.
Confirm the deliverables and who will make and approve the physical sample. Establish whether the order covers a digital file, physical embroidery or both.
Request a sew-out—a stitched sample—on the intended blank before production. After finishing and cleanup, check:
Essential lettering and symbols remain readable.
Outlines and fills align acceptably, including near cap seams.
Placement looks correct when worn and when a beanie cuff is folded.
The embroidered area and backing feel comfortable inside.
Only the agreed layers are joined and the cuff functions as intended.
Where care performance matters, assess a sample after the intended care procedure, following the hat’s label. Keep the approved sample with the file version, blank reference and placement measurements. Review the need for another sample when the blank, technique, size or construction changes.
Frequently asked questions
Can I use one embroidery file for a cap and a beanie?
Have it reviewed first. Fabric-dependent stitch settings can differ, so test the file on the intended hat rather than relying on a successful result on another material. Wilcom’s fabric settings documentation
What is the best logo size for a hat?
Choose it from the actual hat, placement, usable stitching field and worn appearance. Confirm width and height with the embroiderer before digitizing.
Does every beanie need water-soluble topping?
Decide from the knit texture and sample result. Madeira demonstrates topping in its beanie method, but that example does not establish a universal requirement. Madeira’s beanie tutorial
Can a digital preview replace a stitched sample?
No. A preview helps with artwork approval, but it cannot establish actual fabric distortion, backing comfort, cuff movement or fit when worn.
Practical details for 5 Things to Consider Before Hat Embroidery Digitizing
Use the article above as a starting point, then make the production brief specific to your own design. A stitch file is made for a finished size and material, so the artwork alone is only part of the instruction.
Work through these points in order and keep the answers with the artwork or production request. A short written brief makes it easier to compare a proof with the intended result, ask a useful follow-up question and avoid relying on assumptions made from a screen image alone.
The aim is not to add unnecessary steps. It is to identify the choices that change the final result before work begins. If a requirement is unknown, flag it for confirmation rather than guessing; that keeps the approval process focused on the design, material and use that apply to this particular project. Save the approved brief with the project files for future reorders or revisions.
Confirm the finished use
State the item, placement and finished width and height. A chest logo, cap front and jacket back do not use the same sewing area, even when they start from the same artwork.
Protect the smallest details
Review small lettering, narrow gaps, thin outlines and tiny colour changes at the final size. Simplifying a fragile detail before digitizing is often more reliable than trying to force it into a small sew-out.
Match the file to the machine
Tell the production team the embroidery machine or format required, along with the fabric or garment type. This lets them prepare the right export and make choices that suit the material rather than treating every job alike.
Quick questions to check before you proceed
What should I send with my artwork?
Send the clearest original available, the finished dimensions, placement, fabric or garment type and the required machine format if you know it.
Can the same file be used at every size?
Not always. Scaling changes the relationship between stitch length, detail and fabric, so a design may need review when the finished size or placement changes.
What should I check before production?
Confirm the spelling, colours, final size, placement and any details that must remain readable. A proof or sample is the best point to catch a change.