
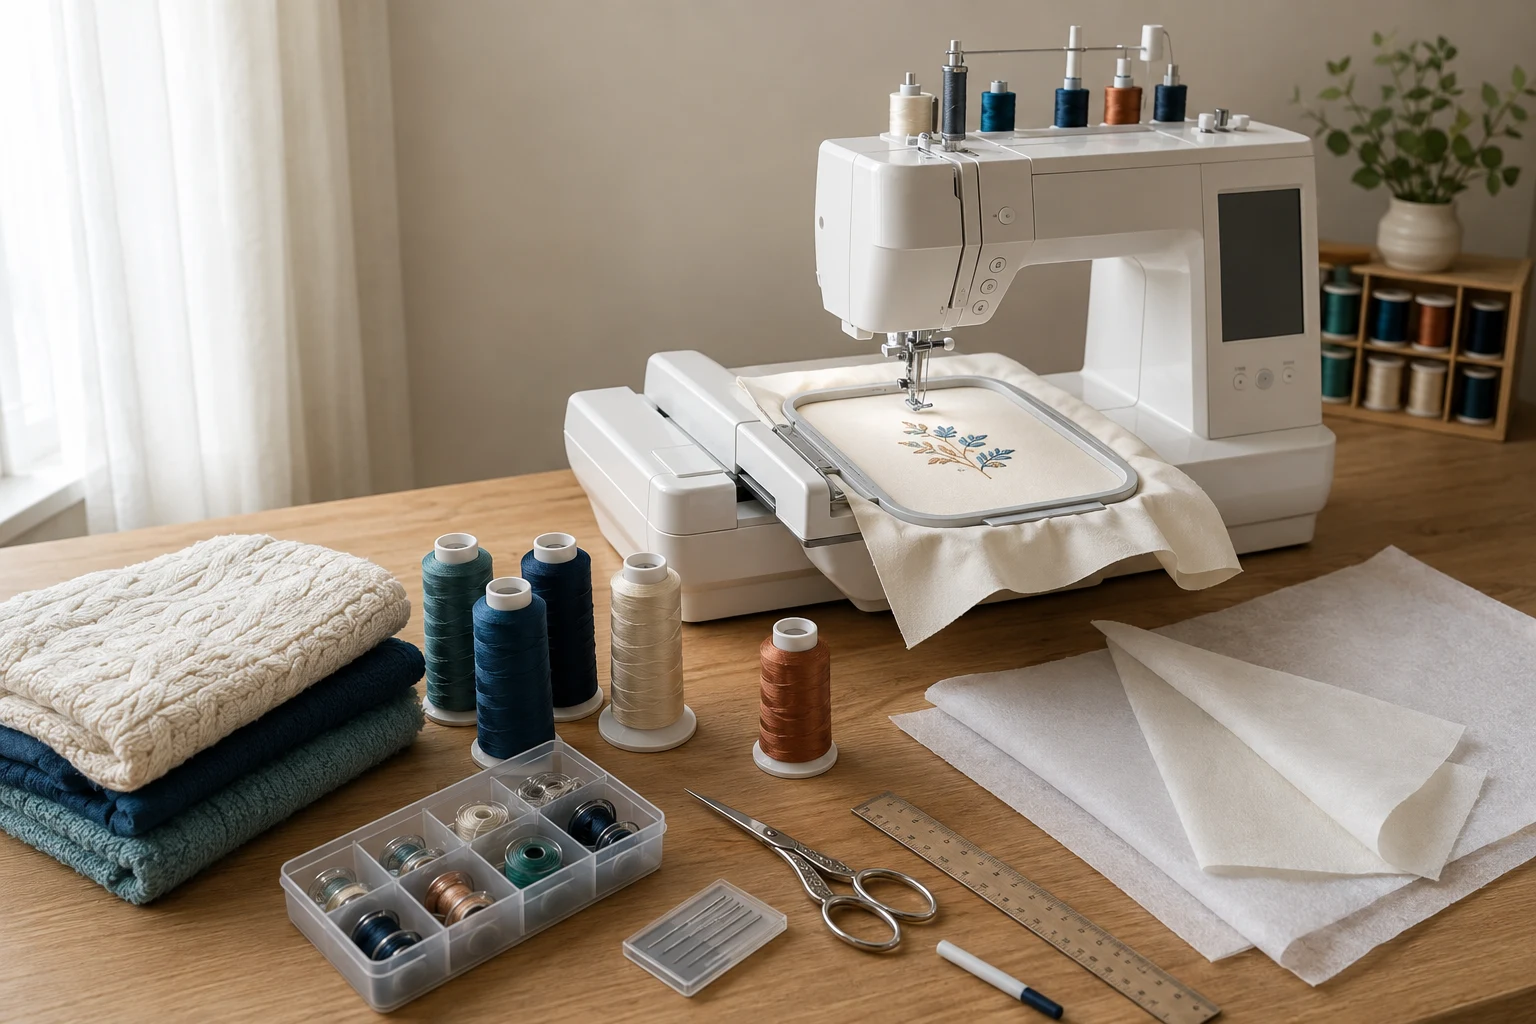
Cover image: AI-generated editorial concept; not a customer project or production proof.
To start machine embroidery, you need a compatible hoop, embroidery thread, the correct bobbins and bobbin thread, suitable needles, stabilizer, scissors and basic placement tools. Add practice fabric and a machine-readable design so you can test the complete setup before stitching a finished item.
Whether you are learning at home or preparing to take your first business orders, check what came with your machine before buying more. Build your kit around one project, then expand it as you learn which supplies you actually use.
10 supplies to build your starter kit
1. Machine-compatible embroidery hoops
Use a hoop approved for your exact machine model, with a sewing field that accommodates the design. A larger physical hoop does not automatically increase your machine’s maximum embroidery area.
Choose the smallest compatible hoop that comfortably fits the design. BERNINA recommends this approach in its hoop selection guidance. Position the fabric squarely and follow your machine’s hooping instructions; hooping alone cannot guarantee freedom from puckering.
Start with the supplied hoop if it suits your project. A second matching hoop can be useful later for preparing another item while the machine stitches.
2. Machine embroidery top thread
Buy the colors needed for your first few designs instead of a large assortment. Check the thread weight specified by the design and your machine’s instructions.
Polyester and rayon are common options. For example, Brother specifies 40–50 weight rayon or polyester upper thread for the machines covered by its embroidery thread guidance. Treat this as model-specific guidance rather than a rule for every machine.
Cotton, metallic and other specialty threads can wait until a project calls for them. Changing thread thickness may also require a different needle or a design prepared for that thread.
3. Correct bobbins and bobbin thread
Check both the bobbin’s physical specification and the required thread type and weight. A bobbin that looks similar is not enough evidence of compatibility.
Some machines require different bobbin thread weights even within the same manufacturer’s range. Brother’s guidance above distinguishes 60-weight and 90-weight applications, so follow your exact model’s manual rather than buying a generic embroidery bobbin pack.
Choose approved prewound bobbins or wind compatible empty bobbins according to the manual. Consider the underside color when both sides of the embroidery will be visible.
4. Replacement embroidery needles
Keep a small supply of the needle system your machine requires. Select the size and point for the fabric, thread and machine; 75/11 is not a universal answer.
Embroidery needles have features intended to accommodate embroidery threads. SCHMETZ describes an enlarged eye and widened groove in its needle guide. These features do not make every embroidery needle suitable for every domestic or commercial machine.
Keep needles in their labeled packaging so you can identify the system and size when replacing one.
5. Stabilizer suited to the project
Stabilizer supports the fabric during stitching, and some types remain afterward. Buy for the fabric and design you plan to embroider rather than stocking every type immediately.
Stabilizer type | Typical starting use |
|---|---|
Cut-away | Knits, stretchy garments and designs needing lasting support |
Tear-away | Stable woven fabrics where excess backing can be removed |
Wash-away backing | Suitable washable projects where backing must disappear, including designated freestanding lace designs |
Water-soluble topping | Towels and other fabrics with pile, to help keep stitches on the surface |
Topping and backing perform different jobs; topping does not automatically replace support underneath. These starting choices follow OESD’s stabilizer guidance. Match the stabilizer weight and removal method to the project, and test first.
Heat-away products are another specialist option. Buy them only when a project calls for them and the product’s removal instructions suit the fabric.
6. Small scissors or thread snips
Start with one comfortable pair for trimming thread tails and a separate pair for cutting fabric and stabilizer. Keep the garment clear of the blades when trimming close to stitching.
Curved embroidery scissors can improve access inside a hoop. Duckbill appliqué scissors are a possible later purchase for appliqué work; beginners do not need several specialist pairs to begin.
7. Measuring and fabric-marking tools
Keep a ruler or tape measure, the hoop’s placement template if supplied, and a removable marking tool. Mark the intended center and orientation before hooping.
Tailor’s chalk, chalk pencils and washable fabric pens give you different options for light and dark fabrics. Test the mark and its removal on an offcut first, following the marking product’s instructions before applying heat or washing the finished piece.
For buyers comparing supplies across the US, Canada and UK, record design dimensions in both inches and millimeters. Confirm the usable sewing field rather than relying on a rounded hoop size in a listing.
8. Thread and bobbin storage
A divided box is enough to begin. Keep thread labels, color numbers and bobbin specifications together so you can reorder the same materials.
Bobbin clips or huggers are optional additions for keeping loose ends tidy. A thread stand is a separate accessory: check that its intended spool sizes and threading arrangement suit your machine. Do not assume one stand makes every cone compatible.
9. Practice fabric and spare blanks
Set aside material matching the fabric you intend to embroider. A sample on stable cotton cannot establish how the same design will behave on a stretchy sweatshirt.
Use the intended thread, needle, stabilizer and design for the test. Examine placement, outlines, loose stitches and the fabric after unhooping. For washable products, include a care test before repeating the setup across several items.
10. A suitable embroidery design file
Choose a design in a format your machine reads and within its supported embroidery area. Keep the design’s thread sequence and any placement instructions available beside the machine.
For custom artwork, DigitEMB’s embroidery digitizing service is a relevant option to review. Provide the finished dimensions, fabric, placement and machine format when discussing a file. Include a sample stitch-out in your own preparation before embroidering the final item.
Useful extras to buy later
Alignment lasers: Consider one when repeated placement work justifies it. Check its mounting requirements and operating instructions. A ruler and placement template remain a practical starting setup.
Bobbin tension gauge: This can help measure tension on a compatible bobbin case. Follow the machine and gauge instructions, including the scale units. There is no single tension number to apply to every setup, and a bobbin gauge does not automatically measure upper-thread tension. Madeira’s gauge instructions illustrate the measurement process and recommend testing afterward.
Temporary embroidery adhesive: An optional aid for positioning layers during hooping. Use a product intended for the application and follow its instructions for testing, ventilation and application location. OESD discusses this use in its stabilizer basics.
Stitch-removal tools: A seam ripper or embroidery removal tool may help with corrections, but removal can leave holes or damage fabric. Practice on a sample before attempting to rescue a finished garment.
Needle inserter or threader: Buy only if compatible with your machine and needle sizes. Check whether the machine already includes a threading aid.
Reference books: Keep the machine manual accessible first. Add a beginner embroidery book or project guide when you want structured practice.
Before placing your first supply order
Write down your machine model, hoop sewing field, needle system, bobbin specification and required thread weights. Then list the fabric and design for your first project. This gives you a focused shopping list and makes compatibility questions easier to answer.
For US, Canadian and UK orders, compare package quantities and roll dimensions in consistent units. Check whether a listing describes empty bobbins or prewound ones, and whether stabilizer is supplied as sheets or a roll.
Frequently asked questions
Do I need every accessory before I start?
No. Begin with the core supplies for one project and use compatible accessories already included with your machine. Lasers, gauges, extra hoops and specialty scissors can wait.
Do I need all four stabilizer types?
No. Start with the backing appropriate to your fabric and design. Add topping or specialist backing when the project requires it.
Should the top and bobbin threads be identical?
Follow the machine manual. Embroidery setups often specify different upper and bobbin threads. Also consider how the underside should look when it will be visible.
Do I need digitizing software immediately?
You can begin with a suitable ready-made design or have custom artwork digitized. Consider digitizing software when creating or substantially editing stitch designs becomes part of your work.
Practical details for Machine Embroidery Supplies for Beginners: 10 Essentials and Useful Extras
Use the article above as a starting point, then make the production brief specific to your own design. A stitch file is made for a finished size and material, so the artwork alone is only part of the instruction.
Work through these points in order and keep the answers with the artwork or production request. A short written brief makes it easier to compare a proof with the intended result, ask a useful follow-up question and avoid relying on assumptions made from a screen image alone.
The aim is not to add unnecessary steps. It is to identify the choices that change the final result before work begins. If a requirement is unknown, flag it for confirmation rather than guessing; that keeps the approval process focused on the design, material and use that apply to this particular project. Save the approved brief with the project files for future reorders or revisions.
Confirm the finished use
State the item, placement and finished width and height. A chest logo, cap front and jacket back do not use the same sewing area, even when they start from the same artwork.
Protect the smallest details
Review small lettering, narrow gaps, thin outlines and tiny colour changes at the final size. Simplifying a fragile detail before digitizing is often more reliable than trying to force it into a small sew-out.
Match the file to the machine
Tell the production team the embroidery machine or format required, along with the fabric or garment type. This lets them prepare the right export and make choices that suit the material rather than treating every job alike.
Quick questions to check before you proceed
What should I send with my artwork?
Send the clearest original available, the finished dimensions, placement, fabric or garment type and the required machine format if you know it.
Can the same file be used at every size?
Not always. Scaling changes the relationship between stitch length, detail and fabric, so a design may need review when the finished size or placement changes.
What should I check before production?
Confirm the spelling, colours, final size, placement and any details that must remain readable. A proof or sample is the best point to catch a change.