
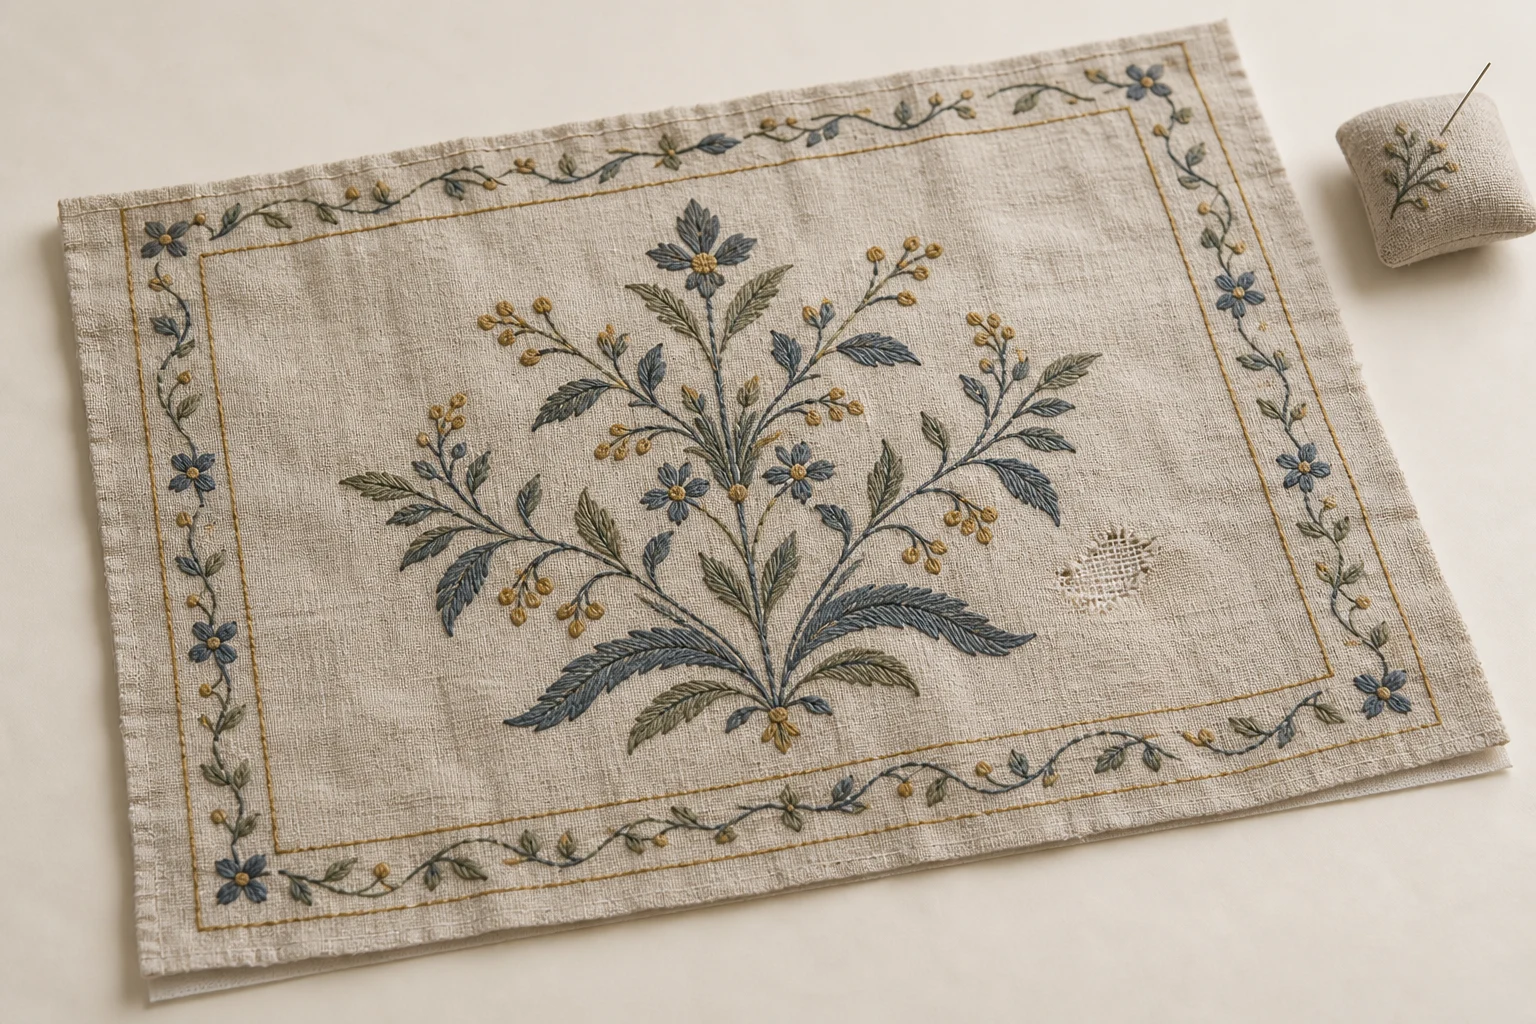
Cover image: AI-generated editorial concept; not a customer project or production proof.
Embroidery repair starts with assessing both the stitches and the fabric beneath them. Loose threads on a sound garment may allow a local repair; fragile heirlooms, spreading tears and damaged historical textiles need a textile conservator’s assessment. Agree whether the goal is continued use, improved appearance or preservation before choosing treatment.
This guide follows that decision through inspection, treatment planning and review. It applies to embroidered clothing, household linens, decorative panels and treasured keepsakes, with different expectations for everyday items and historical pieces.
1. Record the damage before changing anything
Photograph the whole item, its reverse where safely accessible, and close views of loose stitches, holes, stains and previous repairs. Place a ruler beside the item without pressing on it, and label measurements in inches or millimeters. Record when the damage appeared and any known washing, storage or repair history.
Photographic documentation provides a reference for treatment decisions. The Canadian Conservation Institute recommends front, back and detail photographs before interventive cleaning. Its washing guidance also shows why cleaning requires preparation rather than guesswork.
Until assessed, avoid pulling loose ends, cutting unfamiliar threads or attempting stain removal. Support the item when moving it. Historical textiles need different handling from ordinary clothing; folds and distortion can become damaging, especially in weakened fabric. See CCI’s textile preservation guidance.
Use these observations to explain the problem to a specialist:
What you notice | What to ask about |
|---|---|
A loose or broken embroidered thread | Can the surviving thread be secured, or is selective replacement appropriate? |
A hole or split beneath intact embroidery | Does the ground fabric need support before any decorative work? |
Several brittle or fragmenting areas | Is stabilization preferable to reconstructing the missing design? |
Faded embroidery | Should the existing color be retained, and how would new thread affect its appearance? |
Staining or previous color bleeding | Is cleaning safe, and which marks may need to remain? |
An earlier patch, lining or adhesive repair | Should it remain, be modified or be removed after examination? |
2. Agree on the treatment goal
For an everyday garment, ask whether repair can make the item suitable for its intended wear and cleaning. For an heirloom or historical textile, discuss how much original material can be retained and whether display or supported storage is more appropriate than use.
Have the specialist distinguish between securing existing material, adding structural support and reconstructing missing decoration. These may be separate stages with different benefits and risks.
Preserve meaningful details in the brief: an original monogram, a maker’s irregular stitches, an earlier family repair or a culturally significant motif. Do not assume a visually uniform finish is the owner’s preferred outcome.
A successful treatment may leave visible aging or losses. Ask for realistic limits rather than an assurance of invisible mending, original brightness or a particular lifespan.
3. Understand the proposed techniques
Securing and replacing stitches
Ask which original threads can remain and which areas would receive new stitching. Where replacement is appropriate, review the proposed thread’s color, thickness, sheen and stitch appearance against the surviving embroidery.
For fragile textiles, tension matters as much as appearance. CCI advises relaxed hand stitching, minimal stitches and using existing holes where possible, because tight stitching can gather the fabric and break old threads. Its basic textile care guidance explains these precautions.
Supporting torn or weakened fabric
A backing or local support patch may help support damaged ground fabric. CCI describes self-couching stitches that secure weak areas to support fabric and support stitches that distribute a larger textile’s weight across a backing. These are treatment options selected for the object, not a universal home repair recipe. See stitches used in textile conservation.
Other approaches include carefully selected fabric or net overlays, linings and darning. The Textile Conservation Workshop’s stitching repair explanation describes how these methods can improve support and compensate for losses.
Ask whether added material will be visible, change the item’s flexibility or limit future use. A strengthened area does not establish that the whole garment is ready to wear.
Cleaning and stain reduction
Cleaning needs its own assessment. CCI’s handwashing instructions concern sound, non-colored textiles; they are not blanket permission to wash colored embroidery, silk, metal-thread work or mixed-material decorations. The institute also excludes household washers, dryers and irons from that museum-textile procedure. See its washing scope and precautions.
Ask what testing is proposed, what cleaning aims to achieve and when treatment would stop. Accept that some marks may remain. Do not make complete stain removal a condition that overrides preservation.
Fading and missing color
Light damage can involve both fading and weakening. CCI explains that comparing exposed and protected areas can reveal color change in embroidery. Protecting the piece from further exposure is therefore part of treatment planning. See CCI’s guidance on textiles and deterioration.
Do not assume dyeing, tinting or replacing every faded stitch preserves authenticity. Ask the specialist to explain any proposed color intervention and document what would change. Retaining faded original thread may better suit a preservation goal.
4. Use digital tools for documentation and reproduction
Keep dated photographs and marked copies showing the agreed treatment areas. If a specialist supplies a visual proposal, ask which details are supported by surviving stitches or historical references and which are interpretations. A screen image should not be treated as proof of an exact thread match or finished repair.
For a separate reproduction on new fabric, digitizing can supply machine embroidery instructions. Hatch distinguishes an editable embroidery design from the exported stitch file used by a machine in its save-and-export guidance.
A reproduction file does not repair the original textile. If you choose that route, discuss artwork and file preparation through DigitEMB’s embroidery digitizing services. Arrange physical textile assessment and treatment with an appropriate repair specialist or conservator.
5. Brief a specialist and compare proposals
Choose relevant experience: repairing modern embroidered clothing and conserving a fragile historical panel are different assignments. Ask to see comparable work and explanations of the treatment decisions, including limitations visible after completion.
For UK owners, Icon’s Find a Conservator directory allows searches by specialism and location. Wherever you are in the US, Canada or UK, confirm that the person reviewing the item has experience with its materials and intended use.
Send photographs first and ask whether an in-person examination is needed before a firm proposal. Include:
The item’s dimensions, materials if known, approximate age and significance.
Damage locations, previous treatments and any recent changes.
Whether you want to wear, use, display or store it.
Details that must be retained and changes you would consider.
Your location, budget and any required date.
Request a written proposal identifying the treatment areas, materials, expected appearance, limitations, documentation and aftercare. Ask whether assessment, cleaning, stitching and mounting are quoted separately.
Compare equivalent scopes. For US, Canadian and UK quotes, identify USD, CAD or GBP explicitly and confirm shipping and other charges. Before sending an item, agree on packing, transport arrangements and responsibility while it is away. Obtain the specialist’s packing instructions rather than improvising for a fragile object.
6. Review the repair and plan aftercare
Compare the returned item with the original photographs and agreed scope. Ask the specialist to explain retained damage, visible support fabric, replacement stitches and any treatment changes. Request a record of the materials and methods used.
Confirm whether the item is suitable for wear or only for supported display or storage. Obtain item-specific cleaning instructions and avoid testing strength by tugging at repaired areas.
For preserved textiles, CCI recommends flat storage for most items, suitable protective materials and padding where folds cannot be avoided. Framed textiles should be separated from glazing. Its basic textile care guidance provides a starting point for discussing storage and display with the specialist.
Frequently asked questions
Can every damaged embroidery piece be restored?
No. Ask whether stabilization, partial repair or supported storage is feasible. Missing material and weakened fabric can limit the result, even when the design remains recognizable.
Should I wash embroidery before requesting a repair?
For an old, fragile or unfamiliar piece, request assessment first. Cleaning changes the object and may complicate treatment. Describe stains and previous washing instead of trying to improve its appearance before sending photographs.
Will a repair be invisible?
That cannot be assumed. Ask how replacement thread, support fabric and remaining losses are likely to look at normal viewing distance. Agree on an acceptable result before treatment.
Can digitizing restore an antique embroidery?
Digitizing can help prepare a machine-stitched reproduction on new fabric. Preserving or repairing the antique itself requires a physical assessment and a suitable textile treatment plan.
Is restoration worthwhile for a sentimental item?
Compare the proposed benefit, intervention and cost with what matters to you. A modest stabilization treatment or safer storage may meet your goal without reconstructing every missing stitch.
Practical details for Embroidery Repair and Restoration: Assess Damage and Plan Treatment
Use the article above as a starting point, then make the production brief specific to your own design. A stitch file is made for a finished size and material, so the artwork alone is only part of the instruction.
Work through these points in order and keep the answers with the artwork or production request. A short written brief makes it easier to compare a proof with the intended result, ask a useful follow-up question and avoid relying on assumptions made from a screen image alone.
The aim is not to add unnecessary steps. It is to identify the choices that change the final result before work begins. If a requirement is unknown, flag it for confirmation rather than guessing; that keeps the approval process focused on the design, material and use that apply to this particular project. Save the approved brief with the project files for future reorders or revisions.
Confirm the finished use
State the item, placement and finished width and height. A chest logo, cap front and jacket back do not use the same sewing area, even when they start from the same artwork.
Protect the smallest details
Review small lettering, narrow gaps, thin outlines and tiny colour changes at the final size. Simplifying a fragile detail before digitizing is often more reliable than trying to force it into a small sew-out.
Match the file to the machine
Tell the production team the embroidery machine or format required, along with the fabric or garment type. This lets them prepare the right export and make choices that suit the material rather than treating every job alike.
Quick questions to check before you proceed
What should I send with my artwork?
Send the clearest original available, the finished dimensions, placement, fabric or garment type and the required machine format if you know it.
Can the same file be used at every size?
Not always. Scaling changes the relationship between stitch length, detail and fabric, so a design may need review when the finished size or placement changes.
What should I check before production?
Confirm the spelling, colours, final size, placement and any details that must remain readable. A proof or sample is the best point to catch a change.