
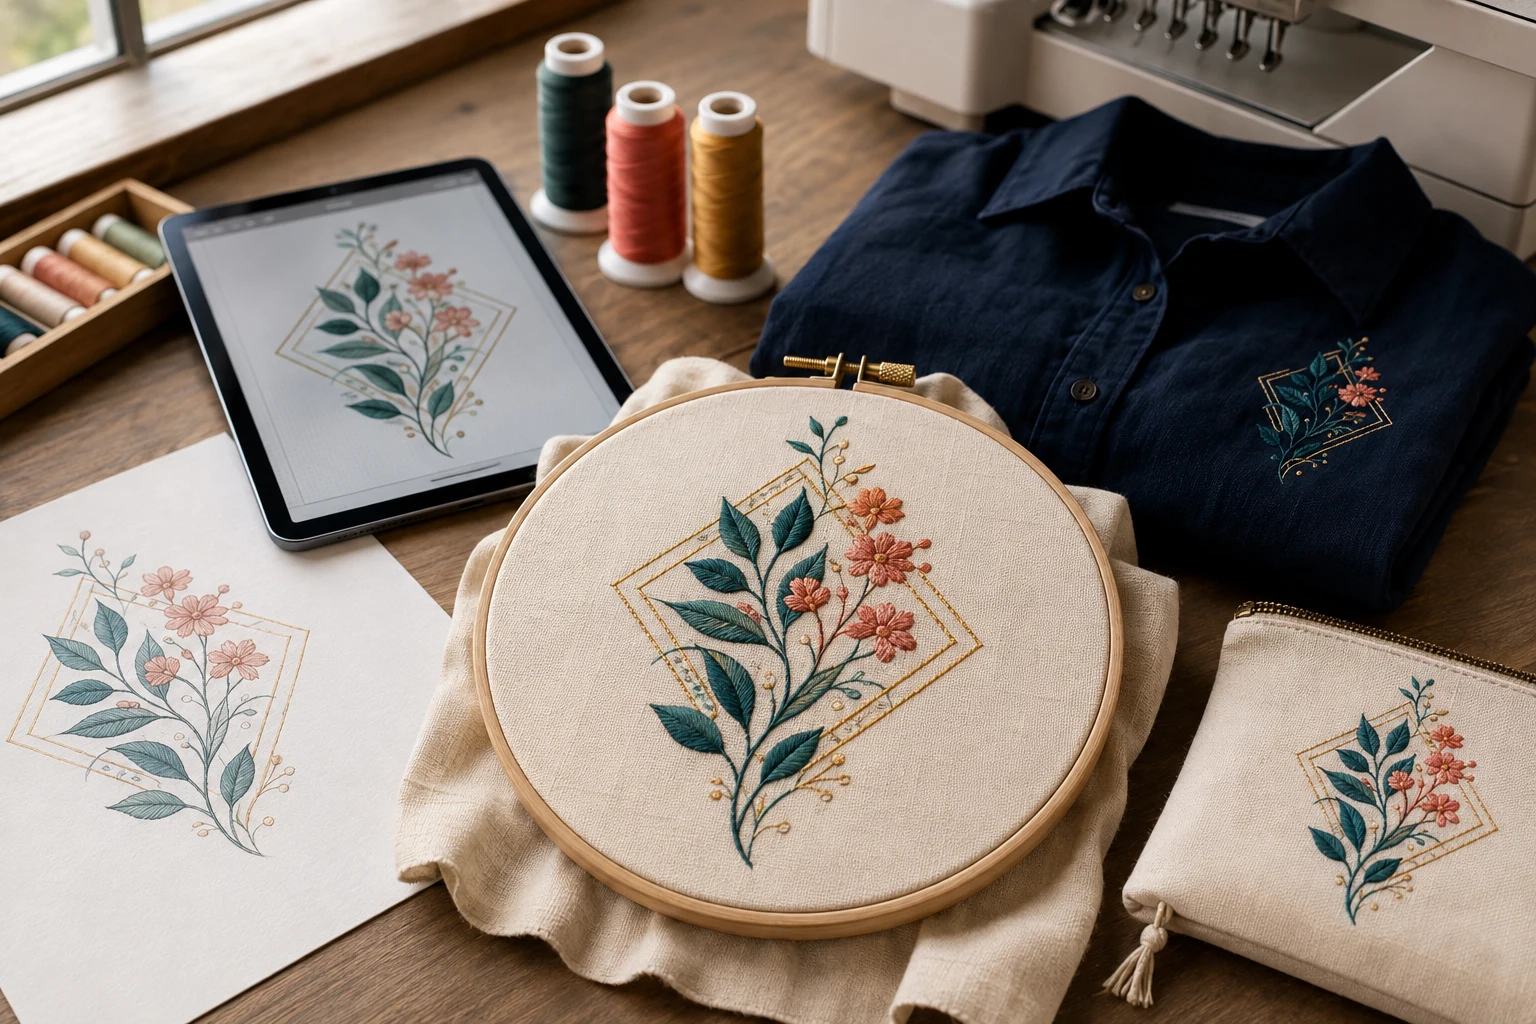
Cover image: AI-generated editorial concept; not a customer project or production proof.
Embroidery digitizing turns artwork into stitching instructions for an embroidery machine. Embroidery design shapes the idea itself: its colors, composition, lettering and intended use. Together, they turn a logo, sketch or decorative motif into something that can be sewn onto fabric.
For businesses, clothing designers and people ordering personalized items, understanding both stages makes it easier to explain what you want and judge the result. A successful project starts with a clear creative brief and ends with a sewn sample you can assess.
How embroidery design and digitizing work together
The design stage establishes what the finished piece should communicate. A uniform logo needs recognition and readable lettering; a floral cushion design may emphasize color, movement and texture. A personalized gift might center on a name or monogram.
Digitizing translates those choices into embroidery objects and stitches. Software such as Wilcom allows artwork shapes to become satin columns, filled areas and running outlines, with editable stitch angles and entry and exit points. This involves decisions about how the artwork will be constructed in thread. Wilcom’s digitizing documentation
Stage | Main decisions |
|---|---|
Embroidery design | Subject, layout, colors, proportions and placement |
Digitizing | Stitch types, directions, spacing, supporting stitches and sewing order |
Production | Machine setup, fabric support, thread selection and sample approval |
These stages often feed back into one another. If a small detail is unclear in the sample, the best correction may be to simplify the artwork or enlarge the design.
Make the creative idea work at its finished size
Start by choosing the product and placement. Then view the artwork at the size you intend to embroider. A large illustration on a screen can hide how little space its lettering or decorative lines will occupy on a garment.
Use these questions to guide the design discussion:
What must remain recognizable? Identify the essential symbol, name or visual feature.
Which details are optional? Give the digitizer permission to suggest simplifications before changing the artwork.
Does the design contrast with the fabric? Consider both light and dark garment options.
Does the layout suit its purpose? A pocket motif, jacket decoration and cushion panel can call for different compositions.
Send the clearest original artwork available. Vector artwork can be useful, but it still needs digitizing. A bitmap or vector image supplies shapes and colors; embroidery software must generate stitches from them. Wilcom’s artwork-to-embroidery guidance
What gives embroidery its texture and definition?
Different stitch types serve different visual purposes. Satin is commonly used for narrow columns and borders, tatami fill covers larger areas, and running stitches create outlines or linear details. Combining them helps distinguish parts of a design without relying entirely on color. Wilcom’s stitch guidance
The fabric also affects the stitch plan. Hatch’s fabric settings adjust properties including density, underlay and pull compensation when adapting embroidery to different materials. A design prepared for one fabric should therefore be reviewed before being reused on another. Hatch’s auto fabric documentation
Underlay consists of supporting stitches beneath the visible embroidery. Its settings can change with the fabric, object shape and lettering size. Pull compensation addresses the tendency of stitches to draw fabric inward, which can affect outlines and leave gaps between adjoining areas. Appropriate backing and topping also help manage fabric movement. Hatch’s underlay guidance, pull compensation explained
For a buyer, the practical question is whether the design has been prepared for the intended item, size and material. A screen preview alone cannot answer that.
From artwork to an approved sewn sample
A straightforward project can follow this sequence:
Define the result. Agree on the item, placement, finished dimensions and important design details.
Review the artwork. Resolve unclear edges, small text and any proposed simplifications.
Prepare the embroidery. The digitizer builds the stitch plan for the agreed fabric and size.
Confirm the output. Ask the embroiderer which machine format and embroidery area the job requires.
Sew and review a sample. Check the result before committing to the production run.
Editable design files and machine files serve different purposes. Design files can retain shapes and stitch properties, while machine files generally contain stitches and machine functions. Confirm compatibility with the person running the embroidery rather than assuming one file works on every machine. Hatch user guide, “File sources”
For the sample, use the intended fabric and production setup where possible. Look at lettering, alignment, coverage, loose connecting threads and whether the fabric lies acceptably flat. Brother advises test embroidery because fabric thickness and stabilizer differences can affect pattern alignment. Brother’s embroidery preparation guidance
Creative possibilities across apparel, gifts and home décor
Embroidery can serve many purposes: company identifiers on uniforms, decorative motifs on fashion pieces, team emblems, personalized towels, cushion designs and promotional bags. Choose the treatment around the item and the intended appearance.
Beyond conventional flat embroidery, options include:
3D puff: Foam beneath the stitching creates raised areas. The embroidery file needs to be adapted for this technique. Madeira’s dimensional embroidery guide
Appliqué: Fabric pieces become part of the design, with embroidery securing and finishing them. Discuss the fabric shapes and edge treatment alongside the artwork. Hatch’s design features FAQ
Photo-based embroidery: PhotoStitch tools interpret photographic images as stitch effects. Treat the result as a thread interpretation and review a sample before ordering. Wilcom’s PhotoStitch overview
Chenille: Moss and chain stitches provide a different texture from conventional lockstitch embroidery. Confirm that the production provider can make the requested effect. Wilcom’s chenille stitch documentation
These are creative choices, not requirements for a successful design. A simple monogram or restrained outline may suit a project just as well.
What to send when ordering digitizing
For buyers in the US, Canada and UK, a shared specification helps avoid ambiguity when working with a digitizer and a separate local embroiderer. Label dimensions explicitly in inches or millimeters, and identify which measurement is the width.
Information to provide | Why it helps |
|---|---|
Original artwork and exact wording | Establishes the design and spelling to reproduce |
Finished width and height, with units | Defines the intended scale |
Product, fabric and placement | Gives context for the stitch plan |
Garment color and preferred thread references | Clarifies the intended color combination |
Machine model, accepted format and available embroidery area | Lets the provider confirm output requirements |
Requested effect and essential details | Identifies flat, puff, appliqué or other expectations |
Required date and sample arrangements | Makes scheduling and approval responsibilities explicit |
Ask whether the quoted work includes artwork changes, the requested file formats and revisions after sample feedback. Confirm who will sew the sample and whether the order covers digitizing alone or finished embroidered goods.
You can use DigitEMB’s embroidery digitizing service page to discuss the artwork and intended application. Provide the production details before requesting a quote.
Frequently asked questions
Is digitizing the same as converting an image file?
Digitizing creates embroidery instructions from artwork. Changing an image’s filename or extension does not create stitches. Automatic digitizing tools can generate embroidery from suitable artwork, but the resulting stitch choices still need review. Hatch’s auto-digitizing guidance
Can the same design be reused at a different size?
Have the file reviewed first. Scaling a raw stitch file can change density because the stitch count may remain unchanged. An editable design file provides more information for adjustments, but the resized result still needs checking. Hatch user guide, “Scaling machine files”
Can one file be used on shirts, hats and bags?
Do not assume it can. Give the digitizer each intended product, fabric, size and placement so they can assess whether separate versions are needed. Fabric changes can require adjustments to stitch properties. Hatch’s fabric adaptation guidance
Should I approve a preview or a sewn sample?
Use the preview to confirm the composition and wording, then assess a sewn sample for the physical result. Fabric and stabilizer choices can affect the embroidery in ways a screen image cannot demonstrate. Brother’s test embroidery guidance
Practical details for Embroidery Digitizing & Design: Turning Imagination into Stitches
Use the article above as a starting point, then make the production brief specific to your own design. A stitch file is made for a finished size and material, so the artwork alone is only part of the instruction.
Work through these points in order and keep the answers with the artwork or production request. A short written brief makes it easier to compare a proof with the intended result, ask a useful follow-up question and avoid relying on assumptions made from a screen image alone.
The aim is not to add unnecessary steps. It is to identify the choices that change the final result before work begins. If a requirement is unknown, flag it for confirmation rather than guessing; that keeps the approval process focused on the design, material and use that apply to this particular project. Save the approved brief with the project files for future reorders or revisions.
Confirm the finished use
State the item, placement and finished width and height. A chest logo, cap front and jacket back do not use the same sewing area, even when they start from the same artwork.
Protect the smallest details
Review small lettering, narrow gaps, thin outlines and tiny colour changes at the final size. Simplifying a fragile detail before digitizing is often more reliable than trying to force it into a small sew-out.
Match the file to the machine
Tell the production team the embroidery machine or format required, along with the fabric or garment type. This lets them prepare the right export and make choices that suit the material rather than treating every job alike.
Quick questions to check before you proceed
What should I send with my artwork?
Send the clearest original available, the finished dimensions, placement, fabric or garment type and the required machine format if you know it.
Can the same file be used at every size?
Not always. Scaling changes the relationship between stitch length, detail and fabric, so a design may need review when the finished size or placement changes.
What should I check before production?
Confirm the spelling, colours, final size, placement and any details that must remain readable. A proof or sample is the best point to catch a change.