
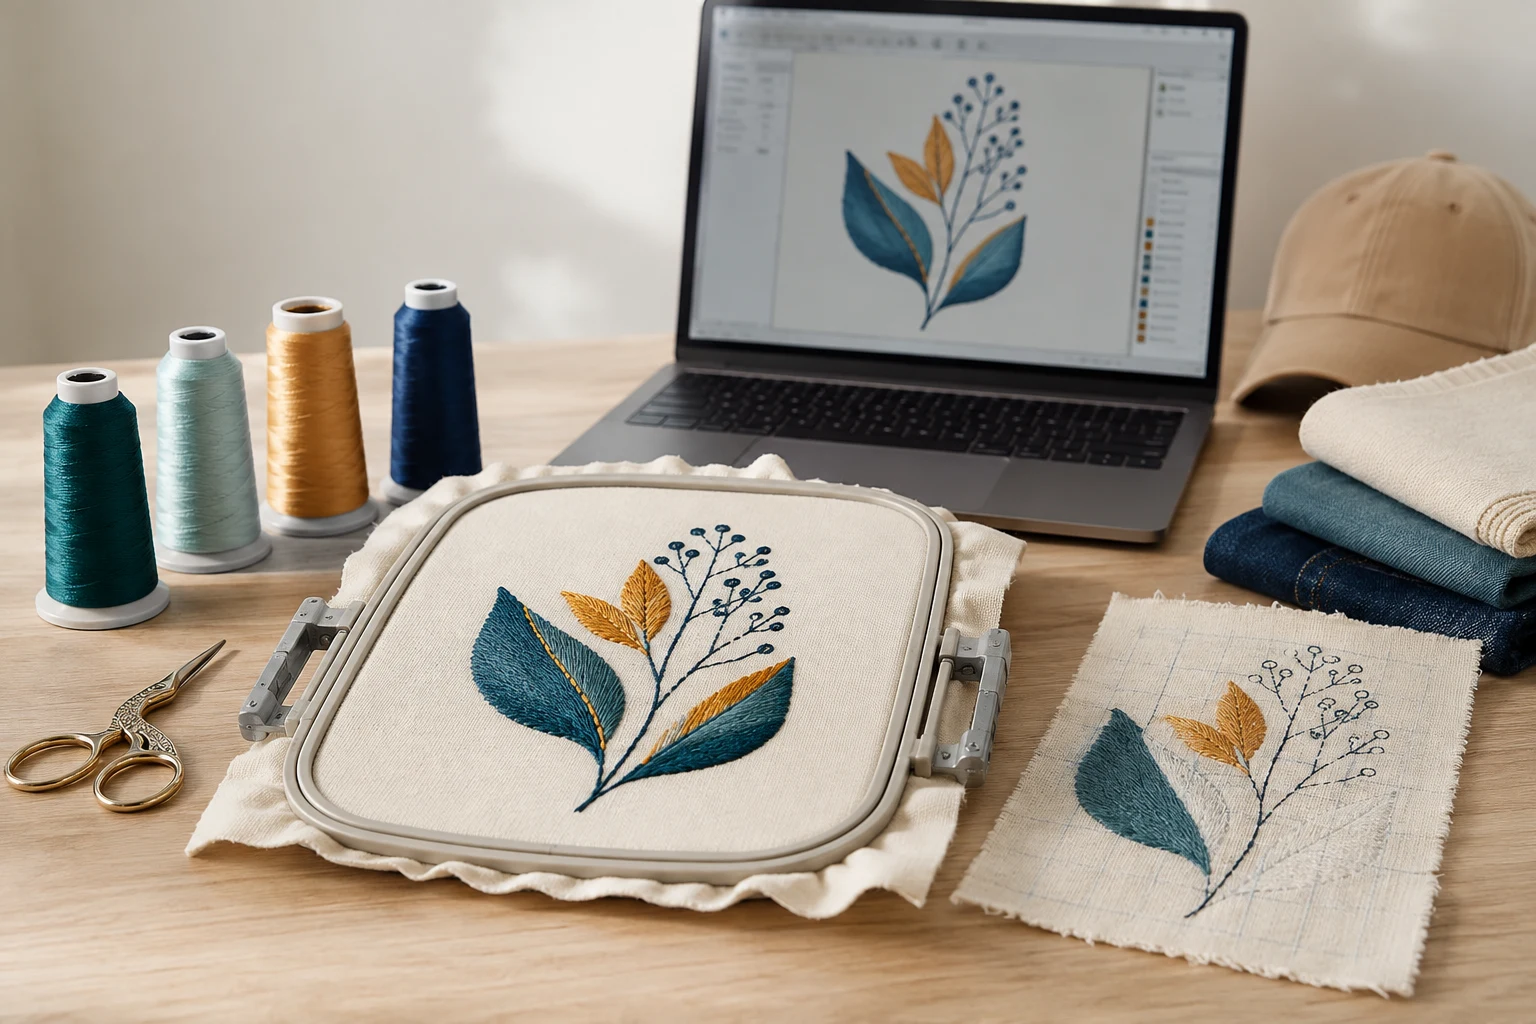
Cover image: AI-generated editorial concept; not a customer project or production proof.
Good embroidery digitizing starts with the finished size and fabric, then builds a suitable stitch plan around them. For beginners, the most useful habits are to review automatic settings, plan underlay and sewing order, and test the file on the intended material before production.
These principles also help when ordering digitizing: you can explain what you need and assess the stitched result more clearly.
1. Start with the fabric, placement and finished size
Write down the garment, fabric construction, embroidery location and final dimensions before creating stitches. A stretchy polo, firm denim jacket and structured cap present different conditions. A file may need adjustments when moving between them; it is not automatically unsuitable just because the fabric changes.
Fabric presets can provide starting settings for spacing, underlay and pull compensation. They still need checking against the actual project. Hatch explains how these settings respond to fabric and stitch type in its embroidery glossary.
For a first project, choose simple artwork with a few clearly separated shapes. Specify units whenever you share dimensions—for example, 3 inches wide (76.2 mm)—so a US, Canadian or UK production partner does not have to infer the size.
2. Review every auto-digitized result
Auto-digitizing can speed up the first pass, but inspect the objects it creates. Check whether backgrounds became unwanted fills, small details survived, and colors were grouped sensibly.
Two areas of the same color may need different stitch treatments. For example, a background and a foreground leaf should not necessarily become one uninterrupted fill.
Hatch's auto-digitizing documentation describes reviewing its fill and detail classifications, omitting colors, changing the sequence and refining the result. Use those controls before treating the design as ready to sew.
3. Match underlay to each shape
Underlay stitches sew beneath the visible stitching to provide support. They are not all simply a lighter version of the top fill.
Underlay type | Typical starting use |
|---|---|
Center run | Supporting narrow columns |
Edge run | Supporting edges of shapes such as letters |
Zigzag | Supporting wider satin columns |
Tatami | Supporting larger filled areas |
These are starting uses, not fixed rules. Hatch's underlay guide explains that selection depends on shape, size, fabric and the visible stitch type.
Inspect the underlay in stitch view and during the sample run. A smooth underlay stage does not guarantee that the finished design will remain smooth once the top stitches are added. Also plan the physical backing and, where needed, topping; underlay is only one part of fabric support.
4. Plan background-to-foreground layering
When objects visually overlap, identify which should appear behind the others. Background fills often sew before foreground details, while an outline usually follows the fill it defines.
Sketch the intended order before digitizing. Avoid leaving unnecessary full layers beneath areas that will be completely covered, and review overlap at adjoining edges.
Hatch recommends fills before details in its auto-digitizing workflow. Treat this as a useful starting point: garment construction and alignment requirements can justify a different sequence.
5. Choose stitch types and angles deliberately
Running stitches suit linework and travel paths. Satin is commonly used for narrow shapes, lettering and borders, while tatami fill suits larger areas. These distinctions are described in the Hatch glossary and Wilcom's tatami guidance.
Stitch angle controls the direction of stitching within a shape. Choose it to follow the artwork and establish a coherent texture. You can vary angles between adjacent elements without changing thread color, but every object does not need a different angle.
Start with a simple direction, then inspect curves and transitions before adding complexity. Hatch documents both fixed and turning directions in its stitch-angle guide.
6. Understand spacing before changing density
Density describes how closely stitching is packed. In software that controls fill density through row spacing, a smaller spacing value produces denser stitching; a larger value produces more open stitching. Stitch length is a separate setting. Wilcom's tatami density instructions make this distinction explicit.
Begin with settings appropriate to the stitch type, fabric and thread. If coverage looks weak, inspect the underlay and sample before increasing density across the whole design.
Avoid seeking one universal density number. Record the settings used for each test so you can compare coverage, flexibility and alignment after making a controlled change.
7. Sequence for the garment as well as the artwork
Review the complete sewing order in the simulator. Underlay should precede the visible stitches it supports. A placement line is useful for processes such as appliqué, but is not a mandatory opening step for every ordinary embroidery design.
Reducing color changes can make a file more convenient, especially on a single-needle machine, but alignment may require completing nearby elements together.
Caps deserve particular attention. Melco recommends working from the bill toward the crown, from the center toward the sides, and finishing elements as you go. It explains that completing smaller sections can help borders stay aligned even when this requires extra color changes. See Melco's cap digitizing guidance.
8. Distinguish jump stitches from travel runs
A jump moves the frame without placing stitches in the fabric. It can leave a connecting thread that needs trimming. A travel run uses actual stitches to connect sections.
Where suitable, route travel runs beneath later stitching so they remain covered. Do not run them across open fabric and expect them to disappear. If a connection crosses a visible gap, plan the appropriate tie-off, jump and trim behavior for the machine.
Hatch explains these differences in its connector guide. Inspect connections in both stitch view and the physical sample, including between letters.
9. Adjust pull compensation carefully
Stitches can draw fabric inward at their ends. Pull compensation extends stitching beyond the digitized boundary to help account for that movement. It can help close unwanted gaps, but it is not a reason to widen every object automatically.
Check fabric support first, then adjust the affected objects and sew another sample. Hatch notes that suitable underlay, backing and topping can also reduce the push-pull effect in its pull compensation guidance.
For lettering, inspect both stroke coverage and the openings inside characters. Judge the stitched letters rather than increasing compensation simply because a font looks thin on screen. Do not base the adjustment on fabric weight alone.
10. Check borders in a real sew-out
An outline can define a filled shape when the artwork calls for one. It is optional; not every filled object needs a border.
Duplicating a shape to create its outline gives you matching digital geometry, but does not prove that the two will align after stitching. Fabric movement and sewing order still matter. Melco's registration guidance for caps illustrates why completing fills and their borders together can help.
Before production, sew a sample using the intended fabric, backing, thread and machine setup. Inspect it after removing it from the hoop. Look at border alignment, letter openings, coverage, visible connections and the fabric around the design.
Photograph the result and change one likely cause at a time. Keep the editable design, exported machine file and test notes together so you can identify which version produced the approved sample.
What to send when outsourcing digitizing
Prepare a short brief whether your embroiderer is in the US, Canada or the UK:
Clear artwork and the required finished dimensions, with units.
Garment type, fabric and embroidery placement.
Machine model and the file format requested by the operator.
Thread colors and any details that must remain legible.
Separate requirements for caps, shirts or other applications.
You can review DigitEMB's embroidery digitizing service when preparing an inquiry. Ask what files and previews are included, and agree who will produce and approve the physical sample before the full run.
Frequently asked questions
Can I digitize embroidery in ordinary graphics software?
Graphics software can prepare the artwork. Creating embroidery requires tools that define stitches and machine instructions. Use software with digitizing capability, or provide the artwork to a digitizer.
Is auto-digitizing enough for a beginner?
It can provide a useful starting point. Review the generated shapes, stitch types, sequence and connections, then test the result on fabric. A successful conversion on screen is only part of the process.
Can I use the same file on a shirt and a cap?
Have it reviewed for both applications. Cap construction and sewing direction can require a different sequence from flat garments, even when the artwork and finished size are similar.
What should I change first if the sample looks wrong?
Identify the specific defect before changing settings. Check the production setup and the affected objects, then make one controlled adjustment. This makes it easier to learn whether the improvement came from support, sequencing, spacing or compensation.
Practical details for 10 Embroidery Digitizing Tips for Beginners
Use the article above as a starting point, then make the production brief specific to your own design. A stitch file is made for a finished size and material, so the artwork alone is only part of the instruction.
Work through these points in order and keep the answers with the artwork or production request. A short written brief makes it easier to compare a proof with the intended result, ask a useful follow-up question and avoid relying on assumptions made from a screen image alone.
The aim is not to add unnecessary steps. It is to identify the choices that change the final result before work begins. If a requirement is unknown, flag it for confirmation rather than guessing; that keeps the approval process focused on the design, material and use that apply to this particular project. Save the approved brief with the project files for future reorders or revisions.
Confirm the finished use
State the item, placement and finished width and height. A chest logo, cap front and jacket back do not use the same sewing area, even when they start from the same artwork.
Protect the smallest details
Review small lettering, narrow gaps, thin outlines and tiny colour changes at the final size. Simplifying a fragile detail before digitizing is often more reliable than trying to force it into a small sew-out.
Match the file to the machine
Tell the production team the embroidery machine or format required, along with the fabric or garment type. This lets them prepare the right export and make choices that suit the material rather than treating every job alike.
Quick questions to check before you proceed
What should I send with my artwork?
Send the clearest original available, the finished dimensions, placement, fabric or garment type and the required machine format if you know it.
Can the same file be used at every size?
Not always. Scaling changes the relationship between stitch length, detail and fabric, so a design may need review when the finished size or placement changes.
What should I check before production?
Confirm the spelling, colours, final size, placement and any details that must remain readable. A proof or sample is the best point to catch a change.