
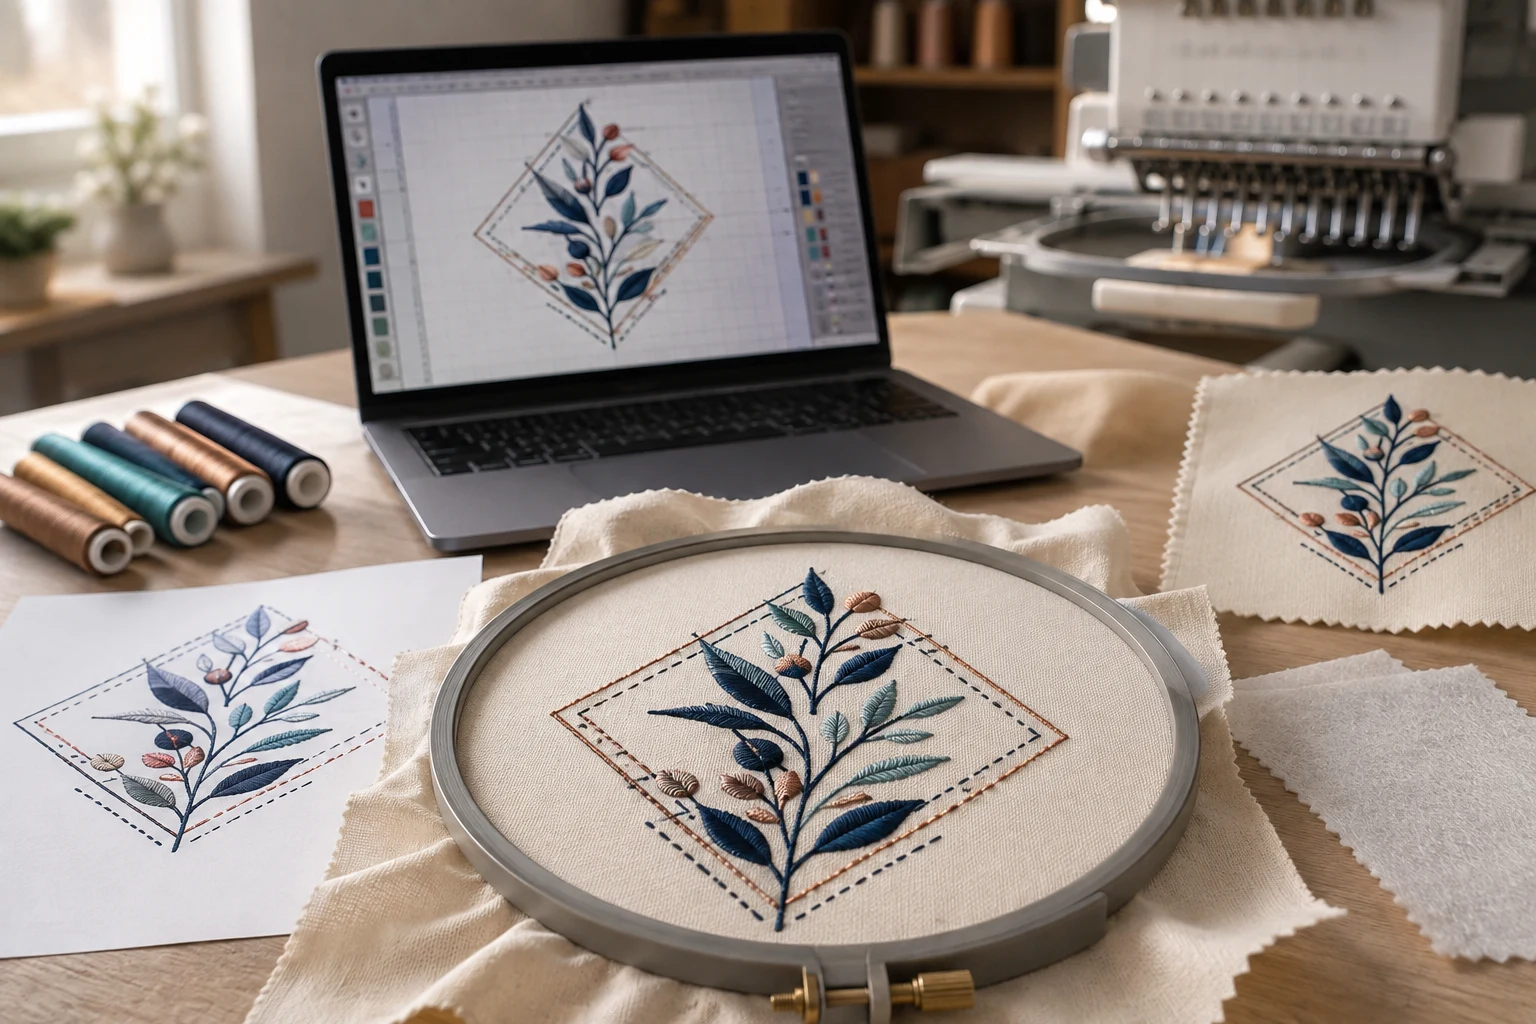
Cover image: AI-generated editorial concept; not a customer project or production proof.
Embroidery digitizing is the process of turning artwork into planned stitches that an embroidery machine can sew. A digitizer defines shapes, stitch types, direction and sewing order in specialized software, then exports a compatible machine file. The aim is to preserve the design’s identity while adapting it to thread, fabric and the intended size. Hatch’s embroidery glossary explains these core concepts.
For beginners, understanding this process makes the first project easier to plan. For professionals and buyers, it provides a practical basis for evaluating files, discussing revisions and approving production samples.
What digitizing involves
Artwork provides the visual reference; digitizing supplies the embroidery instructions. A clean image is a useful starting point, but the digitizer still needs to decide how its shapes should be stitched.
Automatic digitizing can generate embroidery objects from artwork. However, the software makes choices about which areas become fills or details, and those choices may need editing. Treat automatic output as a starting point for review and testing. Hatch’s auto-digitizing documentation describes how the software classifies image areas and assigns stitches.
The essential digitizing workflow
1. Prepare the artwork and project brief
Start with the clearest artwork available and specify the intended finished dimensions. Review it at that size before proceeding: identify tiny lettering, narrow gaps and fine details that may need simplifying. Agree on any visible changes before digitizing begins.
For a buyer in the US, Canada or UK, a clear brief should include:
Finished width and height, with the units stated explicitly.
Garment or item, fabric and embroidery placement.
Machine make and model, required file format and available hoop area.
Desired thread colors and any details that must remain recognizable.
Required delivery date, including the time zone, with time allowed for a sample and revisions.
2. Choose software for the work you need to do
Separate your requirements into creating designs, editing existing embroidery and exporting files. Before selecting software, check its documentation for the particular tools and output formats you need. A viewer or converter may not provide the object creation and editing controls required for full digitizing.
Keep an editable design file as well as the exported machine file. Hatch distinguishes design formats, which retain richer design information, from machine formats used for stitching. Its supported embroidery file reference lists supported inputs and outputs; your machine’s own manual remains the reference for what it accepts.
3. Assign stitch types
Different parts of an image need different treatments. These three stitch types provide a useful foundation:
Stitch type | Typical purpose |
|---|---|
Running stitch | Fine lines, outlines and connecting paths. |
Satin stitch | Narrow columns, borders and suitable lettering. |
Fill stitch, such as tatami | Coverage across larger shapes using rows of stitches. |
These terms are described in Hatch’s embroidery glossary. The choice depends on the shape and its finished dimensions, rather than its color alone.
4. Account for fabric and support
Underlay is stitching placed beneath the visible top stitching. It helps support the embroidery and can give it body. Its type and spacing should suit the object, fabric and design size; adding more underlay indiscriminately is not a quality strategy. Hatch’s underlay guidance explains how these settings vary.
Stitches also exert force on fabric. Pull compensation adjusts the digitized shape to help account for the narrowing that occurs during sewing. Fabric, hooping, stabilizer and stitch construction influence the result, so there is no single compensation value for every project. Hatch’s explanation of pull compensation outlines these interacting factors.
5. Plan colors and review the sewing order
Record the intended thread references and color sequence so the operator knows what to load. Check where each section begins and ends, how objects connect and whether the sequence preserves the intended layering. Connector stitches can include running stitches or jumps between objects. Hatch’s glossary explains these connections and color blocks.
Ask for a production worksheet alongside the machine file. It gives the buyer and embroiderer a shared reference when discussing dimensions, colors and revisions.
6. Sew a sample and adjust
Approve a physical sew-out on the intended material, with the planned stabilizer and thread, before committing to a production run. Inspect lettering, coverage, alignment, surface feel and the fabric around the design. Record the settings and file version used for the sample.
If something looks wrong, investigate both the digitizing and the machine setup. Fabric movement, hooping and stabilization can affect the stitched result even when the screen preview looks correct. Hatch’s pull compensation guidance explains why these production conditions matter.
Benefits and limits of a reusable design
A saved file provides a repeatable stitch plan and a reference for future orders. Retaining the editable source also makes later design changes easier to manage. However, reusing the same file does not guarantee identical results on different fabrics or with different machine setups.
Treat a change in size, material or placement as a reason to review the design. Ask the digitizer whether the existing file remains suitable and whether another sew-out is needed. For repeat orders, record the approved file version, dimensions, thread references and sample conditions.
Common pitfalls to avoid
Starting with too much detail. Beginners should practice with a simple shape and a small number of colors. Buyers should agree on simplifications before approving the design.
Treating higher density as an automatic improvement. When coverage or alignment is poor, review fabric support and stitch construction before adding more stitching. Pull and distortion depend on several interacting factors. Hatch’s technical explanation provides the background.
Assuming any export will work. Confirm the machine’s supported format and embroidery area before delivery. A format supported by the digitizing software is not automatically supported by every machine. Hatch’s file compatibility reference illustrates the range of formats involved.
Approving only a screen image. Use the preview to discuss appearance and the physical sample to evaluate the sewn result. Keep photographs and clear revision notes tied to the relevant file version.
Choosing a digitizing service
Whether you digitize in-house or outsource, evaluate the work against your actual project. Request examples on comparable materials and ask how the provider handles sample feedback.
Question to ask | What to clarify |
|---|---|
What do you need before starting? | Artwork, dimensions, fabric, placement and machine information. |
What files will I receive? | The machine format, worksheet and whether an editable source is included. |
How is the design checked? | Whether review includes a digital preview, a physical sew-out or both. |
What happens after sample feedback? | Revision scope, required evidence and any additional charges. |
What schedule should I plan around? | Delivery date, time zone and time for testing or revisions. |
Buyers can review DigitEMB’s embroidery digitizing service and use these questions to prepare a project inquiry. Confirm the deliverables and project terms before placing an order.
Frequently asked questions
Is embroidery digitizing the same as converting an image file?
Digitizing creates embroidery objects and stitches from artwork. Automatic tools can assist, but the result still requires decisions about stitch treatment and review. Hatch’s auto-digitizing guide describes those automated decisions.
Which embroidery file format should I request?
Request the format accepted by your particular machine and confirm its hoop limits. Also ask whether an editable design file is included for future changes. Hatch’s supported file documentation distinguishes design files from machine files.
Can I use the same design on a different fabric?
It may be possible, but review the design and test it first. Different materials and stabilizers can change how the embroidery behaves, including the amount of pull during stitching. Hatch’s pull compensation article explains the relevant variables.
Should a beginner learn digitizing or outsource it?
Learn digitizing if you want ongoing control and can allocate time for practice and sampling. Outsourcing can suit an occasional project or a defined deadline. In either case, start with clear requirements and approve a sew-out before production.
Practical details for Embroidery Digitizing: A Guide for Beginners and Professionals
Use the article above as a starting point, then make the production brief specific to your own design. A stitch file is made for a finished size and material, so the artwork alone is only part of the instruction.
Work through these points in order and keep the answers with the artwork or production request. A short written brief makes it easier to compare a proof with the intended result, ask a useful follow-up question and avoid relying on assumptions made from a screen image alone.
The aim is not to add unnecessary steps. It is to identify the choices that change the final result before work begins. If a requirement is unknown, flag it for confirmation rather than guessing; that keeps the approval process focused on the design, material and use that apply to this particular project. Save the approved brief with the project files for future reorders or revisions.
Confirm the finished use
State the item, placement and finished width and height. A chest logo, cap front and jacket back do not use the same sewing area, even when they start from the same artwork.
Protect the smallest details
Review small lettering, narrow gaps, thin outlines and tiny colour changes at the final size. Simplifying a fragile detail before digitizing is often more reliable than trying to force it into a small sew-out.
Match the file to the machine
Tell the production team the embroidery machine or format required, along with the fabric or garment type. This lets them prepare the right export and make choices that suit the material rather than treating every job alike.
Quick questions to check before you proceed
What should I send with my artwork?
Send the clearest original available, the finished dimensions, placement, fabric or garment type and the required machine format if you know it.
Can the same file be used at every size?
Not always. Scaling changes the relationship between stitch length, detail and fabric, so a design may need review when the finished size or placement changes.
What should I check before production?
Confirm the spelling, colours, final size, placement and any details that must remain readable. A proof or sample is the best point to catch a change.