
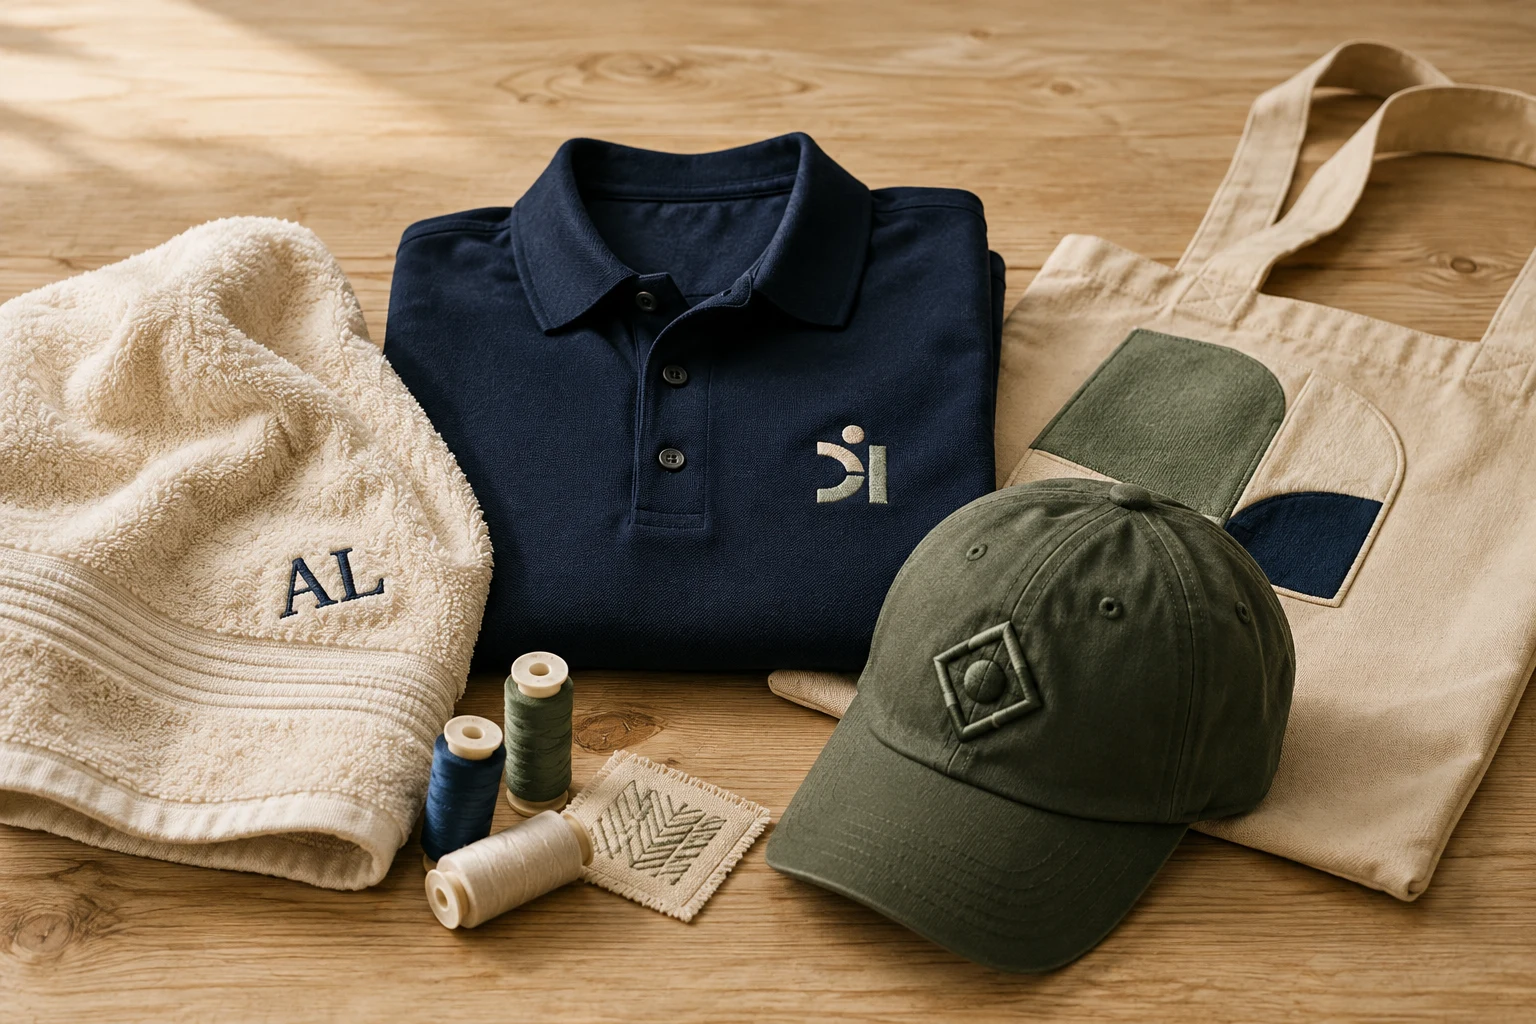
Cover image: AI-generated editorial concept; not a customer project or production proof.
Embroidery design customization means adapting a name, monogram, logo or decorative motif for stitching on a particular item. You choose the artwork, thread colors, size, placement and finish, then have the design prepared for the fabric and embroidery process. It can personalize a single gift or create a coordinated look across uniforms, merchandise and team apparel.
For machine embroidery, start with the item and its intended use. A monogram on a robe, a logo on a polo shirt and a raised emblem on a cap need different decisions. Agree on the finished dimensions and review a stitched sample before committing to production.
What can you personalize?
Names and initials make towels, robes and bags useful gifts for weddings, birthdays and other occasions. Decorative motifs can add a personal touch to jackets, backpacks and home accessories. Businesses and organizations can use consistent artwork across staff clothing, club apparel and event merchandise.
Project | Customization decisions |
|---|---|
Personalized gifts | Confirm spelling, initial order, recipient preferences and placement. |
Corporate uniforms | Choose the logo version, garment colors and position for each clothing style. |
Team and club apparel | Separate the shared emblem from individual names or numbers. |
Event merchandise | Decide which message or motif needs to remain readable at the chosen size. |
Fashion and accessories | Coordinate the design with seams, pockets, closures and the item's shape. |
These are starting points for a brief. Ask the embroiderer to confirm whether the chosen item and placement can be stitched with their equipment before buying blanks in quantity.
Choose the embroidery style
Flat embroidery for logos, names and motifs
Flat embroidery creates the design with thread without added puff foam. It is a useful starting point when discussing everyday apparel, lettering and decorative artwork. Ask to see comparable stitched examples at the size you want, especially when the design contains small details.
Monograms and personalized lettering
A monogram is a design built from initials; personalization may also use a full name, date or short message. Specify the exact characters and their arrangement instead of relying on a presumed monogram convention.
Lettering needs embroidery-specific preparation. Wilcom describes dedicated small fonts with adjusted stitch spacing and compensation, illustrating why a screen font alone does not establish how well the result will sew. Review the actual lettering at its intended size. Wilcom’s embroidery lettering overview.
3D puff for a raised finish
Puff embroidery uses foam beneath the stitching to add height. It is an option for selected cap designs and other stable fabrics. The design must be digitized specifically for the foam technique; adding foam to an ordinary flat embroidery file is not a reliable conversion. Madeira’s 3D foam guide.
Appliqué for fabric shapes and texture
Appliqué attaches fabric shapes to a background with stitching around their edges. It introduces a second fabric into the design, giving you another way to customize color and texture. Ask to see the proposed fabrics together and confirm how the edges will be finished. BERNINA’s machine appliqué guide.
Match the design to the fabric
The fabric and design should be considered together. Backing, also called stabilizer, supports the material during stitching. Madeira’s guidance distinguishes between fabric constructions and explains that design characteristics also affect the backing choice. Textured surfaces may require topping to help prevent stitches from sinking into the surface. Madeira’s backing and topping guide.
For buyers, the practical step is to identify the actual garment or accessory, including its material and construction. Send a product reference or clear photograph when possible. Mention stretch, pile, lining and any nearby seams or pockets, then ask the embroiderer to assess suitability.
For a towel gift, include the towel type and desired location. For a staff polo, identify the garment model. For a cap, provide the cap style and a photograph of the front panel. Avoid assuming that approval on one item automatically covers every other item in the order.
Prepare a clear customization brief
A useful brief makes your preferences concrete while leaving room for production advice.
Artwork: Supply your clearest available logo or illustration and identify any elements that must remain unchanged.
Personalization: Type names, initials and dates exactly as they should appear, including accents and capitalization.
Dimensions: Give the finished width and height with units. For US, Canadian and UK suppliers, include both inches and millimeters where helpful; 3 inches equals 76.2 mm.
Placement: Describe the position on each item and attach an annotated photograph if needed.
Colors: State the garment color and desired thread colors. Ask to review physical thread options when matching matters.
Quantity and variations: List quantities by item, size and personalized text.
Deliverable: Specify whether you need a digital stitch file or completed embroidered goods. For a file, confirm the required machine format with the embroiderer.
Digitizing turns artwork into embroidery data, including stitch types and directions. A visual preview is a simulation; fabric-related settings still need checking before production. Wilcom makes this distinction in its explanation of image-to-embroidery processing. Wilcom’s guide to digitizing and stitch previews.
Choose a provider and review the sample
Look for examples similar to your project in fabric, technique and design size. Ask who handles artwork preparation, digitizing, physical stitching and sample approval, so the scope of the order is clear.
Request a written quote that identifies the included deliverables, sample arrangements, revision terms and any separate production or shipping charges. For orders involving suppliers in another country, confirm the currency, destination and expected dispatch and arrival dates. Keep your event date separate from the supplier’s proposed schedule.
Before approving production, check the sample for spelling, placement, readable lettering, the intended colors and the overall appearance of the surrounding fabric. Inspect the reverse and how the decorated area feels, especially for wearable gifts and uniforms. Request care instructions for the finished item rather than assuming every combination of garment, thread and decorative material has the same requirements.
DigitEMB’s embroidery digitizing service is a starting point when you need artwork prepared as a stitch file. Include the intended item, dimensions and placement in your inquiry, and confirm the exact deliverables before ordering.
Frequently asked questions
Is embroidery digitizing the same as receiving an embroidered item?
No. Digitizing prepares the digital embroidery design. Physical production stitches it onto the item. Confirm which stages your quote includes.
Can I use the same design for gifts and uniforms?
You can keep the same visual theme, but ask for a review for each fabric, size and placement. Approve representative samples for the different items.
Can a digital mock-up replace a stitched sample?
A mock-up helps confirm the arrangement and wording. A stitched sample lets you assess the result on fabric, including its texture, feel and appearance around the embroidery.
What should I confirm for a personalized gift?
Check the exact spelling or initial order, the recipient’s preferred style, placement, care instructions and the agreed completion and delivery schedule.
Practical details for Embroidery Design Customization for Gifts, Apparel and Business
Use the article above as a starting point, then make the production brief specific to your own design. A stitch file is made for a finished size and material, so the artwork alone is only part of the instruction.
Work through these points in order and keep the answers with the artwork or production request. A short written brief makes it easier to compare a proof with the intended result, ask a useful follow-up question and avoid relying on assumptions made from a screen image alone.
The aim is not to add unnecessary steps. It is to identify the choices that change the final result before work begins. If a requirement is unknown, flag it for confirmation rather than guessing; that keeps the approval process focused on the design, material and use that apply to this particular project. Save the approved brief with the project files for future reorders or revisions.
Confirm the finished use
State the item, placement and finished width and height. A chest logo, cap front and jacket back do not use the same sewing area, even when they start from the same artwork.
Protect the smallest details
Review small lettering, narrow gaps, thin outlines and tiny colour changes at the final size. Simplifying a fragile detail before digitizing is often more reliable than trying to force it into a small sew-out.
Match the file to the machine
Tell the production team the embroidery machine or format required, along with the fabric or garment type. This lets them prepare the right export and make choices that suit the material rather than treating every job alike.
Quick questions to check before you proceed
What should I send with my artwork?
Send the clearest original available, the finished dimensions, placement, fabric or garment type and the required machine format if you know it.
Can the same file be used at every size?
Not always. Scaling changes the relationship between stitch length, detail and fabric, so a design may need review when the finished size or placement changes.
What should I check before production?
Confirm the spelling, colours, final size, placement and any details that must remain readable. A proof or sample is the best point to catch a change.