
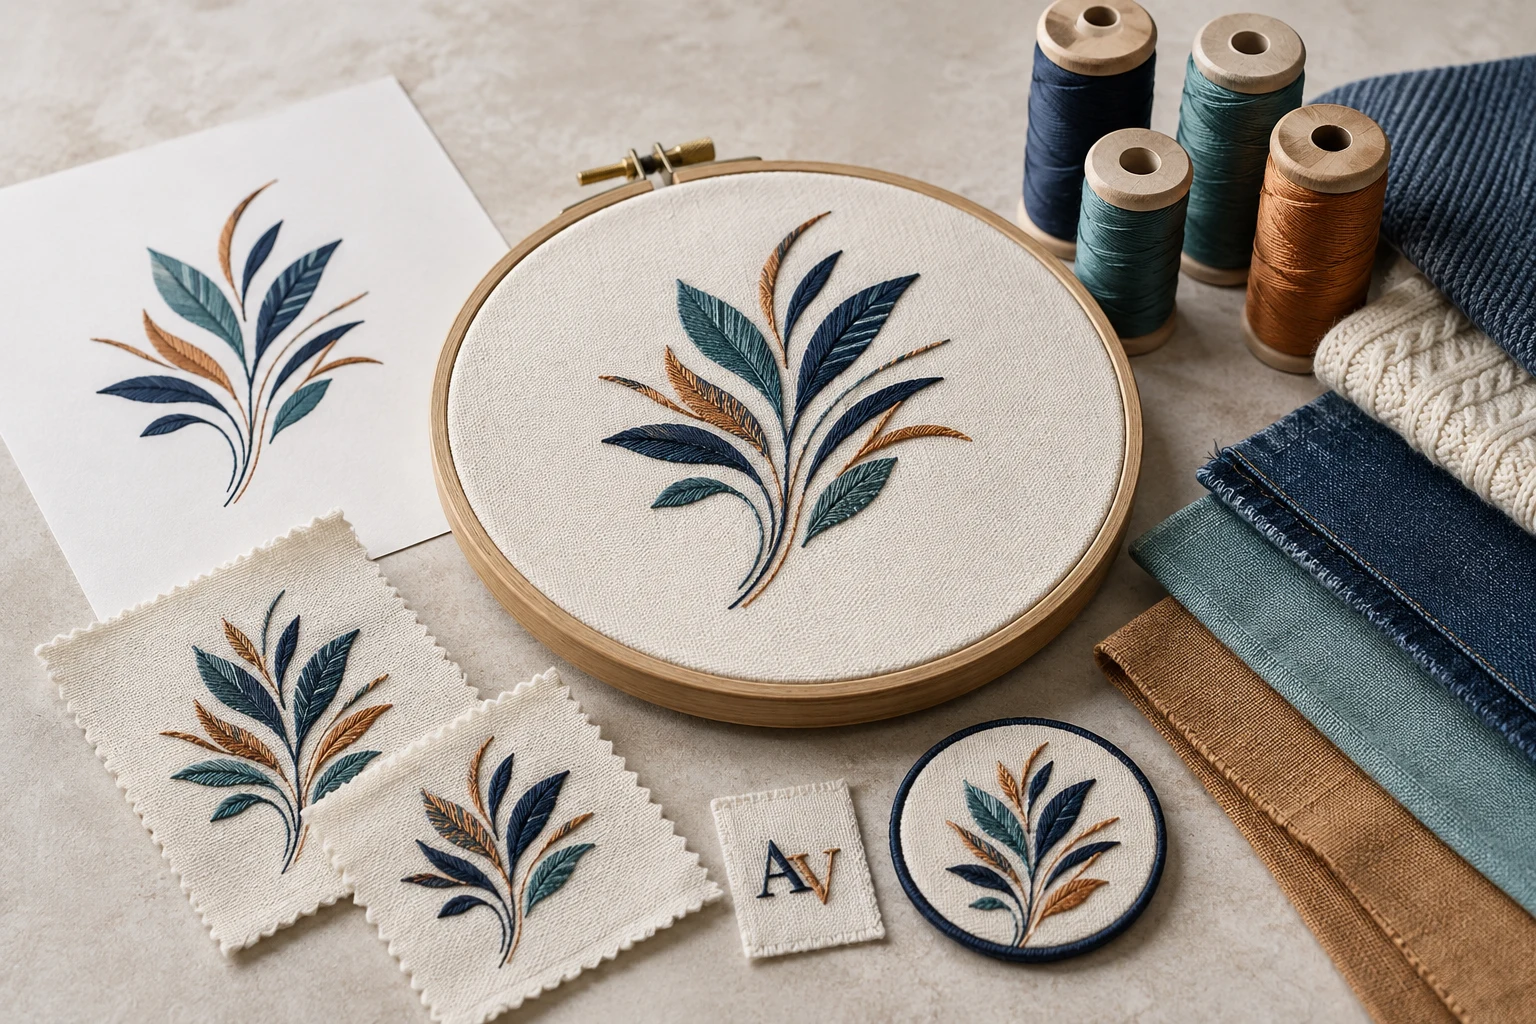
Cover image: AI-generated editorial concept; not a customer project or production proof.
The main embroidery design challenges are preserving recognizable detail, choosing thread colors, matching the design to the fabric, and balancing stitch coverage with a comfortable finish. Start with the finished size and intended garment, adapt the artwork, then evaluate a stitched sample before approving production.
Whether you are ordering uniforms, creating accessories or developing a personal project, the goal is to keep the design’s character while making sensible choices about what can be reproduced in thread.
Translate artwork into stitches
Artwork preparation and embroidery digitizing are separate tasks. Vector conversion can help clean up shapes and outlines, but a vector file still needs to be digitized into embroidery. Both bitmap and vector artwork can serve as inputs; digitizing assigns the stitch structures that reproduce the design. Hatch’s artwork conversion guidance explains this distinction and the subsequent editing of stitch types, density and sequence.
Begin by deciding which features make the design recognizable. For a logo, that might be the main symbol and name. For a decorative motif, it could be its silhouette or arrangement of colors. Ask for an embroidery adaptation that protects those features, then review whether secondary details should be enlarged, simplified or removed.
Consider these options when reviewing artwork at its intended size:
Design concern | Practical decision to discuss |
|---|---|
Tiny text or elaborate lettering | Enlarge the lettering, simplify the style or omit optional wording. |
Closely packed shapes | Ask whether more space between elements would improve clarity. |
Fine decorative lines | Review a simplified version alongside the original. |
Many similar colors | Decide which color differences are essential to the design. |
Several placement sizes | Request a review of each size before production. |
Treat these as choices to test, rather than automatic changes. A simplified version should still look like the design you intended.
Choose thread colors using physical references
A screen preview is useful for discussing a palette, but it cannot settle an exact thread match. Madeira notes that colors displayed on a monitor or printed on paper may differ from actual thread and recommends a physical shade card for precise comparison. Madeira’s color matching guidance.
For color-sensitive work, record the thread manufacturer, range and shade number. Ask to see the proposed threads against the garment fabric, and approve a stitched sample when the distinction matters. If a preferred color is unavailable, agree on a substitute before production.
For buyers coordinating work across the US, Canada and UK, a shared thread reference is more useful than descriptions such as “royal blue” or “warm red.” Keep that reference with the approved design so repeat orders have a clear starting point.
Match the design to the fabric
Fabric support and machine setup affect the result alongside the design file. Madeira identifies backing, hooping, tension, needle selection, density and other factors as possible contributors to puckering. It recommends testing the design on the fabric and making adjustments as needed. Madeira’s puckering guidance.
Tell the digitizer and embroiderer what the item is made from and where the embroidery will sit. Include the garment style or a photograph if seams, pockets or the available decoration area may affect placement. A fabric name alone may not fully describe the item.
During sampling, check that the fabric is supported and hooped without stretching. If the finished sample wrinkles, ask the operator to review both the setup and the stitch plan rather than assuming that the artwork is responsible. Madeira’s guidance specifically connects correct hooping and stabilization with reducing distortion.
Balance coverage, density and feel
Density describes how closely stitches are arranged; it is different from the total number of stitches in a design. Embroidery software commonly controls density through stitch spacing. Increasing spacing reduces density, and settings may need to change for a different fabric or thread. Hatch’s density documentation.
When reviewing a sample, look at both appearance and feel. Is coverage appropriate for the intended style? Does the embroidered area feel acceptable on the garment? Identify the specific area that needs attention instead of requesting “more stitches” across the whole design.
Ask the digitizer to assess the relationship between the visible stitching, supporting underlay and fabric. A useful revision request describes the result you want—such as clearer edges or a softer finish—and includes a photograph of the sample.
Plan patches and monograms around their use
Patches and monograms bring the same design questions into a smaller, more defined space. Before ordering a patch, agree on its finished dimensions, shape, border treatment and attachment method. Review the artwork within the complete patch outline so the border is part of the composition from the start.
For a monogram, confirm the exact letters, their order, the lettering style and placement. Ask for a preview at the intended size. If the piece is a gift or part of a uniform order, obtain approval of spelling and initials before digitizing begins.
A useful creative exercise is to prepare two versions: one that keeps the original detail and another that emphasizes the main shapes. Compare them at actual size, then choose which version deserves a stitched test. This makes simplification an informed design decision.
Edit carefully when size or placement changes
A file that worked for one item should be reviewed before it is reused at another size. Hatch explains that resizing a file as individual stitches changes the distance between existing stitches without automatically adding or removing them. That can affect density and detail. Hatch’s guidance on stitch-file resizing.
Keep the original file and save revisions separately. When requesting changes, supply the current file, the new dimensions, the intended item and a photograph of any problem. If the editable digitizing file is available, include it so the digitizer can assess the available editing options.
Distinguish a change to the artwork from a change to the embroidery. Moving a symbol, revising lettering and adjusting stitch coverage are different requests. Mark each change clearly and confirm which version is approved.
Make online collaboration easier
Buyers in the US, Canada and UK can reduce ambiguity by sending one complete brief. State measurements with units—for example, 3 inches (76.2 mm) wide—and distinguish artwork dimensions from placement measurements.
Include:
The clearest available artwork and any existing embroidery file.
Finished width and height, garment material and placement.
Exact wording, initials and thread references.
The machine model or required embroidery format, confirmed with the embroiderer.
Photographs of previous samples and a description of the requested changes.
The required date and who will approve the sample.
If you need a stitch file prepared, review DigitEMB’s embroidery digitizing service. Confirm the scope, supplied files, revision arrangements and responsibility for physical sampling before placing the order.
Agree on whether each approval concerns an artwork preview, an embroidery simulation or an actual stitched sample. For a repeatable reference, keep the approved sample, file version, dimensions and thread details together.
Build skills through small design experiments
Choose one motif and give each test a clear purpose. Try a simpler arrangement of details, compare two thread palettes, or review two lettering layouts. Keep other choices consistent where practical so the comparison is useful.
Record what you changed and what you observed. A short note such as “the second layout is easier to read at the intended size” is more actionable than “version two looks better.” Over time, these comparisons help you explain design decisions to a digitizer or customer with greater precision.
Frequently asked questions
Do I need vector artwork for embroidery?
Not always. Bitmap and vector artwork can both be used as digitizing inputs. Vector cleanup may help with unclear shapes, but it does not replace the creation of an embroidery stitch file.
Will increasing density fix an unclear design?
Not necessarily. First identify whether the issue is artwork detail, spacing, fabric support or stitch coverage. Density is one variable to evaluate, not a universal correction.
Can I reuse the same design on a different garment?
Ask for a review when the fabric, placement or size changes. Supply the new item details and arrange a sample before approving the revised application.
What should I approve before a larger order?
Confirm the wording, dimensions, placement, thread references and file version. Review a physical sample for appearance and feel, and clarify who is responsible for producing that sample.
Practical details for Embroidery Design Challenges: Practical Ways to Improve Your Results
Use the article above as a starting point, then make the production brief specific to your own design. A stitch file is made for a finished size and material, so the artwork alone is only part of the instruction.
Work through these points in order and keep the answers with the artwork or production request. A short written brief makes it easier to compare a proof with the intended result, ask a useful follow-up question and avoid relying on assumptions made from a screen image alone.
The aim is not to add unnecessary steps. It is to identify the choices that change the final result before work begins. If a requirement is unknown, flag it for confirmation rather than guessing; that keeps the approval process focused on the design, material and use that apply to this particular project. Save the approved brief with the project files for future reorders or revisions.
Confirm the finished use
State the item, placement and finished width and height. A chest logo, cap front and jacket back do not use the same sewing area, even when they start from the same artwork.
Protect the smallest details
Review small lettering, narrow gaps, thin outlines and tiny colour changes at the final size. Simplifying a fragile detail before digitizing is often more reliable than trying to force it into a small sew-out.
Match the file to the machine
Tell the production team the embroidery machine or format required, along with the fabric or garment type. This lets them prepare the right export and make choices that suit the material rather than treating every job alike.
Quick questions to check before you proceed
What should I send with my artwork?
Send the clearest original available, the finished dimensions, placement, fabric or garment type and the required machine format if you know it.
Can the same file be used at every size?
Not always. Scaling changes the relationship between stitch length, detail and fabric, so a design may need review when the finished size or placement changes.
What should I check before production?
Confirm the spelling, colours, final size, placement and any details that must remain readable. A proof or sample is the best point to catch a change.