
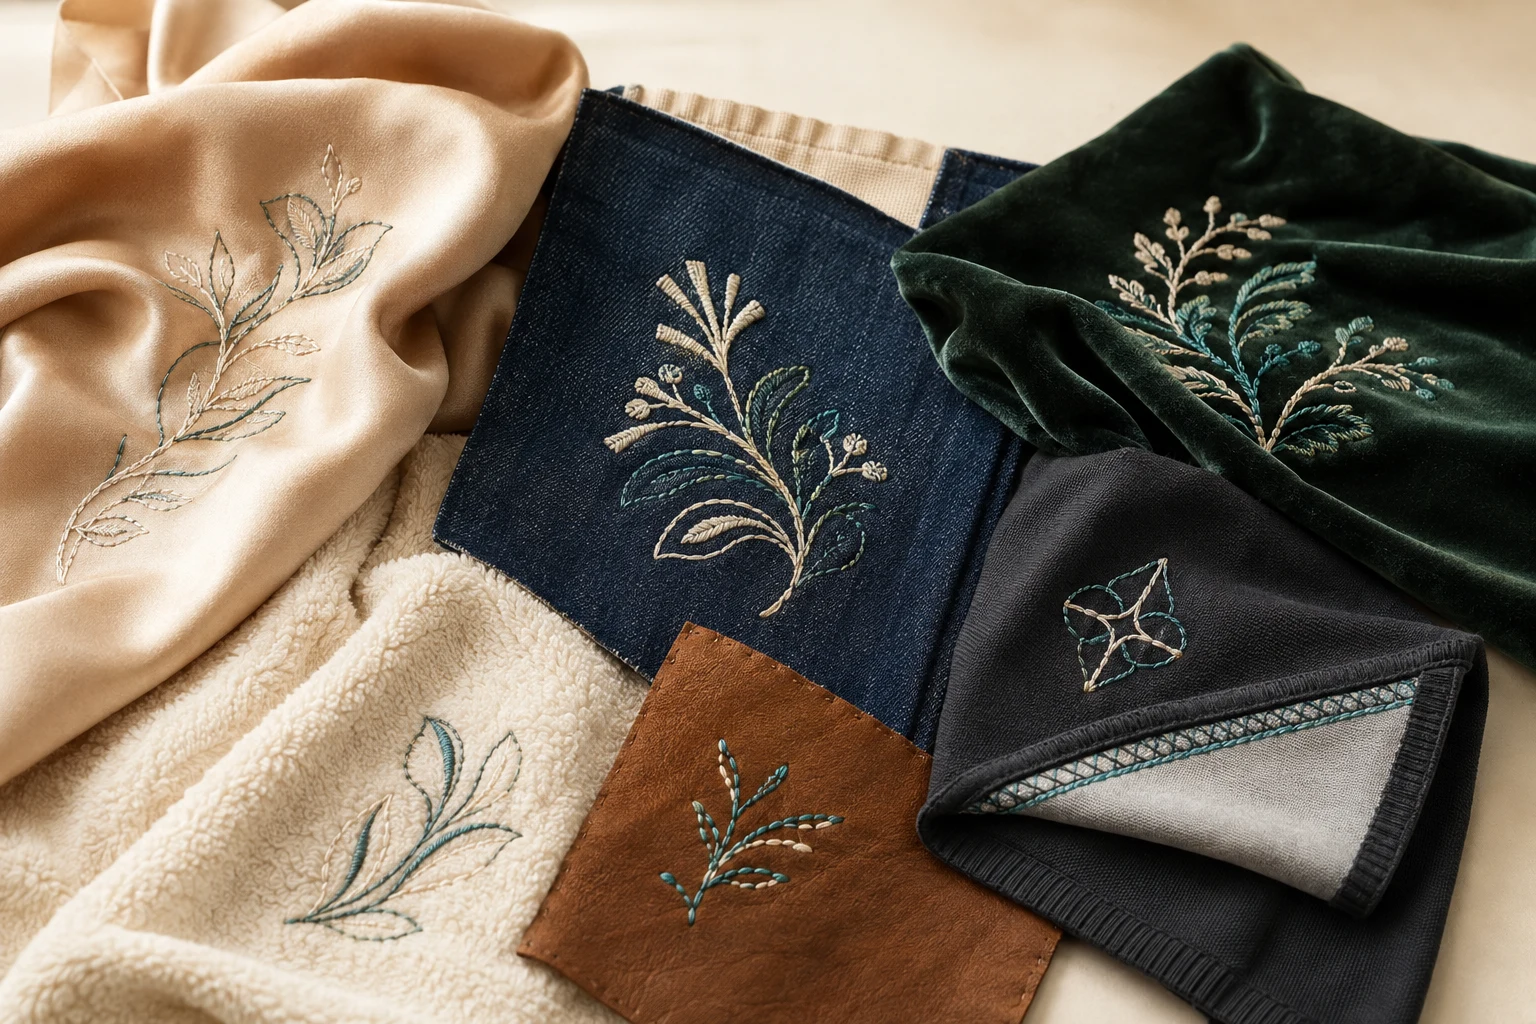
Cover image: AI-generated editorial concept; not a customer project or production proof.
Digitizing for specialty fabrics means adapting an embroidery stitch file to the material, finished design size and intended use. Review stitch density, underlay and shape compensation alongside backing, thread, needles and hooping, then approve a physical sample on the intended material. A digital preview alone cannot establish fabric appearance, comfort or durability.
This applies to fashion pieces, corporate uniforms, sportswear, home textiles and personalized accessories. A silk scarf, canvas bag and stretch training shirt may share artwork, but each needs its own production assessment.
What changes with the fabric?
Fabric structure affects how embroidery behaves under needle penetration and thread tension. Wilcom explains that stretchy knits tend to pull inward more than stable woven materials, and its fabric settings adjust density, underlay and pull compensation accordingly. Wilcom’s fabric-setting documentation
Three terms help when discussing a file:
Density: how closely stitches are packed.
Underlay: foundation stitches beneath the visible embroidery.
Pull compensation: a shape adjustment intended to offset inward pulling during stitching.
Underlay supports the top stitches and can help keep them above a soft surface. When fabric shows through, increasing top-stitch density alone may add unnecessary bulk; review the foundation first. Wilcom’s underlay guidance
Ask the digitizer to assess these settings together. A fabric preset is a starting point for sampling, and a lower total stitch count is not an approval criterion by itself.
Plan for each material
Silk and satin
For delicate silk or satin projects, start by reviewing concentrated stitching, overlapping shapes and the amount of support beneath them. Wilcom’s silk/satin example uses reduced density and minimal underlay; it does not establish one setting for every fabric sold under those names. Wilcom’s fabric examples
For a scarf, formalwear panel or decorative cushion, request a sample that includes the surrounding fabric. Assess drape, puckering, visible backing and any marks from holding or finishing. Compare an approved simplification if a large solid design feels too heavy for the piece.
Denim and canvas
Heavy material does not automatically call for denser embroidery. Wilcom’s denim example uses wider stitch spacing to limit buildup. Madeira identifies tear-away backing as an option for stable denim, twill and canvas. Wilcom’s denim guidance, Madeira’s backing guide
For bags, jackets and home accessories, tell the embroiderer whether the placement includes seams, lining or several layers. Request a sample of that construction, rather than approving only a single flat swatch. Identify any stretch in the material before selecting support.
Velvet, fleece and terry cloth
On plush surfaces, foundation stitching can flatten nap and support visible stitches. A knockdown area may be worth discussing where the pile obscures the design, but assess its visible footprint and added stitching before approval. Wilcom’s guidance on underlay and napped fabrics
Water-soluble topping sits above the fabric. Madeira demonstrates how it holds down terry loops during stitching to help preserve detail. Its removal requires moisture, so confirm that the proposed cleanup suits the textile’s care instructions. Madeira’s topping tutorial
For velvet, also request a holding-method trial on spare material. BERNINA identifies velvet among the materials suited to its magnetic hoop system; compatibility depends on the machine and hoop being used. BERNINA’s magnetic hoop guidance
Review lettering and outlines after temporary topping is removed. On towels, robes and fleece apparel, inspect the finished reverse as well as the front.
Leather, suede and faux leather
Identify the exact material before digitizing. Natural suede belongs to the leather family, while an imitation product needs its own assessment.
Needle holes remain in leather. Embroidery Library’s leather tutorial recommends light, open designs because dense fills and closely spaced penetrations can weaken the material. It also notes that hooping can leave permanent marks or scuffs. Embroidery Library’s leather tutorial
For leather or faux leather accessories, request a trial using the actual material, backing and holding method. Ask the operator to confirm machine and needle compatibility. Inspect perforations, edges, surface marks and stiffness before committing to the finished item; do not assume a successful natural-leather setup transfers to a synthetic coating.
Stretch sportswear: assess movement and comfort
Stretch garments need attention to the finished decoration during wear. Madeira identifies puckering and inflexible embroidery as common challenges and recommends coordinating the file, needle, thread and stabilization with the fabric. Its digitizing suggestions include lighter underlay, reduced density around tight curves and corners, and sequencing from near the center. These are sampling options rather than universal settings. Madeira’s sportswear guidance
Begin with the undecorated garment. Observe the proposed placement during movements relevant to its use, such as reaching forward or raising the arms. Record where the panel becomes taut, folds or contacts the skin. Review a loose training shirt and a fitted compression top separately.
Use an actual-size paper layout to assess proportions and position, then remove it before evaluating movement. Agree which artwork details must remain and which may be simplified. Compare more open space with resizing; shrinking everything may compromise essential wording.
Ask the operator to avoid stretching the fabric during hooping and to match thread thickness and needle selection to the material. Madeira’s sportswear setup guidance
On the finished sample, assess restriction, rubbing and backing visibility. If the appearance is acceptable but the decoration feels uncomfortable, keep approval open and discuss a simpler design, another placement or a compatible alternative decoration method.
Choose backing and finishing together
Backing supports embroidery from underneath. Madeira recommends cut-away products for unstable materials such as knits, fleece and stretchy fabrics, while tear-away products generally suit stable fabrics. Selection depends on fabric stability and the design, not weight alone. Madeira’s backing guidance
Ask to see the backing after final trimming or removal. On pale fabric, inspect show-through; on skin-contact garments, assess edges and feel. Confirm that any water, heat or adhesive used in the setup and finishing is compatible with the actual material.
Choose thread colors against a physical swatch when possible. Review the intended contrast and sheen under ordinary lighting, especially when coordinating uniforms, fashion details or a set of home textiles. Have the embroiderer confirm a compatible thread and needle combination rather than specifying one needle size for every fabric.
Approve a physical sample before production
A sew-out is a design stitched into material. A matching scrap can help develop the file, but the final garment or assembled item is needed to assess placement and use.
The following is a practical buyer review, not a standardized performance test.
Review stage | What to assess |
|---|---|
Finished and relaxed | Dimensions, readable wording, outlines, puckering, surface marks and the reverse after finishing. |
In use | Drape on home textiles; movement, rubbing and restriction on clothing; placement on bags and accessories. |
After compatible care | Appearance, nearby material and backing after an agreed wash or cleaning trial. |
Before repeat production | The approved file revision, material, placement and production setup match the next order. |
Resolve conflicting garment and decoration care instructions before testing. Record the care conditions and number of cycles completed. A successful sample does not establish lifetime durability or prove retained stretch, breathability or compression performance.
When requesting a revision, describe the observed issue precisely. “The backing edge rubs during an overhead reach” or “The outline separates at the lower corner after washing” gives the digitizer and embroiderer a useful starting point.
Keep sample photographs, finished dimensions, placement measurements, file revision and production details with the approval. Repeat relevant checks when the material, design size or setup changes.
Brief a digitizing provider clearly
For an enquiry through DigitEMB’s embroidery digitizing service, include:
Artwork and the details that must remain unchanged.
Exact fabric or garment specification, including style code, composition and care instructions when available.
Finished embroidery width and height, with units clearly marked in inches or millimeters.
Placement photographs and measurement reference points.
The embroiderer’s required machine file format.
Previous stitch files, sample photographs and specific concerns about texture, movement or comfort.
For orders coordinated across the US, Canada or UK, specify units explicitly and ask for the quotation currency, deliverables and agreed schedule in writing.
When comparing providers, request relevant sample examples and ask how revisions are handled. Establish who will supply the material, stitch the sample and approve the finished result. Confirm whether the quotation covers only the stitch file or any additional work, and leave time for sampling before the production deadline.
Frequently asked questions
Can the same logo file be used on several fabrics?
It may be reusable after review, but approve each materially different fabric and placement combination. Provide the existing file as a reference alongside the new material specification.
Can any design work on specialty fabrics?
Treat suitability as a sampling decision. Agree whether small wording, fine detail or solid backgrounds may change, and approve those changes before the file is finalized.
Does fewer stitching always mean better embroidery?
No. Useful underlay adds stitches while supporting the visible design. Assess the finished result rather than using total stitch count as the sole measure of quality. Wilcom’s underlay explanation
How much will digitizing cost, and how long will it take?
Request a project-specific quotation and schedule using the actual artwork, size and fabric details. Confirm revision arrangements and allow separately for physical sampling and production.
Practical details for Digitizing for Specialty Fabrics: Silk, Stretch, Velvet and More
Use the article above as a starting point, then make the production brief specific to your own design. A stitch file is made for a finished size and material, so the artwork alone is only part of the instruction.
Work through these points in order and keep the answers with the artwork or production request. A short written brief makes it easier to compare a proof with the intended result, ask a useful follow-up question and avoid relying on assumptions made from a screen image alone.
The aim is not to add unnecessary steps. It is to identify the choices that change the final result before work begins. If a requirement is unknown, flag it for confirmation rather than guessing; that keeps the approval process focused on the design, material and use that apply to this particular project. Save the approved brief with the project files for future reorders or revisions.
Confirm the finished use
State the item, placement and finished width and height. A chest logo, cap front and jacket back do not use the same sewing area, even when they start from the same artwork.
Protect the smallest details
Review small lettering, narrow gaps, thin outlines and tiny colour changes at the final size. Simplifying a fragile detail before digitizing is often more reliable than trying to force it into a small sew-out.
Match the file to the machine
Tell the production team the embroidery machine or format required, along with the fabric or garment type. This lets them prepare the right export and make choices that suit the material rather than treating every job alike.
Quick questions to check before you proceed
What should I send with my artwork?
Send the clearest original available, the finished dimensions, placement, fabric or garment type and the required machine format if you know it.
Can the same file be used at every size?
Not always. Scaling changes the relationship between stitch length, detail and fabric, so a design may need review when the finished size or placement changes.
What should I check before production?
Confirm the spelling, colours, final size, placement and any details that must remain readable. A proof or sample is the best point to catch a change.