
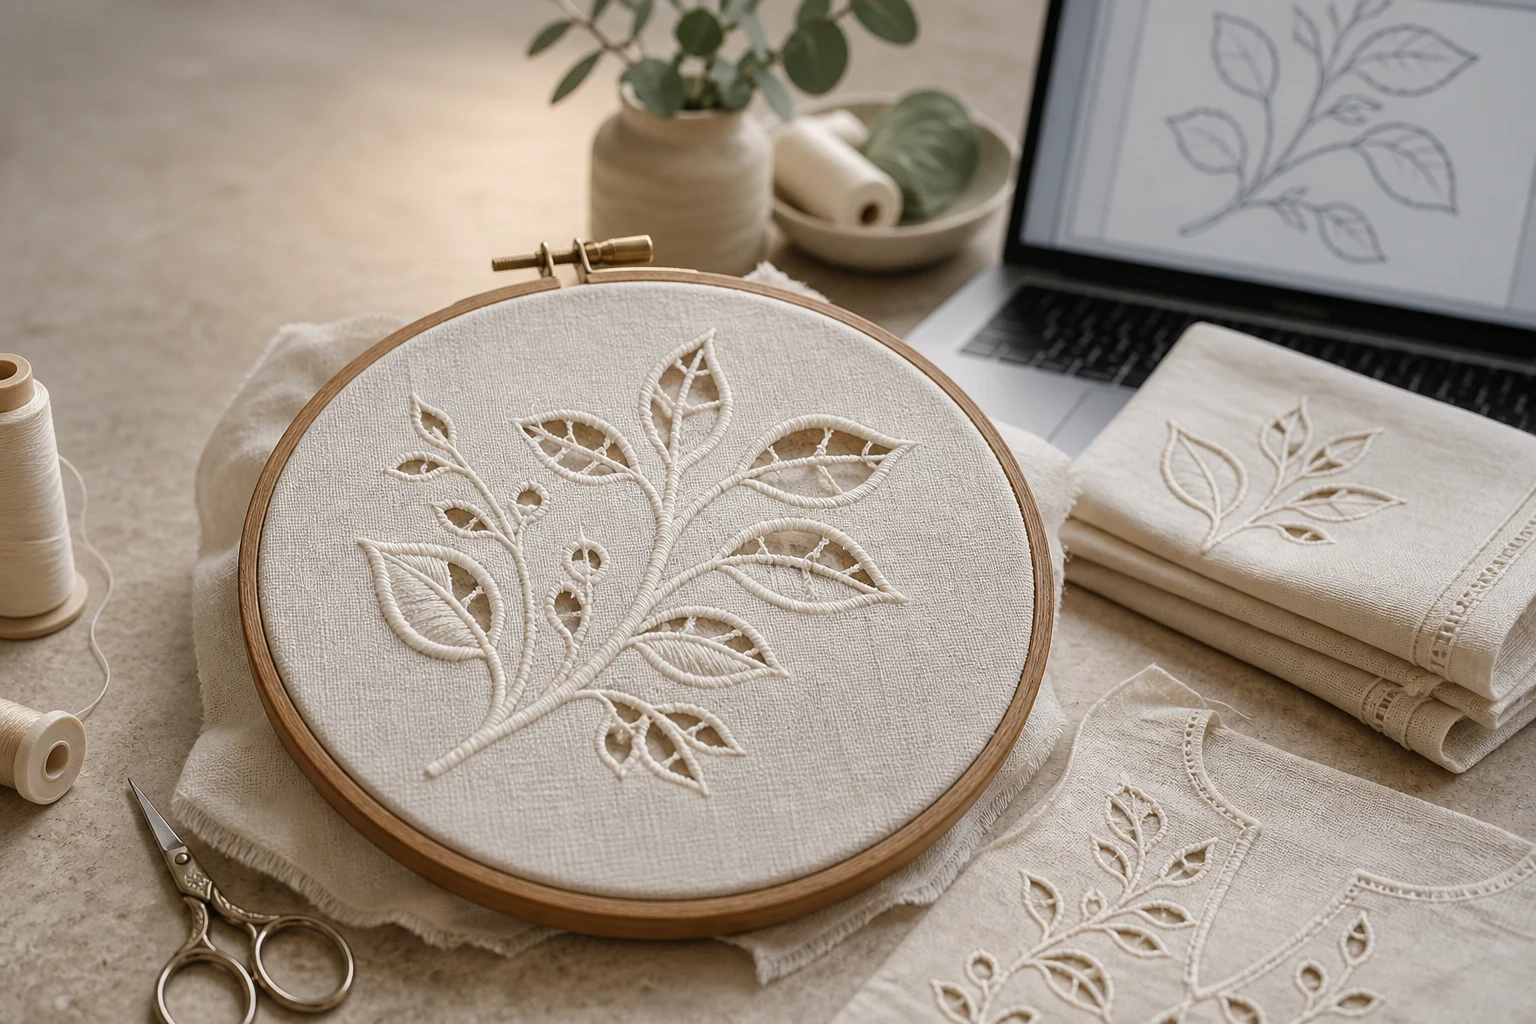
Cover image: AI-generated editorial concept; not a customer project or production proof.
To digitize cutwork machine embroidery, define the fabric areas to remove, create supporting outlines and edge-covering stitches, and build the necessary cutting pauses into the design. Choose manual scissors or a compatible machine cutting system before sequencing the file, then test the complete process on your intended fabric.
What is cutwork embroidery?
Cutwork creates openings by removing selected areas of fabric and securing their edges with embroidery. The openings can remain clear or contain connecting embroidery or needle lace. This gives table linens, garment panels and accessories a decorative openwork appearance. BERNINA’s cutwork overview explains the technique and the role of machine cutting tools.
Cutwork can incorporate lace, but it does not automatically require freestanding lace construction. In freestanding lace, the stitched structure remains after its temporary stabilizer is removed; cutwork retains fabric around its openings. BERNINA describes that stabilizer-only lace construction in its 700 embroidery machine manual.
For a first project, consider a simple leaf or oval opening on a napkin corner. Once the sample works, develop coordinated motifs for table runners, cushion covers, collars or decorative garment borders.
Choose the cutting method first
The cutting method affects both the digitizing file and the operator’s instructions.
Method | What to plan |
|---|---|
Manual scissors | Marking stitches, an operator pause and a clear explanation of which fabric areas to remove. |
Compatible machine cutting system | Supported cutting objects, the correct accessory and the equipment-specific cutting sequence. |
An embroidery needle does not cut fabric simply because the file contains an outline. Automated cutting requires suitable equipment; BERNINA’s system, for example, uses a dedicated CutWork tool. Verify compatibility with the exact machine and software edition before preparing a cutting file. BERNINA cutwork overview
The steps below describe a common manual-cut workflow in which the fabric is trimmed before the final edge stitching. Other designs use different sequences, so follow the instructions for the chosen construction.
How to digitize a cutwork design
1. Set the finished size and prepare the artwork
Create a new design and save an editable working file. Establish the finished dimensions and hoop area before tracing the artwork. For communication between US, Canadian and UK buyers and embroidery shops, specify the units explicitly: for example, 4 inches equals 101.6 mm.
Import the artwork as a reference and identify three elements: fabric that stays, fabric that is removed, and ordinary decorative embroidery. Start with generous openings and simple curves so the first sample is easy to trim and inspect.
Set your thread palette and name the objects by purpose. Labels such as “opening outline” and “edge cover” make the production sequence easier to review than color names alone.
2. Match the design to the fabric and stabilizer
Choose a tightly woven fabric for your initial sample. BERNINA identifies tightly woven linen as a suitable cutwork material and explains that dissolving stabilizer can provide temporary support. Lightweight fabric is not automatically the best choice; consider how well the remaining fabric will support the openings. BERNINA’s general cutwork procedure
For the manual-cut method described here, hoop the base fabric with wash-away stabilizer beneath it. The stabilizer must remain under the openings while the edge stitching is completed. Anita Goodesign’s cutwork tutorial
Before committing to a garment or finished linen, confirm that its fabric, thread and care requirements suit the stabilizer’s removal instructions.
3. Digitize the opening and its border
Trace each opening as a closed shape. Plan the supporting run, cutting stage and finishing border together rather than treating the hole as an ordinary filled embroidery object.
If your software includes dedicated cutwork tools, select the border construction appropriate to a hole. BERNINA Software 9, for example, provides cutwork components that can include an outer stabilizing run, cutting operation, stabilizer tackdown and optional net fill. Available controls depend on the selected construction and software version. BERNINA Software 9 release notes
Use a satin border where a smooth covered edge suits the design. Treat border width, stitch spacing and support settings as sample-dependent decisions. The edge must cover the trimmed fabric without making the surrounding area unnecessarily stiff. Avoid assuming one density or border width will work for every fabric.
4. Build an explicit cutting pause
For this manual-cut construction, use the following sequence:
Stitch the outline that identifies the opening.
Pause the machine for trimming.
Cut only the base fabric inside the marked area, preserving the stabilizer beneath it and avoiding the stitched outline.
Resume the edge-finishing stitches.
This sequence is demonstrated in Anita Goodesign’s cutwork fundamentals. Keep the fabric secured in its hoop during trimming; detach the hoop from the machine if needed for access, following the machine’s instructions.
Record the pause in the production sheet and verify how the exported file handles it. A thread color change should not be assumed to provide the required operator stop on every machine.
5. Sequence the remaining embroidery
Review the full design, including decorative motifs and any stitching inside the openings. Do not automatically move all cutwork to the end or combine every cutting operation merely to reduce stops. BERNINA explains that the selected border type determines its components and their order. BERNINA’s general procedure
Use stitch playback to inspect travel paths, cutting stages and edge coverage. For any lace-filled opening, check that the intended connections reach the surrounding structure; a screen preview alone cannot establish that the finished embroidery will hold together.
6. Export and test the complete process
Keep the editable design alongside the machine export. Confirm the intended machine format, hoop orientation and cutting instructions with the operator.
Run a sample using the production fabric, thread and stabilizer. Complete the trimming and stabilizer removal before judging the result. Record the finished dimensions and inspect both sides for exposed raw edges, distorted openings, loose connections and unwanted travel threads.
If the sample fails, change one relevant variable at a time and repeat the affected construction. Begin with a simple opening before adding more complex cutwork or lace details.
What to send when ordering cutwork digitizing
A useful brief gives the digitizer enough information to plan the physical cutting process:
Artwork with the intended openings clearly marked.
Finished dimensions and placement on the item.
Fabric type and, when available, a sample or fabric specification.
Machine model, hoop size and required file format.
Manual scissors or the exact compatible cutting system.
Whether openings should remain clear or contain connecting embroidery.
Who will perform the sample sew-out and approve the finished result.
You can review DigitEMB’s embroidery digitizing services and ask whether your proposed cutwork construction and equipment are supported before ordering. Request a production sequence that identifies every cutting or stabilizer-placement pause.
Frequently asked questions
Do I need a special machine for cutwork?
Manual-cut designs use machine embroidery with scissors at specified stages. Automated cutting requires a compatible machine and cutting accessory. Confirm which method the design expects before running it.
Is cutwork the same as appliqué?
Cutwork removes fabric to create openings. Standard appliqué adds fabric pieces to a base. A project can combine both methods, as shown in Anita Goodesign’s tutorial, but their trimming instructions serve different purposes.
Should I cut before or after the satin border?
Follow the design’s construction. The manual-cut method above places trimming before the finishing border. Other cutwork procedures finish embroidery before cutting, so the order must be established during digitizing rather than improvised at the machine. BERNINA’s cutwork procedure
Can I approve cutwork from a digital preview?
Use the preview to review shapes and sequence, then approve a completed sample. Inspect the openings after trimming and stabilizer removal to judge the actual edge coverage and finished structure.
Practical details for How to Digitize Cutwork Machine Embroidery Designs
Use the article above as a starting point, then make the production brief specific to your own design. A stitch file is made for a finished size and material, so the artwork alone is only part of the instruction.
Work through these points in order and keep the answers with the artwork or production request. A short written brief makes it easier to compare a proof with the intended result, ask a useful follow-up question and avoid relying on assumptions made from a screen image alone.
The aim is not to add unnecessary steps. It is to identify the choices that change the final result before work begins. If a requirement is unknown, flag it for confirmation rather than guessing; that keeps the approval process focused on the design, material and use that apply to this particular project. Save the approved brief with the project files for future reorders or revisions.
Confirm the finished use
State the item, placement and finished width and height. A chest logo, cap front and jacket back do not use the same sewing area, even when they start from the same artwork.
Protect the smallest details
Review small lettering, narrow gaps, thin outlines and tiny colour changes at the final size. Simplifying a fragile detail before digitizing is often more reliable than trying to force it into a small sew-out.
Match the file to the machine
Tell the production team the embroidery machine or format required, along with the fabric or garment type. This lets them prepare the right export and make choices that suit the material rather than treating every job alike.
Quick questions to check before you proceed
What should I send with my artwork?
Send the clearest original available, the finished dimensions, placement, fabric or garment type and the required machine format if you know it.
Can the same file be used at every size?
Not always. Scaling changes the relationship between stitch length, detail and fabric, so a design may need review when the finished size or placement changes.
What should I check before production?
Confirm the spelling, colours, final size, placement and any details that must remain readable. A proof or sample is the best point to catch a change.