
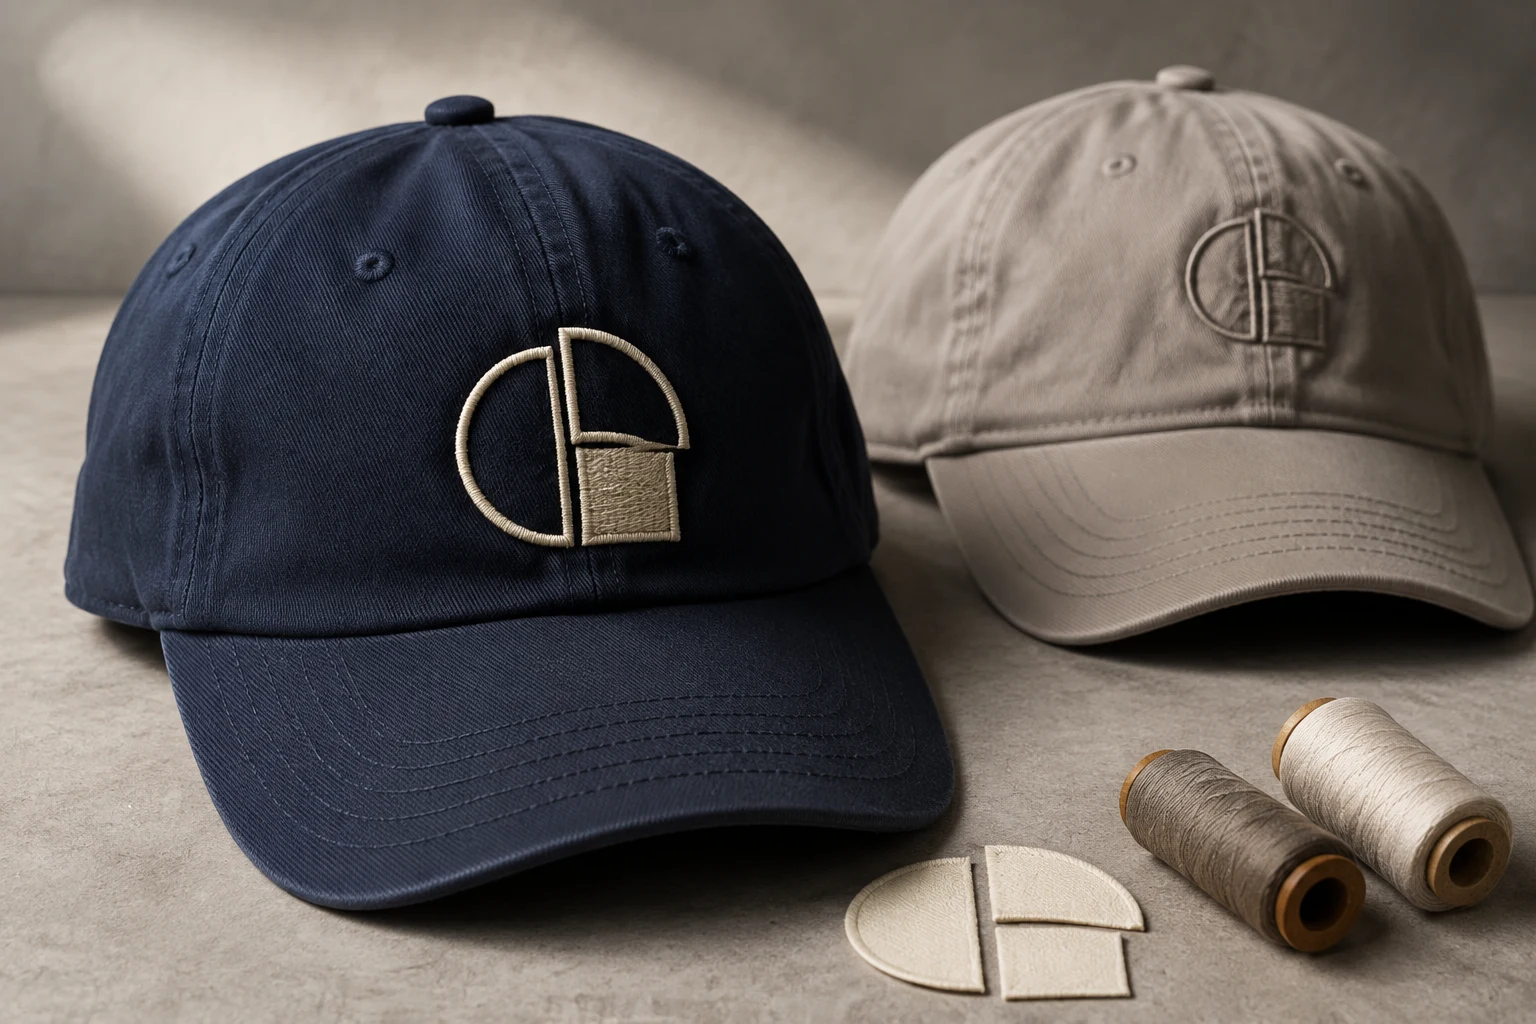
Cover image: AI-generated editorial concept; not a customer project or production proof.
To digitize a design for cap embroidery, confirm the actual cap and sewing area, simplify artwork at its finished size, and plan stitch types, underlay and sequence for that construction. Approve a stitched sample on the intended cap before production.
Cap embroidery digitizing turns artwork into instructions for the embroidery machine. This guide covers artwork preparation, placement, lettering, flat and raised embroidery, fabric differences and sample review, with cap fronts as the main working example.
Start with the cap and embroidery placement
Record the cap manufacturer, style code, material and whether the front is structured or unstructured. Include photographs of the outside and inside. Cap panel shapes, fabrics and internal support vary, so a file prepared for a polo may need changes before it can sew successfully on a finished cap. Melco’s cap embroidery guidance
Ask the embroiderer to confirm the usable area for the chosen cap, machine and frame. A frame’s advertised capacity does not establish how much of a particular cap can be embroidered. Crown profile and contact with the machine’s lower arm can limit movement as stitching extends upward. Melco’s design-size guidance
Specify:
Finished design width and height.
Distance from the bill-to-crown join to the design’s lower edge.
Horizontal position relative to the cap centerline.
Whether the design belongs on the front, side or back.
For projects involving US, Canadian or UK suppliers, label all measurements clearly. For example, 2 inches equals 50.8 mm; that conversion is a measurement reference, not a recommended design height.
A paper outline at actual size helps judge proportion. Have the operator confirm machine clearance separately. Treat visor embroidery as its own placement brief rather than borrowing the cap-front dimensions.
Simplify artwork without losing its identity
Review the design at its intended physical size. Choose the essential message first: the symbol, name or initials that must remain recognizable. Fine details that work on another garment may not transfer well to a cap. Melco’s artwork guidance
Agree on changes before digitizing:
Artwork feature | Practical decision |
|---|---|
Long name or tagline | Compare the original with an approved two-line or shortened layout. |
Fine outlines or shading | Identify details that may be simplified or omitted. |
Narrow gaps inside letters | Keep openings visibly clear in the stitched sample. |
Large background shape | Decide whether the cap fabric can supply the background color. |
Detail crossing the front seam | Request a placement alternative if the sample loses definition. |
Do not squeeze every gap closed to make the artwork fit. Ask for actual-size alternatives and compare readability. A running-stitch interpretation of small text also changes its appearance; approve that change explicitly.
Choose stitch types to suit the shapes
A cap design can combine several stitch types. Satin works well for suitable lettering, borders and narrow shapes; fill covers broader areas; running stitches create fine linear detail. These stitch families are illustrated in AMANN’s embroidery guide.
Choose lettering for the intended size and appearance. Review the full word, including spacing and enclosed openings, rather than judging a single enlarged letter. Request a stitched lettering sample when small wording is essential.
Balance underlay, density and compensation
Underlay provides a foundation beneath the visible stitches. Center-run underlay can support narrow columns, while edge-run and zigzag arrangements offer other support options. The choice depends on the object rather than a single rule for all cap designs. Wilcom’s underlay guidance
Density, commonly controlled through stitch spacing, must work with underlay and pull compensation. Compensation accounts for fabric drawing inward during stitching. These settings depend on the stitch type, shape and fabric; copying one value across every object is not a reliable recipe. Wilcom’s underlay and pull-compensation documentation
Plan the seam crossing and sewing sequence
Mark a front center seam on the placement preview. For fills crossing that seam, Melco recommends a diagonal stitch direction and describes light crossed diagonal underlay as support. Have the digitizer assess these choices for the actual design. Melco’s seam-crossing guidance
Melco’s general sequencing guidance is to work from the bill toward the crown and from the center toward the sides. Completing related elements and their borders as the design progresses can improve alignment, even when that approach is less efficient than grouping all stitches by color. Melco’s cap sequencing guidance
Ask to review the stitch simulation for travel paths, trims and object order. Then evaluate the physical result: an orderly screen preview does not establish how the cap will sew.
Decide between flat and 3D puff embroidery
Flat embroidery and foam-based puff embroidery need different preparation. Lettering does not automatically require puff; choose the finish according to the intended appearance.
Puff uses foam beneath covering stitches to create height. Hatch’s method uses satin coverage, tack-down stitches to secure the foam and capping to close exposed ends. It advises against ordinary underlay over the foam because it can compress the raised effect. These are distinct operations, so adding foam beneath an existing flat file is not a complete puff-digitizing method. Hatch’s puff embroidery tutorial
Identify which elements should be raised and which should stay flat. Have the digitizer and embroiderer agree on the foam and construction method before sampling.
Reassess files when size or fabric changes
A woven twill cap and a knitted beanie should not share an approval merely because the logo looks identical on screen. Fabric behavior affects density, underlay and compensation; stretchy knits behave differently from stable woven materials. Wilcom’s fabric-setting guidance
When changing the logo size, cap style or placement, ask the digitizer to reassess the file and arrange another sample. Send the original editable design if available, along with the machine file and its previous dimensions.
Send a complete brief and approve the sample
When requesting work through DigitEMB’s embroidery digitizing service page, supply the artwork, exact wording, color references, cap details, placement measurements, flat or puff preference, machine model and required file format. State which artwork changes are permitted.
Confirm who will prepare the file, sew the sample and approve production. Agree on deliverables and revision scope for the project.
Approve the artwork first for spelling, colors, size and placement. Then review a stitched sample on the intended cap:
View it in its normal shape, straight on and from both sides.
Check required wording at the expected viewing distance.
Inspect seam crossings, outlines and open spaces.
Look for puckering, distortion, exposed foam or fabric damage.
Ask the operator to record thread breaks and other interruptions.
Describe corrections precisely: “the opening in the center letter has closed” is more useful than “make it cleaner.” Review a revised sample after corrections and keep the approved file version, photographs, cap style, dimensions and setup notes together.
Frequently asked questions
Is 2.5 inches the maximum cap embroidery height?
No universal maximum applies. Confirm the usable area for the actual cap, frame and machine; crown profile and clearance matter. Melco’s sizing guidance
Can I reuse a shirt logo file on a cap?
Send it for assessment first. Its details and stitch construction may be unsuitable for the cap’s curved framing and construction. Melco’s cap guidance
Must small lettering be removed?
No. Identify essential wording, compare any proposed simplification and require readability in the sample before approving it.
Does a digital proof replace a stitched sample?
Use them for separate decisions. The proof confirms the visual brief; the sample lets you assess the embroidered result on the intended cap.
Practical details for Cap Embroidery Digitizing: Artwork, Stitch Settings and Sample Approval
Use the article above as a starting point, then make the production brief specific to your own design. A stitch file is made for a finished size and material, so the artwork alone is only part of the instruction.
Work through these points in order and keep the answers with the artwork or production request. A short written brief makes it easier to compare a proof with the intended result, ask a useful follow-up question and avoid relying on assumptions made from a screen image alone.
The aim is not to add unnecessary steps. It is to identify the choices that change the final result before work begins. If a requirement is unknown, flag it for confirmation rather than guessing; that keeps the approval process focused on the design, material and use that apply to this particular project. Save the approved brief with the project files for future reorders or revisions.
Confirm the finished use
State the item, placement and finished width and height. A chest logo, cap front and jacket back do not use the same sewing area, even when they start from the same artwork.
Protect the smallest details
Review small lettering, narrow gaps, thin outlines and tiny colour changes at the final size. Simplifying a fragile detail before digitizing is often more reliable than trying to force it into a small sew-out.
Match the file to the machine
Tell the production team the embroidery machine or format required, along with the fabric or garment type. This lets them prepare the right export and make choices that suit the material rather than treating every job alike.
Quick questions to check before you proceed
What should I send with my artwork?
Send the clearest original available, the finished dimensions, placement, fabric or garment type and the required machine format if you know it.
Can the same file be used at every size?
Not always. Scaling changes the relationship between stitch length, detail and fabric, so a design may need review when the finished size or placement changes.
What should I check before production?
Confirm the spelling, colours, final size, placement and any details that must remain readable. A proof or sample is the best point to catch a change.