
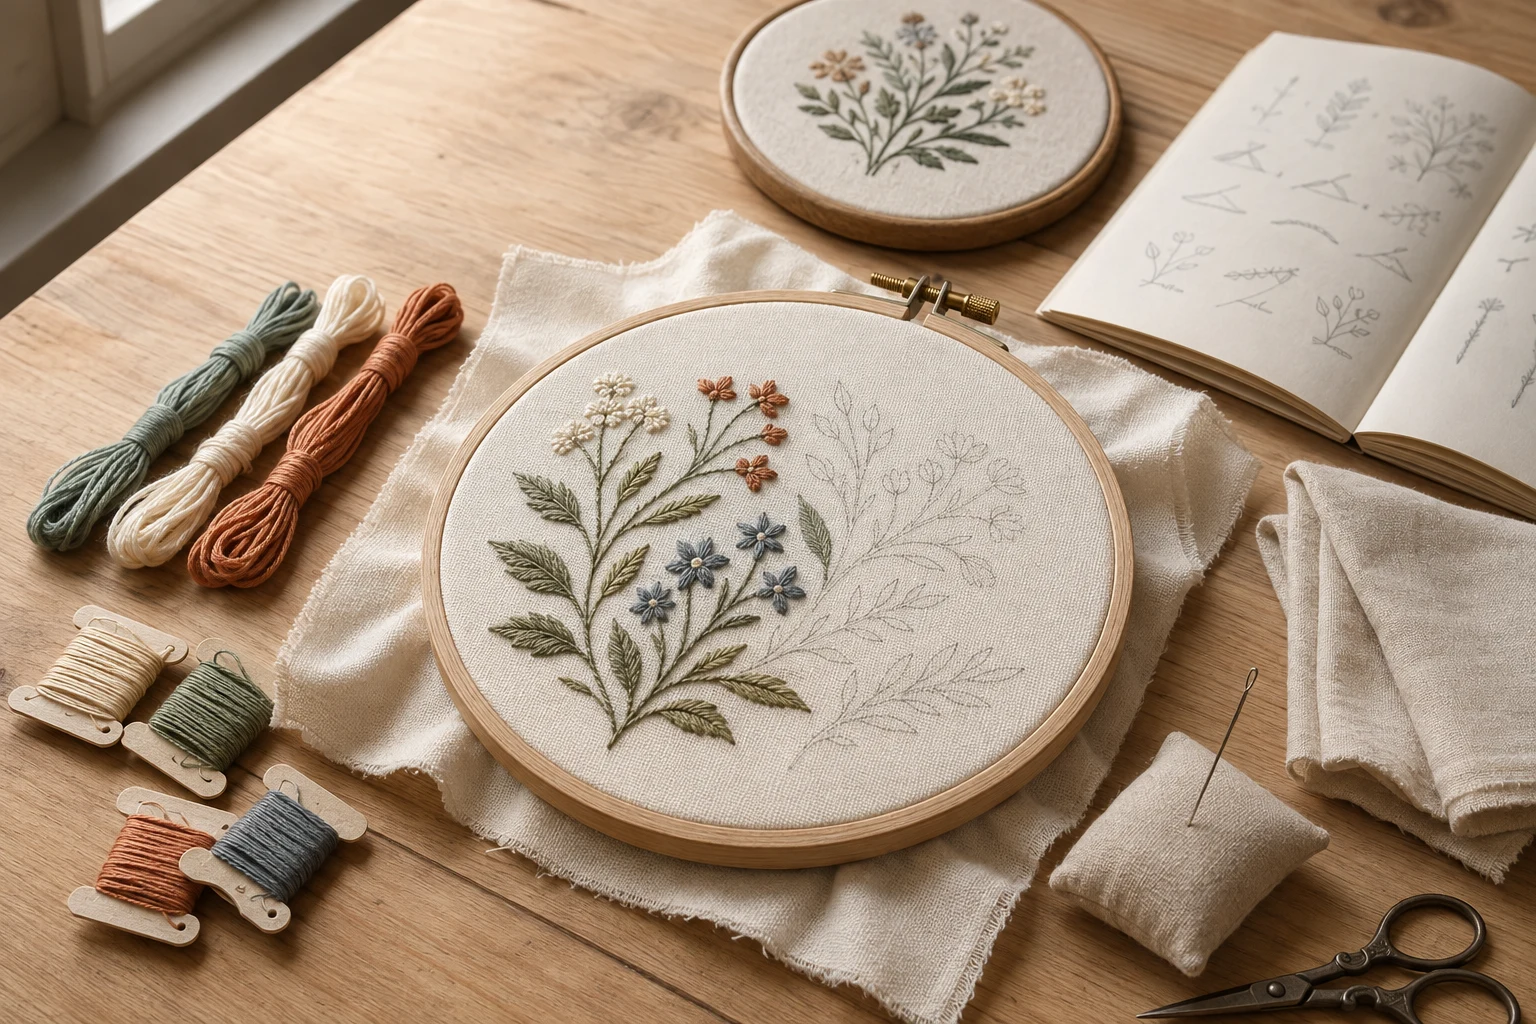
Cover image: AI-generated editorial concept; not a customer project or production proof.
Choose a beginner hand-embroidery kit with fabric, suitable needles, thread, a hoop and clear instructions for one manageable project. If you want a custom version, confirm exactly what can change—such as initials, colors or the pattern—and whether the instructions cover those changes. Check the contents before buying; “complete kit” does not necessarily include scissors or finishing supplies.
This guide covers choosing and using a kit for stitching by hand, including personal projects and gifts. You do not need an embroidery machine to get started.
Why start with a kit?
A kit brings the pattern and its materials together, reducing the number of separate choices you need to make. It can also provide a useful learning sequence when the instructions explain each stitch and show where to use it.
Look for a design you would enjoy spending time on. A simple floral outline, geometric motif or small personalized piece gives you a clear goal without requiring a large collection of supplies. A kit is not automatically cheaper than separate materials: compare its contents with what you already own.
What should a beginner kit include?
Use the seller’s written contents list to check the package rather than relying on the styled product photograph.
Item | What to check |
|---|---|
Fabric | The material, dimensions and whether the pattern is already printed or needs transferring. |
Embroidery thread | The required colors, quantities and instructions for how many strands to use. |
Needles | A type suitable for the included fabric and thread, with replacements available. |
Hoop | Whether it is included, its dimensions and whether it is intended for stitching, display or both. |
Pattern and instructions | A stitch key, thread guide and explanations of starting, stitching and finishing. |
Accessories | Whether scissors, transfer materials, backing or a storage pouch must be bought separately. |
Cotton or a cotton blend is a practical starting point for hand embroidery. Six-strand cotton floss can be used together or separated for narrower stitching; follow the pattern’s strand count. Embroidery designer Beth Colletti explains these materials in her beginner embroidery guide.
Beginner embroidery needles are not universally blunt. Surface embroidery commonly uses sharp embroidery or crewel needles to pierce fabric. Blunt tapestry needles suit techniques that pass through existing openings, including counted cross stitch. Match the needle to the technique rather than choosing by the word “beginner.” See John James’s needle types guide.
Choose customization you can comfortably stitch
“Custom” can describe several different offers. A seller might personalize a standard pattern, let you select thread colors or create a new design from your idea. Ask which service is included before ordering.
For a first project, consider changing one feature of a simple pattern, such as adding an initial or choosing a favorite color palette. If you request original artwork, explain that you are learning and ask for a manageable stitch selection.
Before approving a personalized kit, confirm:
The exact spelling, capitalization and placement of any name or initials.
The finished design dimensions, separate from the fabric and hoop dimensions.
Whether the fabric arrives marked with the personalized design.
Whether thread quantities and instructions reflect the approved changes.
Whether you receive a design preview and can request corrections.
Choose a pattern whose instructions you can understand before committing. A sample instruction page or short tutorial can reveal more about its suitability than a beginner label alone.
Compare the complete purchase
For buyers in the US, Canada and UK, check whether the listing describes a physical kit or a downloadable pattern. Confirm measurements in inches or centimeters and identify whether the price is in USD, CAD or GBP.
Compare the total purchase with the same essentials included: materials, personalization, necessary extras and shipping. Ask the seller to clarify any excluded charges for an overseas order, its expected dispatch date and the terms for correcting personalization errors. Allow yourself practice time when making a gift.
Prioritize clear instruction photographs, identified materials and a design you like over a high accessory count. Extra thread colors are less useful if the pattern does not explain how to use them.
Make the most of your first project
Read the instructions before preparing the fabric. Identify the marking method and its removal instructions so you do not accidentally erase the pattern before stitching.
Organize the supplies. Match threads to the color key and keep the needle in a designated holder between sessions.
Set up the hoop. Hold the fabric evenly taut without distorting it, and check it again as you work. DMC’s hoop tutorial explains how to mount the fabric and stitch through it.
Practice the required stitches. Try a short sample on spare fabric before starting the main design. Running stitch, backstitch and satin stitch are useful learning goals; add French knots if your pattern calls for them.
Work in small sections. Follow the pattern’s strand counts and sequence, checking the front and back periodically.
Plan the finish. Follow the kit’s instructions for securing threads, removing any temporary markings and preparing the piece for display. Confirm the finishing method before trimming excess fabric.
Keep the pattern and thread references together afterward. They will help you identify supplies for another project or experiment with a different color scheme.
Enjoy embroidery as an ongoing hobby
A small project offers opportunities to explore color, texture and personal expression. You may enjoy the quiet routine of stitching or the satisfaction of making a gift yourself. Set your own pace and treat early uneven stitches as part of learning.
After finishing one kit, choose your next project around one new skill. You can reuse suitable tools while gradually learning which fabrics, threads and styles you prefer.
When does digitizing become relevant?
If you later want an embroidery machine to reproduce custom artwork, that is a separate workflow involving a machine stitch file. DigitEMB’s embroidery and vector services describe its digital artwork services. Confirm the required deliverables for a machine project; a digital service order should not be assumed to include a physical hand-embroidery kit.
Frequently asked questions
Is a custom kit suitable for a complete beginner?
Yes, when the design remains manageable and the instructions explain the personalized elements. Ask to see the pattern style and learning resources before ordering.
Should I use all six strands of embroidery floss?
Use the number specified in the pattern. Six-strand floss can be separated, so a full bundle is not the default for every stitch or detail.
Are scissors always included?
No. Check the contents list and arrange suitable thread scissors if needed. Display backing and other finishing materials may also be separate purchases.
Can I reuse the hoop?
You can reuse a suitable stitching hoop when it is not part of the finished display. If you plan to leave the project in its hoop, account for another hoop when choosing your next project.
Practical details for Custom Embroidery Kits for Beginners & Hobbyists: What to Choose
Use the article above as a starting point, then make the production brief specific to your own design. A stitch file is made for a finished size and material, so the artwork alone is only part of the instruction.
Work through these points in order and keep the answers with the artwork or production request. A short written brief makes it easier to compare a proof with the intended result, ask a useful follow-up question and avoid relying on assumptions made from a screen image alone.
The aim is not to add unnecessary steps. It is to identify the choices that change the final result before work begins. If a requirement is unknown, flag it for confirmation rather than guessing; that keeps the approval process focused on the design, material and use that apply to this particular project. Save the approved brief with the project files for future reorders or revisions.
Confirm the finished use
State the item, placement and finished width and height. A chest logo, cap front and jacket back do not use the same sewing area, even when they start from the same artwork.
Protect the smallest details
Review small lettering, narrow gaps, thin outlines and tiny colour changes at the final size. Simplifying a fragile detail before digitizing is often more reliable than trying to force it into a small sew-out.
Match the file to the machine
Tell the production team the embroidery machine or format required, along with the fabric or garment type. This lets them prepare the right export and make choices that suit the material rather than treating every job alike.
Quick questions to check before you proceed
What should I send with my artwork?
Send the clearest original available, the finished dimensions, placement, fabric or garment type and the required machine format if you know it.
Can the same file be used at every size?
Not always. Scaling changes the relationship between stitch length, detail and fabric, so a design may need review when the finished size or placement changes.
What should I check before production?
Confirm the spelling, colours, final size, placement and any details that must remain readable. A proof or sample is the best point to catch a change.