
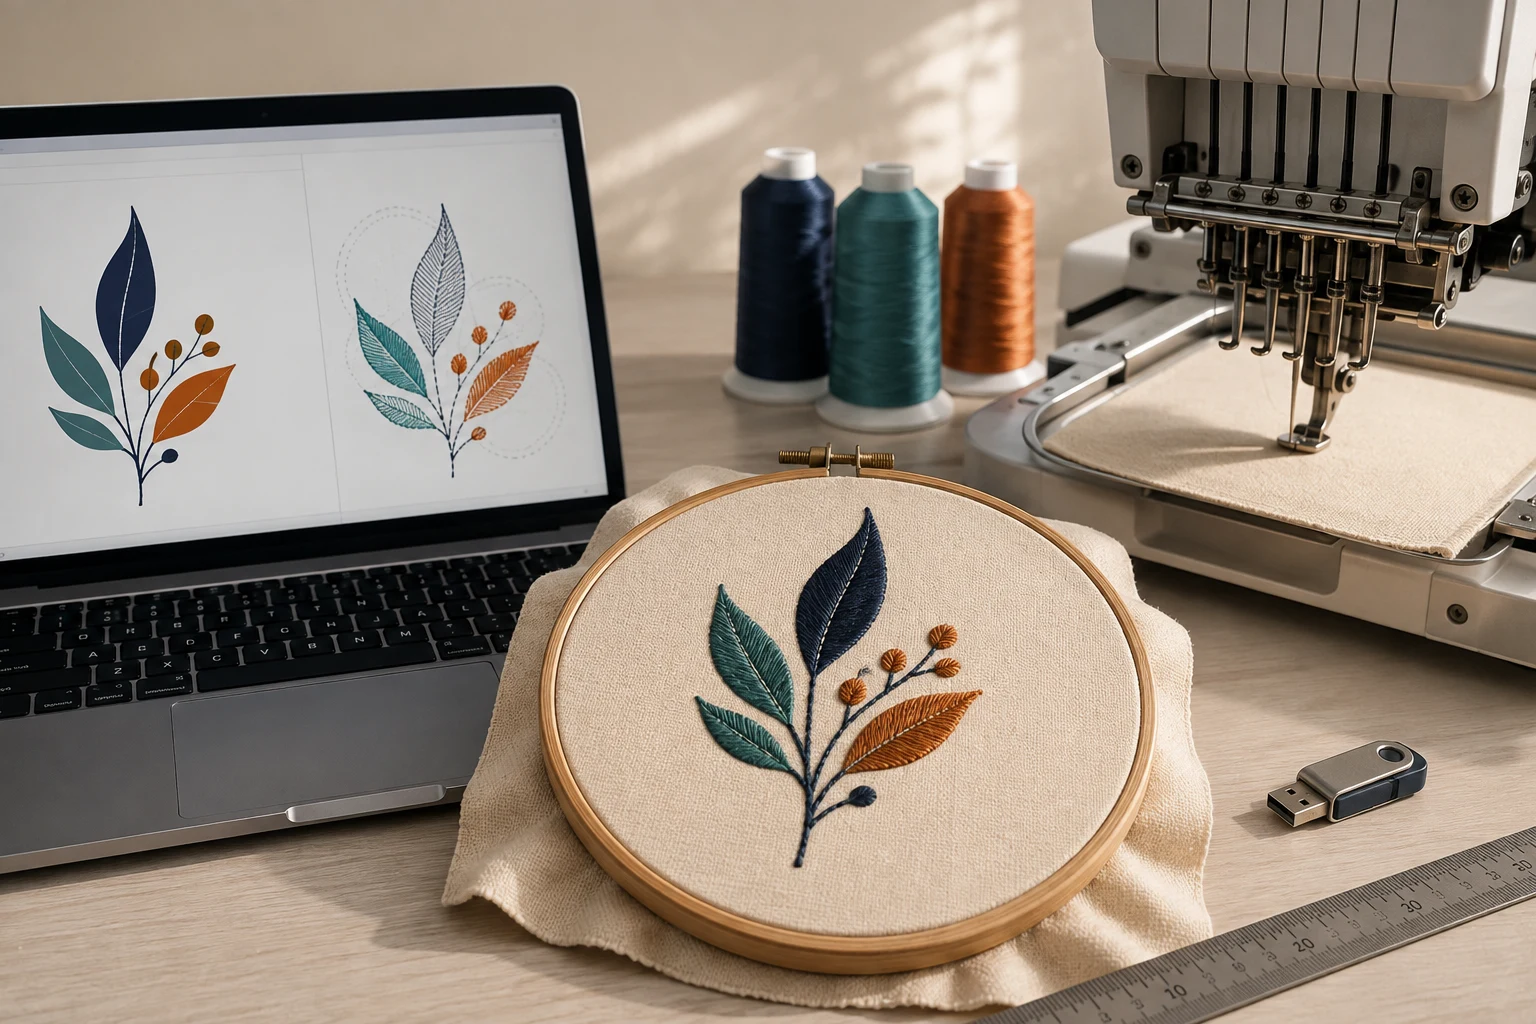
Cover image: AI-generated editorial concept; not a customer project or production proof.
Yes, you can turn SVG artwork into a PES embroidery file by digitizing the design in embroidery software and exporting it as PES. The work includes preparing shapes, assigning stitches, planning their order and testing the result. Renaming the file extension does not create embroidery instructions. Ink/Stitch’s workflow explains this progression from vector artwork to a stitched sample.
This guide covers preparing your SVG, choosing suitable software, creating the stitch design and checking the exported file before using it on apparel or accessories.
What is the difference between SVG and PES?
SVG describes graphics, including vector shapes, text and embedded images. An SVG extension therefore does not guarantee that every visible element is an editable vector path. W3C’s SVG specification describes these different content types.
PES is an embroidery file format supported by compatible machines. Check your exact model rather than assuming every machine from a particular manufacturer accepts it. For example, Brother’s embroidery data guidance identifies PES among the supported formats for the models listed on that page.
File | Role in this workflow |
|---|---|
SVG | Supplies the artwork; an Ink/Stitch project can also retain editable embroidery settings. |
PES | Carries the exported embroidery design for a compatible machine. |
Keep both files. Ink/Stitch recommends retaining the SVG for later changes alongside the exported machine file. Import and export documentation
Prepare the SVG before digitizing
Start with a copy of your artwork. Remove unused objects and simplify fragmented paths without changing the intended design. Keep color regions separate where they need different stitching, and review overlaps individually instead of merging everything into one shape.
Decide the finished embroidery dimensions before assigning stitches. Record width and height with units: for example, 3 inches wide is 76.2 mm. This avoids ambiguity when exchanging files with a digitizer or embroidery shop in the US, Canada or UK.
Inspect lettering and fine details at that size. Tiny gaps or narrow strokes may need to be enlarged or simplified. Ink/Stitch also provides embroidery lettering fonts as an alternative to building every letter from artwork. Its preparation guidance covers path cleanup and lettering considerations.
Choose a tool that can digitize and export PES
Look for two capabilities: creating stitches from artwork and exporting those stitches as PES. A tool that changes one existing embroidery format into another may not provide the artwork digitizing controls you need.
One documented option is Inkscape with Ink/Stitch. Ink/Stitch is a free, open-source embroidery digitizing platform, and PES appears in its supported export formats. Follow the installation instructions for your operating system. Ink/Stitch project, supported formats, installation guide
If evaluating other software, check its current documentation for SVG import, stitch editing, PES export and any edition restrictions. Use a sample of your own artwork to assess the workflow before purchasing.
How to convert SVG to PES with Ink/Stitch
1. Open and size the artwork
Open your SVG in Inkscape after installing Ink/Stitch. Set the intended embroidery dimensions and inspect the actual design boundaries against your machine’s usable embroidery area. Prepare editable paths for the objects you intend to stitch.
2. Assign stitches to the shapes
Select an object and open Extensions > Ink/Stitch > Params. The available settings depend on the object structure. Ink/Stitch organizes its basic embroidery elements into line, satin and fill structures. Params documentation
For a first project, a simple design with a few distinct regions is easier to inspect than detailed artwork with many tiny pieces.
Design element | Stitch approach to consider |
|---|---|
Fine outline or line detail | Running stitch along a path. |
Narrow border or suitable lettering | Satin column. |
Broad closed region | Fill stitching. |
Satin needs appropriate geometry and direction control. Ink/Stitch offers stroke-to-satin tools and manual columns; its fill-to-satin conversion can require further manual adjustment. Satin column documentation
3. Adjust the stitch settings
Review stitch length, spacing and the settings available for each object. Use the Params preview to inspect the effect of your changes. Defaults provide a starting point, but the stitched sample must determine whether they suit the project. Params documentation
For filled regions, review fill angle, row spacing and underlay. These controls affect how the region is built from stitches. Fill stitch documentation
For satin regions, inspect underlay and pull compensation. Ink/Stitch describes pull compensation as an outward adjustment intended to account for the narrowing caused by stitching. Avoid applying one universal value to every object. Satin parameters
4. Plan and preview the sequence
Arrange objects in their intended sewing order. Inspect travel between separated areas, color changes and overlapping regions. Run the simulator to watch the design build stitch by stitch before exporting. Ink/Stitch workflow
5. Save the project and export PES
Save the editable SVG. Then select File > Save a Copy, choose the PES embroidery format and save the output. Ink/Stitch documents this export route and lists PES as a supported output format. Export instructions, format support
Reopen the exported PES in embroidery software to inspect the result. Ink/Stitch can import embroidery files for individual stitch editing, but retain your original SVG for easier object-level revisions. Import instructions
6. Transfer and sew a sample
Follow your machine manual’s transfer instructions. Where USB transfer is supported, check the required media, folder location and filename rules. These requirements are model-specific: Brother’s USB retrieval guidance gives examples of file and media restrictions.
Sew a sample using the intended fabric and stabilizer. Check coverage, registration and overly dense areas, then revise the SVG and export again as needed. Ink/Stitch’s test-run guidance recommends testing on materials that match the final project.
What if the PES file does not work?
A successful export does not establish that the file fits your machine’s limits or will sew cleanly.
Problem | What to check |
|---|---|
The machine cannot display the design | Confirm format support, design dimensions and the model’s stitch, color and pattern limits. |
The USB file is missing | Check compatible media, folder depth and filename requirements in the machine manual. |
Dense areas cause sewing trouble | Review stitch spacing and unnecessary overlapping layers before testing again. |
Satin borders sew narrower than expected | Review the satin geometry and pull compensation, then compare another sample. |
Brother documents file visibility restrictions in its USB retrieval guidance and warns about excessive density and overlapping stitches in its embroidery data precautions. Satin adjustments are covered in Ink/Stitch’s documentation.
What to send when ordering SVG-to-PES digitizing
If you prefer to have the stitch design prepared for you, you can review DigitEMB’s embroidery digitizing service.
Provide the SVG plus a visual reference, and specify:
Finished width and height in inches or millimeters.
Exact embroidery machine model and usable hoop area.
Fabric or garment type and intended placement.
Required PES output and any format-version requirement from your manual.
Thread color references and details that must remain legible.
Ask what files and color information are included, how revisions are handled, and whether a physical sew-out is included. Plan a sample on your production materials before committing a full order.
Frequently asked questions
Can I convert SVG to PES for free?
Yes. Inkscape with Ink/Stitch provides a free, open-source route, including PES export. You still need to prepare the artwork and configure the embroidery. Ink/Stitch project, export formats
Can I just rename an SVG file to .pes?
No. Changing the filename does not generate stitches. The SVG must go through an embroidery digitizing workflow before export.
Will a PES file work on every embroidery machine?
No. Confirm support and design limits in the manual for your exact machine. A recognized extension alone does not establish compatibility.
Do I still need a test sew-out if the preview looks correct?
Yes. Use the preview to inspect the digital stitch plan and the sample to assess how it behaves on the intended fabric and stabilizer.
Practical details for How to Convert SVG to PES Files for Machine Embroidery
Use the article above as a starting point, then make the production brief specific to your own design. A stitch file is made for a finished size and material, so the artwork alone is only part of the instruction.
Work through these points in order and keep the answers with the artwork or production request. A short written brief makes it easier to compare a proof with the intended result, ask a useful follow-up question and avoid relying on assumptions made from a screen image alone.
The aim is not to add unnecessary steps. It is to identify the choices that change the final result before work begins. If a requirement is unknown, flag it for confirmation rather than guessing; that keeps the approval process focused on the design, material and use that apply to this particular project. Save the approved brief with the project files for future reorders or revisions.
Confirm the finished use
State the item, placement and finished width and height. A chest logo, cap front and jacket back do not use the same sewing area, even when they start from the same artwork.
Protect the smallest details
Review small lettering, narrow gaps, thin outlines and tiny colour changes at the final size. Simplifying a fragile detail before digitizing is often more reliable than trying to force it into a small sew-out.
Match the file to the machine
Tell the production team the embroidery machine or format required, along with the fabric or garment type. This lets them prepare the right export and make choices that suit the material rather than treating every job alike.
Quick questions to check before you proceed
What should I send with my artwork?
Send the clearest original available, the finished dimensions, placement, fabric or garment type and the required machine format if you know it.
Can the same file be used at every size?
Not always. Scaling changes the relationship between stitch length, detail and fabric, so a design may need review when the finished size or placement changes.
What should I check before production?
Confirm the spelling, colours, final size, placement and any details that must remain readable. A proof or sample is the best point to catch a change.