
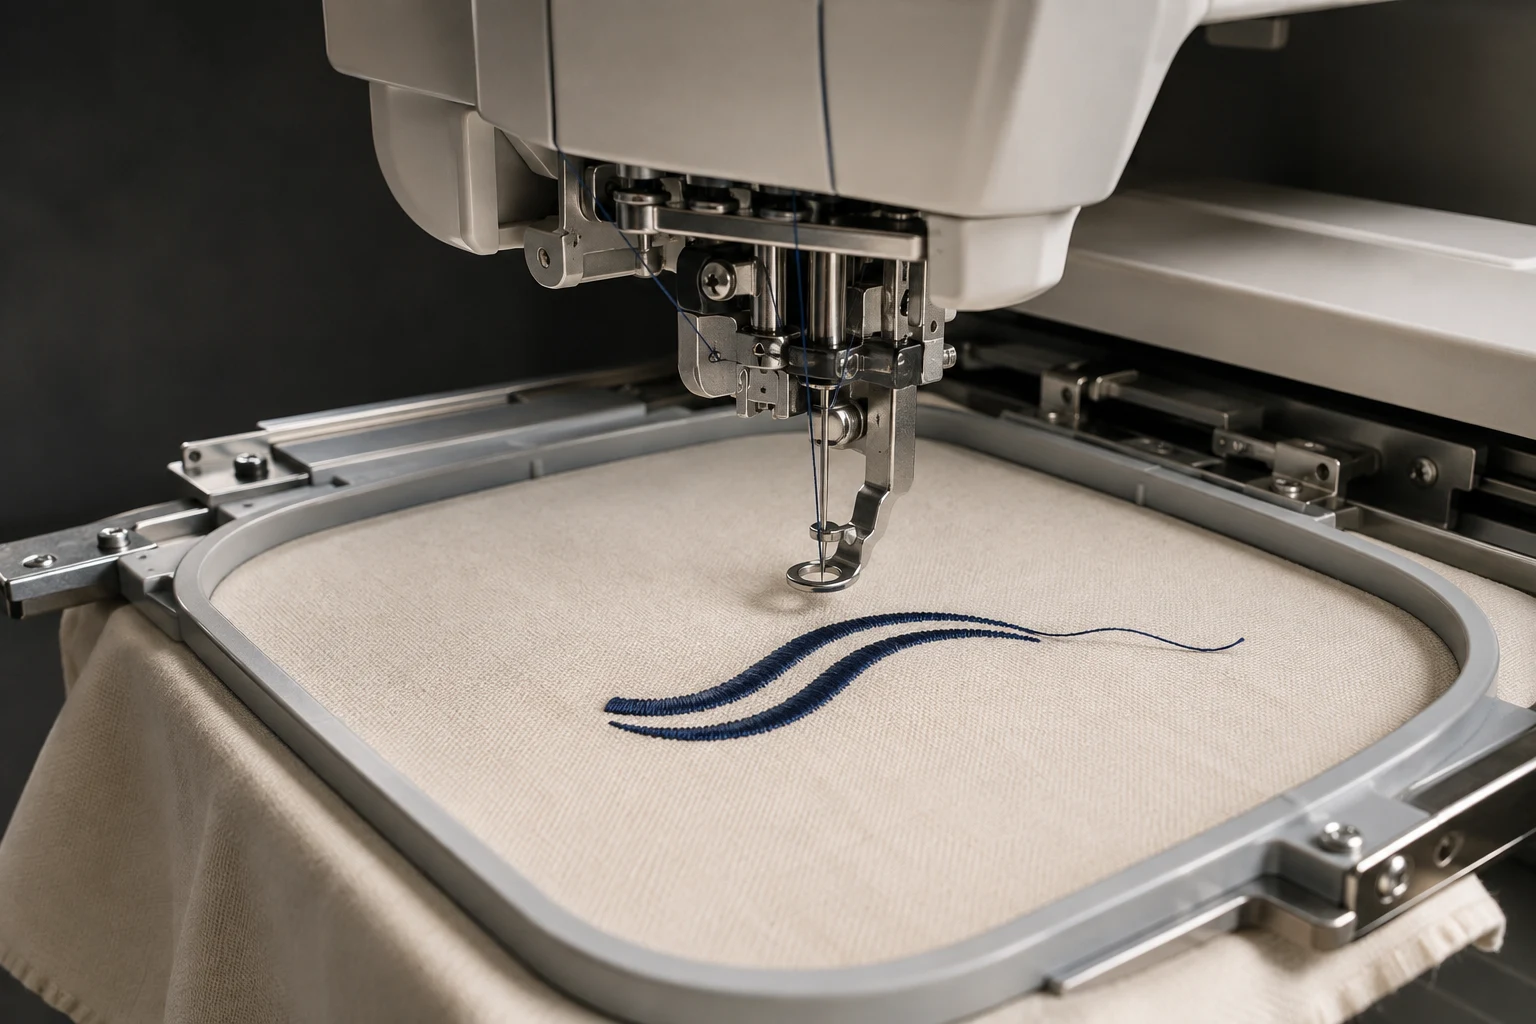
Cover image: AI-generated editorial concept; not a customer project or production proof.
For common machine embroidery problems, start by checking threading, needle condition, bobbin installation and fabric support. Stop immediately for a jam, broken needle or unfamiliar mechanical noise. Follow your machine’s manual before cleaning or replacing parts, then verify the result on a sample before continuing production.
This guide covers first checks for five interruptions: bird nesting, thread breakage, needle breakage, skipped stitches and unusual noise. Poor results can involve the machine setup, materials or stitch file; the symptom alone does not identify who or what caused it.
Choose your first check
What you notice | Where to start |
|---|---|
Thread bunching underneath | Clear the jam and check the complete upper thread path. |
Thread snapping or fraying | Check for tangled thread, a damaged needle and excessive upper tension. |
A broken needle | Stop and inspect needle installation and possible contact with surrounding parts. |
Gaps from skipped stitches | Check threading, needle condition and correct installation. |
New clicking, grinding or rattling | Stop and inspect the accessible bobbin area and setup according to the manual. |
The checks below explain these starting points. For additional symptoms such as bobbin thread showing on top, trimming failures, sensor problems or hoop marks, see the broader embroidery machine troubleshooting guide.
1. Bird nesting: thread bunching underneath
A nest of tangled thread beneath the fabric can start with incorrect upper threading. Its location does not automatically mean the bobbin tension needs adjustment. Brother explains that upper thread which cannot be pulled back correctly can collect in the bobbin area. See its tangled-thread explanation.
Turn off the machine and release the trapped thread using the manual’s jam-clearing procedure. Avoid pulling the garment free by force. Remove and rethread the upper thread through every required guide and the take-up lever; reinstall the bobbin correctly if you removed it.
Check fabric support as well. Brother includes unsuitable needle, thread and fabric combinations and inadequate stabilizer among its thread-bunching checks.
Before restarting, inspect the fabric for damage and confirm that it has not shifted in the hoop. If it moved, establish alignment before attempting to continue the design.
2. Thread breakage: snapping or fraying
Start with the thread path. Look for tangles around the spool and check that any spool cap suits the setup. Then inspect the needle for damage and confirm that its type and size suit the machine, fabric and thread.
Rethread before changing tension. If the upper tension is excessive, adjust it using the machine’s procedure, making one change at a time. Brother identifies threading, spool setup, tight upper tension and needle condition in its thread-break troubleshooting guidance.
Record where the break occurred: the color, needle position on a multi-needle machine, and approximate stitch number. A repeat at the same point is useful evidence for further investigation, but it does not prove that the file is faulty.
When continuing after a break, use your model’s stitch-back or recovery controls to return to the appropriate point. Do not assume every machine uses the same buttons or number of recovery stitches. Brother’s embroidery recovery instructions illustrate a model-specific procedure.
3. Needle breakage: inspect before replacing and restarting
A broken needle requires a stop, not simply another attempt with a fresh needle. Turn off the machine and follow its instructions for removing the needle and accessing the work area. Account for the broken pieces before resuming.
Check whether the needle was correctly installed, whether the bobbin case is seated properly, and whether thread has tangled around the spool. Inspect accessible parts for visible damage. Brother lists these issues, excessive upper tension and burrs around the embroidery foot in its needle-breakage guidance.
Install the specified needle fully and in the orientation required by your manual. Needle orientation instructions should not be transferred between different machine systems.
Keep excess garment fabric from obstructing carriage movement. Brother warns that unsupported large garments can restrict movement and allow the frame to strike the needle in its embroidery operating guidance.
If contact or breakage continues, stop and arrange service instead of repeatedly replacing needles.
4. Skipped stitches: check stitch formation
Skipped stitches leave gaps where stitches should have formed. Begin with correct upper threading and a fresh, suitable needle installed according to the manual. Check the bobbin installation and use the specified bobbin thread.
Lint beneath the needle plate is another item to inspect. Turn off and unplug the machine before cleaning, following the model’s access instructions. Brother’s skipped-stitch guidance identifies these setup and cleaning checks.
If skipping persists after those checks, seek technical assistance. Needle-to-hook problems require appropriate diagnosis; changing needle-bar depth or hook timing is not a routine fabric adjustment. See Brother’s stitch-skipping service guidance.
5. Unusual noise: stop and identify what changed
A new clicking, grinding or rattling sound deserves investigation. Stop embroidering, turn off the machine and inspect the accessible areas specified in the manual. Check for tangled thread, lint in the bobbin area, incorrect needle installation and an improperly attached embroidery unit.
After correcting an identifiable setup issue, follow the manual’s procedure for testing. Persistent unfamiliar noise needs service. These steps follow Brother’s embroidery clicking-noise guidance.
Do not oil a machine merely because it sounds noisy. Lubrication depends on the model. Brother specifies user oiling for certain commercial embroidery models in its maintenance instructions, while other models must not be oiled by the user. Check the applicable models in its no-user-oiling guidance.
Test the correction before continuing the order
Use a sample matching the intended fabric and support. Keep a short record of the symptom, original setup, change made and result. Change one variable at a time so the test helps explain what improved.
As a practical comparison, try a previously successful design on a matching sample once the machine is safe to operate. If several files fail, investigate the shared setup. If only one design repeatedly fails at one location, send that evidence for file review. Treat this comparison as a diagnostic clue, not a final verdict.
Before returning to the interrupted garment, check for holes, trapped thread, missed stitching and movement in the hoop. Use the machine’s recovery procedure and watch the restart closely.
For buyers and production teams in the US, Canada and UK, a useful troubleshooting brief includes:
Photos of both sides of the sew-out.
Machine model, file version and the point where the problem occurs.
Fabric, backing, topping, needle and thread details.
Finished dimensions explicitly labeled in inches or millimeters.
Changes already tested and their results.
When requesting DigitEMB embroidery digitizing, include those details alongside the artwork and required machine format. Mechanical noise and repeated needle contact should go to a machine technician.
Frequently asked questions
Should I change bobbin tension first when thread bunches underneath?
Start with the upper thread path and correct bobbin installation. Incorrect upper threading can cause underside tangles. Only adjust bobbin tension using your model’s instructions after checking the setup.
Does a thread break mean the design needs redigitizing?
No. Threading, needle condition and tension can also cause breaks. Record the failure point and compare sample results before requesting a file change.
How often should I clean or service the machine?
Follow the manufacturer’s maintenance schedule and procedures for your model and workload. Keep the accessible thread and bobbin areas clean as directed, and arrange service when faults persist after the permitted checks.
Can I continue on the same garment after a jam?
Only after the jam is cleared, the setup is checked and the fabric and alignment remain usable. If the fabric is damaged or has shifted, assess whether an accurate restart is possible before adding more stitches.
Practical details for 5 Common Machine Embroidery Problems: First Checks and Safe Restarts
Use the article above as a starting point, then make the production brief specific to your own design. A stitch file is made for a finished size and material, so the artwork alone is only part of the instruction.
Work through these points in order and keep the answers with the artwork or production request. A short written brief makes it easier to compare a proof with the intended result, ask a useful follow-up question and avoid relying on assumptions made from a screen image alone.
The aim is not to add unnecessary steps. It is to identify the choices that change the final result before work begins. If a requirement is unknown, flag it for confirmation rather than guessing; that keeps the approval process focused on the design, material and use that apply to this particular project. Save the approved brief with the project files for future reorders or revisions.
Confirm the finished use
State the item, placement and finished width and height. A chest logo, cap front and jacket back do not use the same sewing area, even when they start from the same artwork.
Protect the smallest details
Review small lettering, narrow gaps, thin outlines and tiny colour changes at the final size. Simplifying a fragile detail before digitizing is often more reliable than trying to force it into a small sew-out.
Match the file to the machine
Tell the production team the embroidery machine or format required, along with the fabric or garment type. This lets them prepare the right export and make choices that suit the material rather than treating every job alike.
Quick questions to check before you proceed
What should I send with my artwork?
Send the clearest original available, the finished dimensions, placement, fabric or garment type and the required machine format if you know it.
Can the same file be used at every size?
Not always. Scaling changes the relationship between stitch length, detail and fabric, so a design may need review when the finished size or placement changes.
What should I check before production?
Confirm the spelling, colours, final size, placement and any details that must remain readable. A proof or sample is the best point to catch a change.