
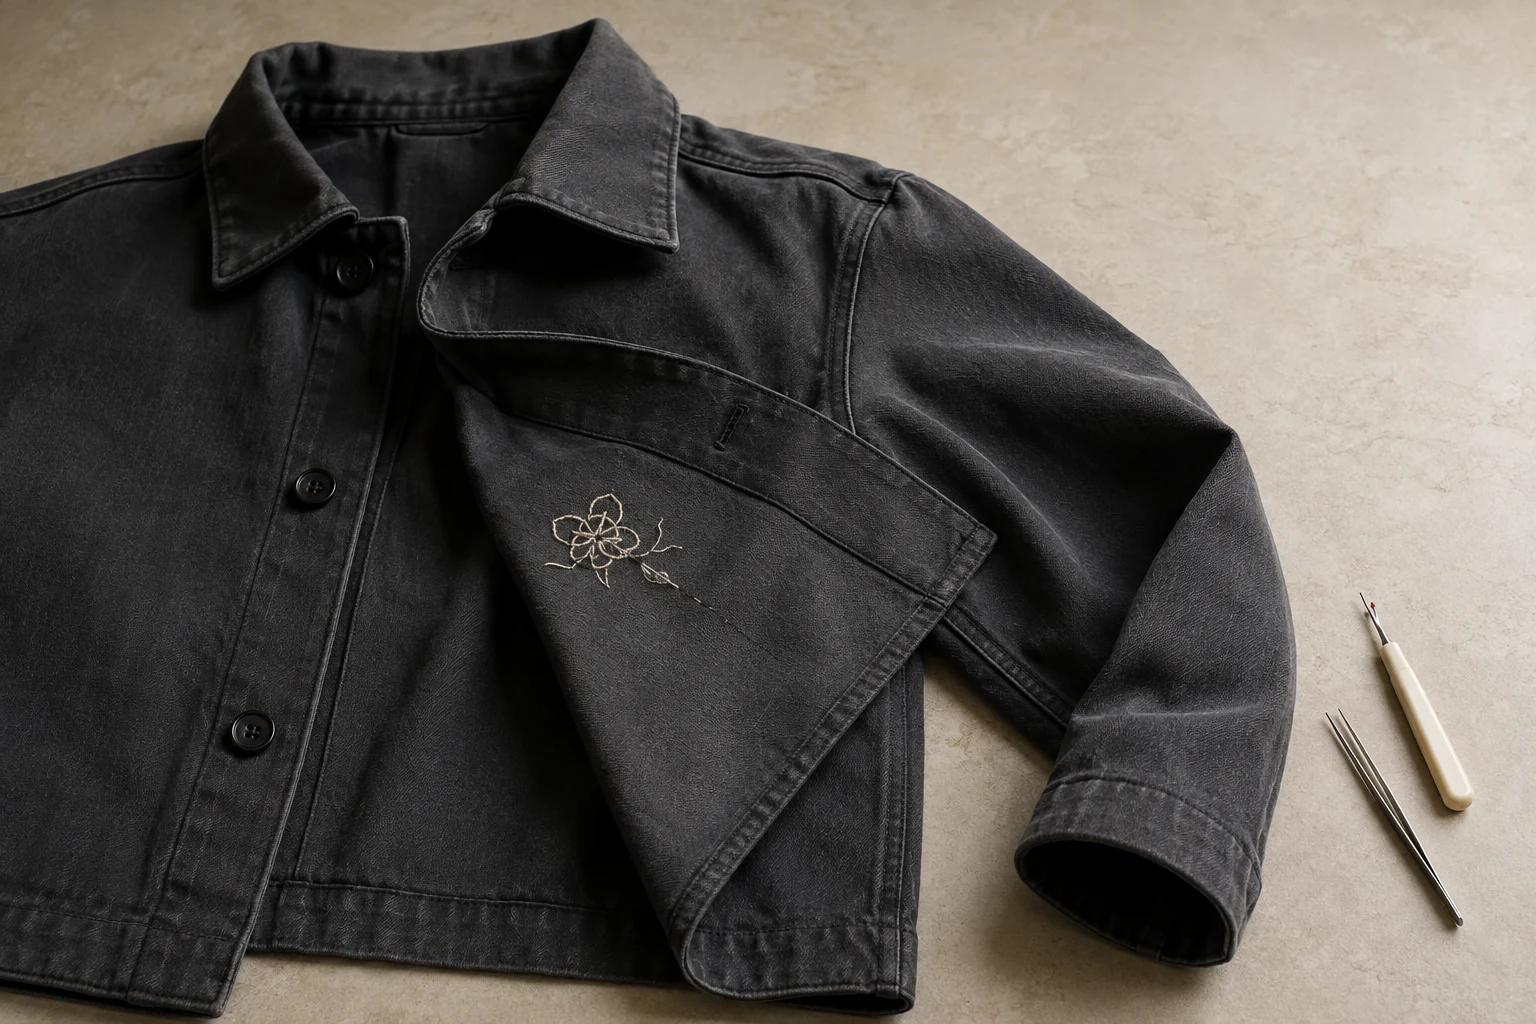
Cover image: AI-generated editorial concept; not a customer project or production proof.
Yes, you can sometimes remove embroidery from a jacket, but you cannot guarantee an unmarked finish. The decision depends on the jacket’s material, access behind the design and the condition of the stitched area. Removing the thread may leave needle holes or damage; the Embroiderers’ Guild of America explains these limitations in its stitch-removal guidance.
Before cutting an old company logo, name or emblem, decide whether a visible outline would be acceptable. If you need the jacket to look completely plain, have an alterations professional assess it first.
Check the jacket before choosing removal
Look at both sides of the decorated area. Identify the outer fabric, any lining and the embroidery backing, also called stabilizer. Do not assume everything behind the logo is disposable backing.
First establish whether the decoration is stitched directly into the jacket or embroidered onto a separate patch. With a sewn-on patch, you may only need to release its attachment stitches. If the patch remains bonded after those stitches are removed, stop rather than pulling it away.
Use these conservative starting points when deciding whether to attempt the work:
Jacket construction | Suggested approach |
|---|---|
Unlined denim or canvas with accessible stitches | Consider a small removal trial if the fabric is sound and you accept possible marks. |
Jacket with a closed lining | Ask an alterations professional about access; do not cut through the lining to reach the logo. |
Fleece, stretch fabric or a fine woven shell | Seek advice if you cannot clearly separate embroidery thread from the fabric surface. |
Leather or suede | Have a specialist assess the likely visible result before removing stitches. |
Waterproof or laminated outerwear | Contact the garment maker or an appropriate technical repair service first. |
Padded or quilted jacket | Check which layers the embroidery crosses; avoid disturbing insulation or construction stitching. |
Waterproof jackets need particular care. GORE-TEX states that alterations can compromise waterproofness and that embroidered logos require seam sealing at an authorized facility. For a GORE-TEX jacket, consult its alteration and repair guidance before changing the decorated area. For other shells, ask their manufacturer rather than assuming the same repair method applies.
A four-step method for accessible jacket embroidery

Use this approach only where you can see and isolate the embroidery stitches. Prepare a seam ripper, fine embroidery scissors, tweezers, a magnifier and good lighting. Clover describes the seam ripper’s cutting edge and stitch-removal purpose in its tailoring tools guide.
1. Expose the back of the design
Turn the jacket inside out or use an existing embroidery access opening. Support the decorated panel on a clean table, with the lining and other loose layers clear of the work. If the reverse remains concealed, pause for professional help.
Do not tear away backing that is still trapped under stitches or bonded to the shell. Proceed only when you can distinguish thread, backing and garment fabric.
2. Cut a few visible stitches
Choose a small edge of the design. Slip the seam ripper beneath an embroidery thread and cut it without catching the jacket. Use scissors only where you can clearly isolate a thread. Avoid pushing the blade beneath a dense area blindly.
3. Lift the loosened threads
Turn to the front and remove released thread with tweezers. If it resists, inspect the reverse and release the remaining stitch rather than pulling harder. Alternate between both sides in small sections, checking for damage as you go.
4. Clear loose thread and inspect
Lift away fragments. On suitable fabric, use a lint roller gently, watching for snags. Inspect both sides under good light before continuing. The Embroiderers’ Guild of America supports gentle removal, frequent inspection of both sides and careful thread cleanup.
Stop if the fabric starts to split, snag or stretch, or if you can no longer identify what the tool is cutting. A small trial is a decision point, not a promise that the entire design will come out cleanly.
Should you use a stitch eraser or hair trimmer?
A purpose-made stitch eraser is an option for some machine embroidery, but it requires its own operating instructions. The Peggy’s Stitch Eraser 9 instructions supplied by Madeira describe controlled cutting of satin stitches and stopping when the backing becomes visible. This is not a universal method for every jacket fabric or stitch structure.
For an unfamiliar jacket, avoid improvising with a hair trimmer or shaving razor. If hand tools cannot safely separate the stitches, get an assessment before trying powered cutting. Speed is less useful than being able to see exactly which layer you are cutting.
What to do if marks remain
Inspect the cleared area before washing or pressing. Follow the jacket’s care label for any cleaning or heat treatment; generic advice to steam embroidery fabric should not override instructions for a finished jacket.
Do not keep scraping at a remaining outline once the thread is gone. Ask a repair professional whether the area is suitable for a cover patch, reinforcement or replacement embroidery. Covering a mark and repairing weakened fabric are separate jobs.
If a new design is planned, have the embroiderer assess the actual panel before commissioning the stitch file. Share photographs of the front and reverse, the jacket material, the old design’s dimensions and the proposed replacement size. State measurements in inches or millimeters clearly when coordinating with suppliers in the US, Canada or UK.
DigitEMB’s service directory lists embroidery digitizing, including jacket back work. Use it to discuss a replacement design file after the garment has been assessed; confirm physical removal and repair separately with the person handling the jacket.
Frequently asked questions
Can you remove a logo without opening the lining?
Only if the stitches are already accessible through an existing opening or the jacket’s construction. If the lining conceals them, an alterations professional can assess how to gain access and close it afterward.
Is removing a patch easier than removing direct embroidery?
A patch attached only with perimeter stitching may involve fewer attachment stitches to release. Check for adhesive and additional stitching before lifting it. Do not dismantle the embroidery within the patch unnecessarily.
Will washing make the old logo disappear?
Do not rely on it. Washing is a care step, not a guaranteed repair for needle holes, damaged fabric or a visible outline. Follow the garment label and assess the result before choosing further work.
What should I ask a removal specialist?
Ask whether they can assess your jacket’s material and lining, what marks may remain, whether a small trial is possible and what the quote includes. Agree on the stopping point and any repair or cover-up plan before work begins.
Practical details for Can You Remove Embroidery from a Jacket? Steps and Fabric Risks
Use the article above as a starting point, then make the production brief specific to your own design. A stitch file is made for a finished size and material, so the artwork alone is only part of the instruction.
Work through these points in order and keep the answers with the artwork or production request. A short written brief makes it easier to compare a proof with the intended result, ask a useful follow-up question and avoid relying on assumptions made from a screen image alone.
The aim is not to add unnecessary steps. It is to identify the choices that change the final result before work begins. If a requirement is unknown, flag it for confirmation rather than guessing; that keeps the approval process focused on the design, material and use that apply to this particular project. Save the approved brief with the project files for future reorders or revisions.
Confirm the finished use
State the item, placement and finished width and height. A chest logo, cap front and jacket back do not use the same sewing area, even when they start from the same artwork.
Protect the smallest details
Review small lettering, narrow gaps, thin outlines and tiny colour changes at the final size. Simplifying a fragile detail before digitizing is often more reliable than trying to force it into a small sew-out.
Match the file to the machine
Tell the production team the embroidery machine or format required, along with the fabric or garment type. This lets them prepare the right export and make choices that suit the material rather than treating every job alike.
Quick questions to check before you proceed
What should I send with my artwork?
Send the clearest original available, the finished dimensions, placement, fabric or garment type and the required machine format if you know it.
Can the same file be used at every size?
Not always. Scaling changes the relationship between stitch length, detail and fabric, so a design may need review when the finished size or placement changes.
What should I check before production?
Confirm the spelling, colours, final size, placement and any details that must remain readable. A proof or sample is the best point to catch a change.