
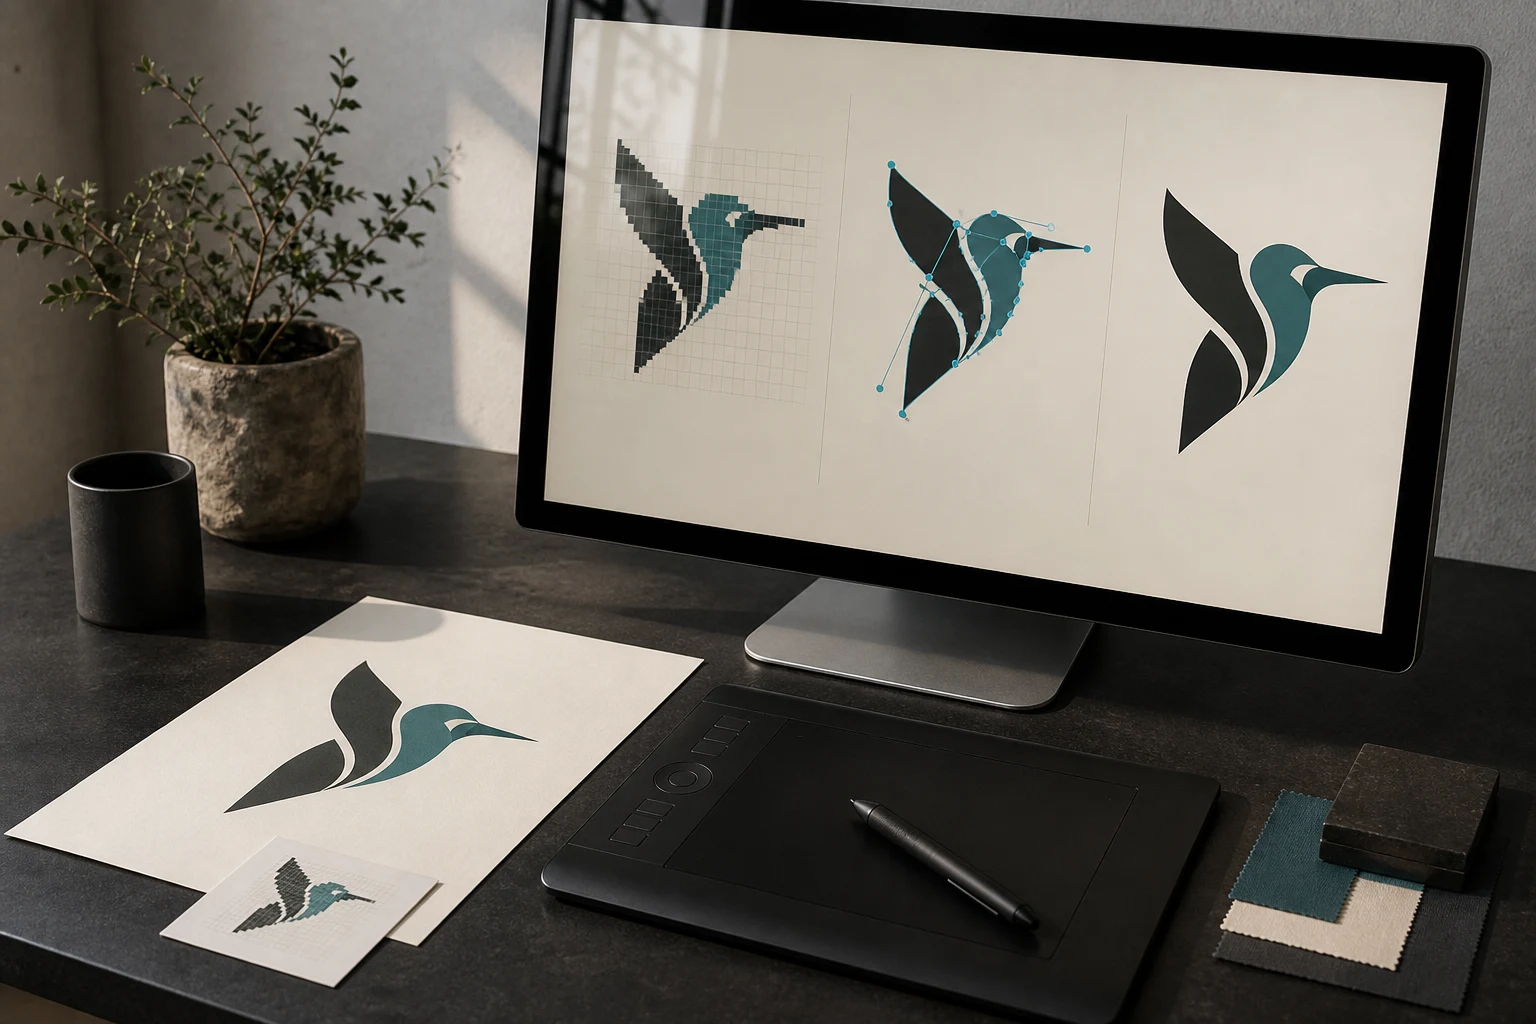
Cover image: AI-generated editorial concept; not a customer project or production proof.
To convert a bitmap into vector artwork in CorelDRAW, import and select the image, choose Bitmaps > Outline Trace > Logo, adjust the PowerTRACE preview, then refine the resulting curves and save your work. The Logo preset is a starting point for simple artwork with few colors. Corel’s tracing instructions.
This guide covers the CorelDRAW workflow for simple logos, illustrations and artwork intended for printing. PowerTRACE belongs to CorelDRAW; Adobe Illustrator uses different tools. Menu appearance and available controls can vary with your version.
1. Prepare and import your bitmap
Start with the clearest original JPG, PNG or BMP available. Keep an untouched copy. Check whether small lettering, corners and interior spaces are visible before tracing; an unclear reference leaves decisions about the intended shapes unresolved.
Open a CorelDRAW document and choose File > Import. Select your image, place it on the page and select it with the Pick tool. Corel demonstrates this import-and-select sequence in its JPEG-to-vector tutorial.
Remove obvious scanning dirt or unnecessary background content before tracing when possible. Corel’s PowerTRACE walkthrough shows how cleaning a source image can reduce unwanted complexity in the result.
2. Choose a tracing method
With the bitmap selected, open Bitmaps > Outline Trace and choose a preset. You can also access tracing through Trace Bitmap on the property bar.
Artwork | Useful starting option |
|---|---|
Simple logo with few colors | Outline Trace > Logo |
Logo with finer detail and more colors | Outline Trace > Detailed Logo |
Black-and-white sketch or illustration | Outline Trace > Line Art |
Drawing where you want paths following the centers of lines | Centerline Trace |
Outline tracing follows shape boundaries; centerline tracing serves a different purpose for line drawings. Choose according to the objects you need to edit afterward. Corel documents these methods and presets in its Trace bitmaps help.
Quick Trace applies tracing settings without opening the PowerTRACE adjustment dialog. For a first attempt, use an Outline Trace preset so you can inspect and adjust the result. Corel’s PowerTRACE overview.
3. Adjust the PowerTRACE preview
Compare the original and traced artwork while changing one control at a time. Avoid copying numerical settings from an unrelated image.
Control | What to inspect |
|---|---|
Detail | Retain important features without capturing every accidental speck. |
Smoothing | Reduce uneven curves while preserving the intended silhouette. |
Corner smoothness | Check that deliberate corners remain recognizable. |
Colors | Remove or merge unnecessary shades without losing intended color differences. |
Background removal | Confirm that unwanted background areas disappear while required white details remain. |
Leave Delete Original Image unchecked while evaluating the conversion. A retained source lets you compare or retrace the artwork. Corel explains the detail, smoothing, corner and background controls in its PowerTRACE adjustment tutorial, and the Colors tab in its vectorization walkthrough.
Inspect small lettering and narrow gaps closely. Then view the artwork at its intended physical size: a detail that looks acceptable while enlarged may be difficult to read on the finished item.
4. Refine the vector shapes
Click OK to accept the trace. If you retained the bitmap, move the traced result beside it with the Pick tool for comparison. Corel’s comparison workflow.
Inspect the vector artwork independently. Look for stray shapes, distorted corners, missing interior spaces and curves that should be smoother. Select individual objects, ungrouping as needed, before deleting unwanted pieces.
Use the Shape tool to adjust curve nodes and control handles. Make small corrections and compare them with the reference. Corel explains this editing behavior in its Edit Shape tools guide.
For a simple geometric element, consider rebuilding the shape instead of repeatedly correcting an uneven trace. If lettering is unclear, request a better reference or the original font information before deciding what its contours should be.
Automatic or manual tracing: which should you use?
Try automatic tracing when the source has clear boundaries and relatively simple shapes. Review how much cleanup remains before committing to the result.
Manual tracing gives you control over how ambiguous edges and precise geometry are reconstructed. It can be useful when repeated PowerTRACE adjustments still distort important details. A combined workflow is also practical: trace the usable portions automatically and redraw the elements that need more attention.
Judge the finished paths against the intended artwork and application. Neither method removes the need to inspect the result.
5. Save and export your artwork
Save an editable CDR master before creating a delivery copy. Use File > Export for the recipient’s requested format and review the available export options. Corel recommends keeping a CDR original because other formats may not retain every feature. Corel’s saving and export guidance.
If your supplier requests EPS, select that format during export and review its settings. Corel’s EPS documentation.
Export only the intended artwork. Do not rely solely on hiding the reference bitmap: Corel notes that hidden-layer objects can still export unless their printing and exporting function is disabled. Use the appropriate layer settings or selected-object export where available. Corel’s export options.
Reopen the delivery file and select its objects. Confirm that the finished artwork contains editable curves and that the original bitmap has not been included accidentally.
Prepare a useful print handoff
For suppliers in the US, Canada or UK, state dimensions with units—for example, “4 inches wide” or “100 mm wide.” Include the intended printing process, required colors, accepted file format and a visual reference of the approved design.
Ask the printer to confirm color settings, minimum detail and any bleed requirements for the actual job. Tracing completes the conversion stage; the supplier still needs to assess the artwork for production.
If you need assistance reconstructing the image, explore DigitEMB’s raster-to-vector service. Send the clearest source, finished dimensions and intended use so the work can be assessed.
Frequently asked questions
Is PowerTRACE an Adobe Illustrator tool?
No. This workflow uses CorelDRAW. PowerTRACE is accessed through CorelDRAW’s bitmap tracing commands. Corel tracing help.
Why did my trace lose small details?
Review the Detail setting and the source image. Increase detail cautiously and compare again; you may also capture unwanted marks. Corel recommends retracing with a higher Detail setting when needed. Corel’s tracing tutorial.
Should I delete the original bitmap immediately?
Keep it while checking and refining the trace. Exclude it from the delivery export once you have confirmed the finished vector artwork.
Can I simply save the bitmap in a vector format?
Saving alone does not perform the tracing step. Convert the image into curves first, then reopen the exported file and inspect its objects.
Practical details for How to Convert a Bitmap Into Vector in CorelDRAW
Vector artwork is built from editable paths rather than a fixed grid of pixels. The clearest result starts with a specific intended use, because a file prepared for print, cutting and embroidery may need different checks.
Work through these points in order and keep the answers with the artwork or production request. A short written brief makes it easier to compare a proof with the intended result, ask a useful follow-up question and avoid relying on assumptions made from a screen image alone.
The aim is not to add unnecessary steps. It is to identify the choices that change the final result before work begins. If a requirement is unknown, flag it for confirmation rather than guessing; that keeps the approval process focused on the design, material and use that apply to this particular project. Save the approved brief with the project files for future reorders or revisions.
Start with the best source
Provide the largest, clearest original you have and include any brand colours, fonts or reference files. A small or blurry image can still be traced, but missing edges and lettering need careful confirmation.
Define the final use
Say whether the artwork is for print, cutting, screen printing, embroidery reference or a digital asset. This tells the artist which details, colour separations and file formats matter most.
Review paths, text and colour
Before using the finished file, check that lettering is correct, shapes are closed where required and colours match the approved artwork. Keep a master editable file as well as the delivery format used by production.
Quick questions to check before you proceed
Is a vector file the same as an embroidery file?
No. A vector is editable artwork; an embroidery file contains stitch instructions. Vector art can be useful source material for digitizing, but it still needs to be digitized for machine embroidery.
Can a blurry logo be converted?
Often, yes, but the result depends on what can be verified. Supply a clearer reference, font name or brand guide whenever possible.
Which details need approval?
Check spelling, line weight, enclosed spaces, colour choices and the shape of any logo elements before the file goes to print or production.