
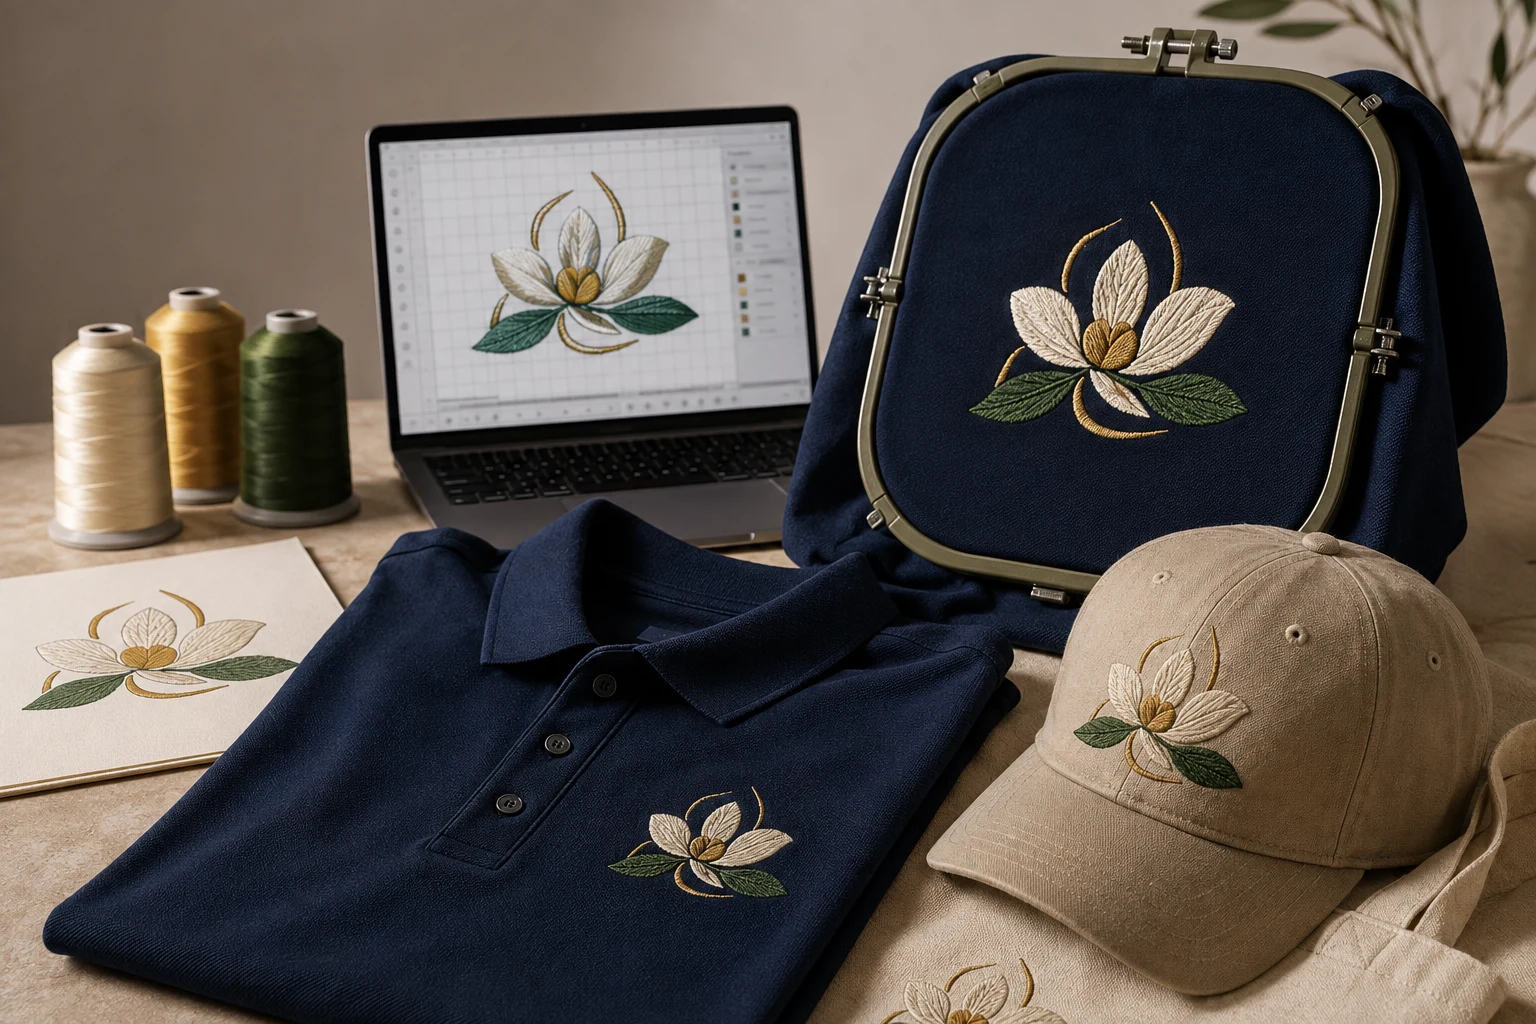
Cover image: AI-generated editorial concept; not a customer project or production proof.
The best embroidery digitizing service for your Mississippi project is one that understands your garment, supplies the file your embroiderer needs, and supports revisions after a test sew-out. Compare relevant stitched samples and written project terms before choosing a provider.
Whether you are ordering uniforms in Jackson, caps in Tupelo or personalized gifts on the Gulf Coast, first establish what you are buying: a digital embroidery file, finished embroidered goods, or both. That distinction makes quotes easier to compare and helps prevent gaps between artwork approval and production.
Choose the service that matches your project
A Mississippi embroidery shop may be convenient when you need to inspect garments, discuss placement or collect finished items. An online digitizing service is another option when you already have an embroiderer and need artwork prepared for its machines. Ask each provider who handles digitizing, sampling and production, and who will resolve problems if the sample needs changes.
Your requirement | What to confirm |
|---|---|
Finished uniforms, caps or gifts | Garment supply, decoration, sample approval and collection or shipping arrangements |
A digital stitch file | Required machine format, final dimensions, intended fabric and revision terms |
Artwork cleanup or vector conversion | Deliverable artwork formats and whether embroidery digitizing is a separate service |
Several products using one logo | Which sizes and placements need separate embroidery versions |
A fixed event date | Separate dates for file delivery, sample review, production and receipt |
For local orders, confirm the provider’s actual location and appointment or pickup arrangements directly. A page mentioning Mississippi does not establish that a business has a local workshop.
Understand what digitizing delivers
Embroidery digitizing turns artwork into a stitch plan. It includes decisions about stitch types, directions and fabric-related settings before a machine file is produced. Wilcom’s documentation distinguishes the original image, the embroidery design, the visual preview and the exported machine file. These are different deliverables. Wilcom’s explanation of image-to-embroidery conversion.
Ask your embroiderer to specify its required format before ordering. Request the final dimensions, a color sequence or production sheet, and confirmation of whether an editable design file is included. Avoid assuming that every file advertised as an embroidery file will suit your machine and project.
DigitEMB’s embroidery digitizing service is a starting point for discussing file preparation. Include the intended product and your embroiderer’s requirements when requesting a quote.
Compare quality using relevant evidence
Ask to see close-up photographs of actual embroidery similar to your order. A large jacket design offers limited evidence of how a provider handles a small uniform logo. Likewise, request cap examples when your project involves caps.
Useful questions include:
Can you show a stitched sample with comparable lettering and detail?
What information do you need about the fabric and garment?
Who will run the test sew-out?
What changes are included if the test reveals a problem?
How should the embroiderer send photographs and production details for a revision?
Fabric matters because stitches can pull material inward. Stitch spacing, underlay and pull compensation must work together for the design and fabric. Underlay consists of supporting stitches beneath the visible embroidery; pull compensation adjusts shapes to account for distortion during stitching. Wilcom’s underlay and pull compensation guidance.
Use that knowledge to assess a provider’s questions and explanations. You do not need to prescribe technical settings yourself.
Prepare artwork and explain where it will be used
Send the clearest original artwork available, along with the intended embroidered size. Include both width and height, clearly labeled in inches or millimeters. For example, a requested width of 3 inches is 76.2 mm; do not leave the provider to infer units.
Your brief should identify:
The garment or product, including its material and construction when known.
The placement, such as left chest, cap front or jacket back.
Every required size and product version.
Wording and design elements that must remain recognizable.
Thread color references agreed with the embroiderer.
The machine format and available embroidery area.
The deadline for approving the sample and receiving the finished order.
For a Mississippi restaurant uniform order, for example, specify the actual shirt and apron materials separately. For team caps, provide the cap style and intended placement. These are planning examples, not customer case studies.
Where vector art helps
Vector artwork uses paths and shapes that can be scaled without the pixelation associated with enlarging raster images. It can make logo cleanup and editing easier. Adobe explains the distinction in its guide to raster and vector images.
A clean vector file still needs embroidery digitizing. Its scalability does not mean that every fine line or tiny letter will reproduce successfully in thread at any size. Wilcom accepts bitmap and vector inputs in its documented conversion workflow, then generates embroidery data and machine output as separate steps. Wilcom’s conversion workflow.
Ask the provider to flag details that need simplification before work begins. If your logo also needs rebuilding for print or other uses, discuss raster-to-vector conversion and specify the artwork files you need alongside the embroidery deliverables.
Review the proof, then approve a sew-out
A digital proof is useful for checking wording, layout and the intended color order. It cannot establish how the embroidery will behave on your garment: Wilcom describes its TrueView preview as a simulation of stitches. Its documentation also says automatically generated fabric settings should be checked and adjusted before production. Wilcom’s preview and quality guidance.
Arrange a test sew-out with the embroiderer using the intended material and production setup. Inspect lettering, outline alignment, coverage and the surrounding fabric. Confirm thread colors against the agreed physical references where color is important.
If the sample has problems, send clear photographs, the file version and the production setup to the digitizer. Ask the embroiderer to review its setup as well. Approve the revised sample before committing the full order, and keep the approved file clearly identified for repeat work.
Compare quotes, timing and support
Request quotes against the same brief. Separate artwork preparation and digitizing charges from garment, stitching, sampling and shipping costs. Ask how additional sizes, changed artwork and revisions are handled rather than assuming they are included.
For an event or uniform launch in Mississippi, work backward from the date the goods must be ready. Allow distinct stages for artwork review, digitizing, a sew-out, any revisions and garment production. Get dates in writing; a file delivery estimate does not establish when finished apparel will arrive.
US, Canadian and UK buyers working across borders should also confirm the quote currency, measurement units and the time zone used for deadlines. For physical goods, clarify shipping arrangements and which charges the quote includes.
A useful comparison weighs relevant sample quality, clear deliverables, realistic scheduling and accessible revision support together. A low initial quote is difficult to evaluate when the scope is unclear.
Frequently asked questions
Do I need a digitizer based in Mississippi?
Choose based on the work you need. A local shop can be helpful for garment inspection and pickup. If you already have an embroiderer, compare online file preparation services too, and confirm how the two providers will coordinate sampling and revisions.
Is vector artwork required?
Ask the provider which input formats it accepts. Both bitmap and vector artwork can be used in embroidery conversion workflows, but clean source artwork makes the design easier to interpret. Vector conversion and embroidery digitizing remain separate deliverables.
Can one logo file cover shirts, hats and jackets?
Request an assessment for each size, fabric and placement. Do not assume that a version approved for one product is ready for every other product. Ask which additional versions and samples are needed.
How much does digitizing cost, and how long does it take?
Get a project-specific quote and schedule after submitting the artwork and requirements. Confirm the first file delivery date, revision terms and who is responsible for the sew-out. Keep finished garment production and delivery dates separate.
What should I send first?
Send your best artwork, final dimensions, product and fabric details, placement, required machine format and deadline. State whether you need a stitch file, vector artwork, finished goods or a combination.
Practical details for Choosing Embroidery Digitizing Services in Mississippi
Use the article above as a starting point, then make the production brief specific to your own design. A stitch file is made for a finished size and material, so the artwork alone is only part of the instruction.
Work through these points in order and keep the answers with the artwork or production request. A short written brief makes it easier to compare a proof with the intended result, ask a useful follow-up question and avoid relying on assumptions made from a screen image alone.
The aim is not to add unnecessary steps. It is to identify the choices that change the final result before work begins. If a requirement is unknown, flag it for confirmation rather than guessing; that keeps the approval process focused on the design, material and use that apply to this particular project. Save the approved brief with the project files for future reorders or revisions.
Confirm the finished use
State the item, placement and finished width and height. A chest logo, cap front and jacket back do not use the same sewing area, even when they start from the same artwork.
Protect the smallest details
Review small lettering, narrow gaps, thin outlines and tiny colour changes at the final size. Simplifying a fragile detail before digitizing is often more reliable than trying to force it into a small sew-out.
Match the file to the machine
Tell the production team the embroidery machine or format required, along with the fabric or garment type. This lets them prepare the right export and make choices that suit the material rather than treating every job alike.
Quick questions to check before you proceed
What should I send with my artwork?
Send the clearest original available, the finished dimensions, placement, fabric or garment type and the required machine format if you know it.
Can the same file be used at every size?
Not always. Scaling changes the relationship between stitch length, detail and fabric, so a design may need review when the finished size or placement changes.
What should I check before production?
Confirm the spelling, colours, final size, placement and any details that must remain readable. A proof or sample is the best point to catch a change.