
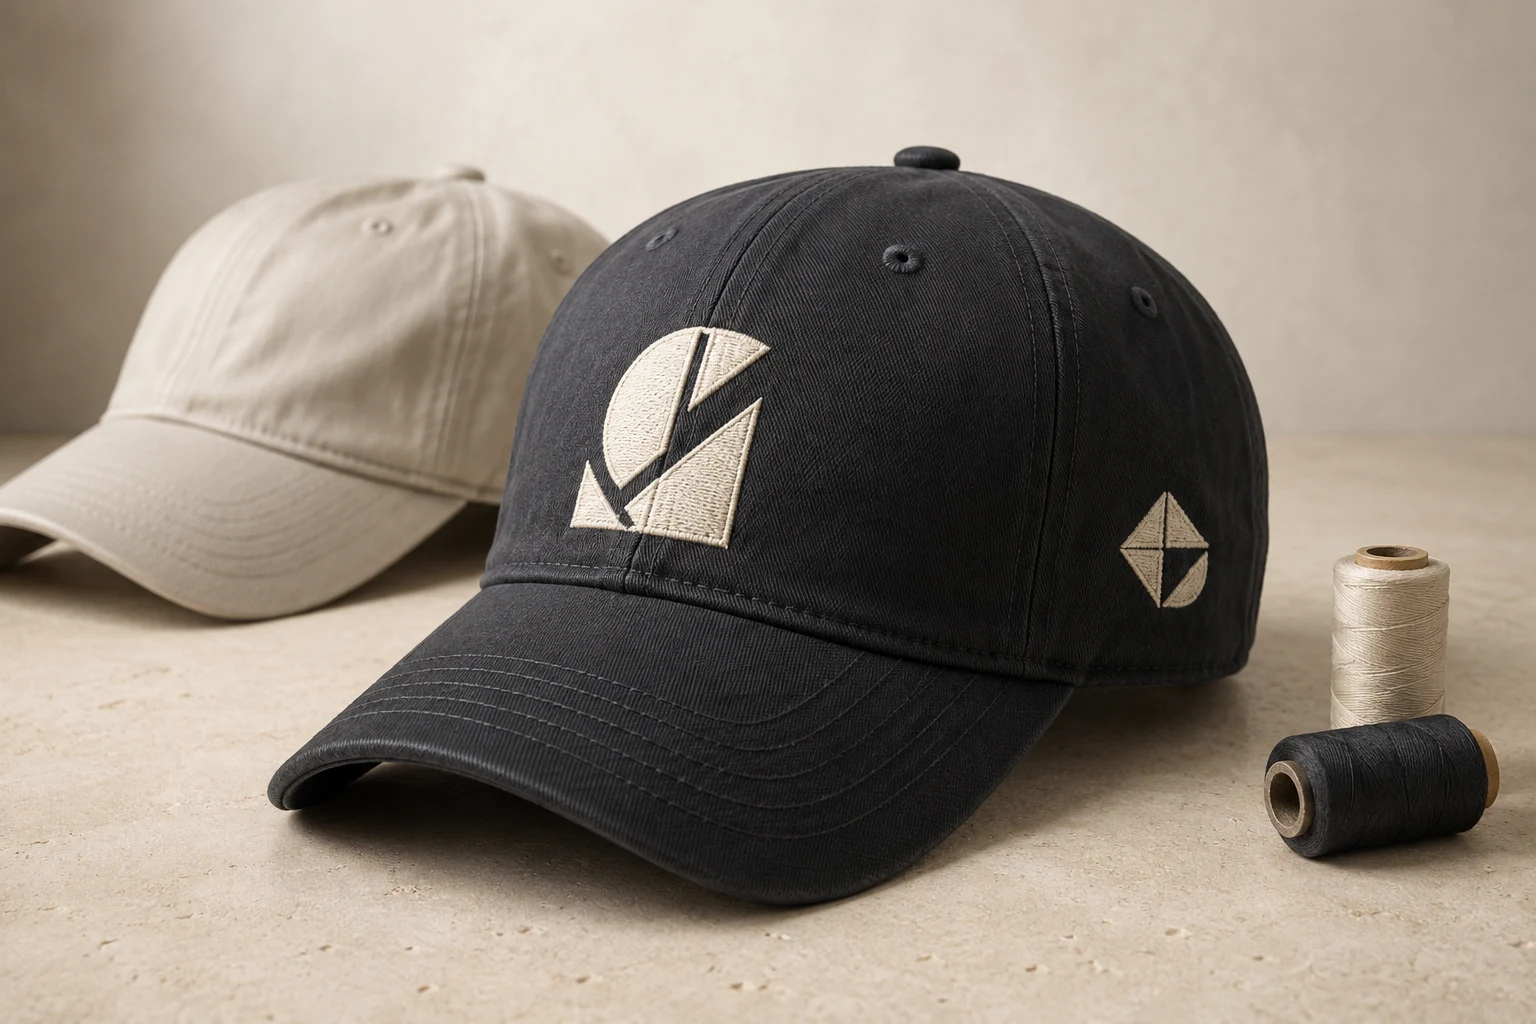
Cover image: AI-generated editorial concept; not a customer project or production proof.
Cap embroidery digitizing prepares artwork as machine stitches for a particular cap, design size and placement. Good results depend on matching the stitch plan to the cap’s construction, keeping details readable and confirming that the embroidery equipment can reach the intended area. Approve a physical stitched sample on the actual cap before production.
For beginners and buyers, the key decisions are the cap style, finished logo dimensions, stitch choices, stabilization and placement. A file that works on a shirt or one cap style needs review before use on another.
Start with cap construction and stabilization
Identify the cap manufacturer and style, panel material, front structure and seams before digitizing. Ask the embroiderer to inspect the cap in the intended frame. Melco notes that unstructured caps or designs with substantial fill stitching may need additional clamping to hold the sewing surface securely. Cap construction can also restrict access to side panels. Melco’s cap embroidery overview
Backing and underlay perform different jobs. Backing is material placed beneath the fabric to support it during embroidery; underlay consists of stitches beneath the visible design. Have the operator choose backing for the actual material and stitch load. Melco explains that different backing combinations can work successfully, so one recipe should not be assumed suitable for every cap. Melco’s stabilizer guidance
Ask whether a topping is appropriate for the surface, and include that decision in the sample setup. Record the selected needle, thread and backing so the approved result can be reproduced.
Simplify the artwork at its finished size
Review the logo at its intended physical dimensions. Use an actual-size print with page scaling disabled to discuss proportions and wording, then judge embroidery quality from the stitched sample.
Keep the most recognizable elements. Ask for an approved simplified version if a slogan, fine outline or intricate shading becomes difficult to distinguish. For example, a symbol and short name may be more practical than the same artwork with several lines of small text.
Pay particular attention to letter spacing and enclosed spaces inside letters. Request permission before removing wording, widening gaps or changing a brand font. Do not assume that a readable screen preview establishes a minimum usable letter height.
Choose stitches, density and underlay together
Match stitch types to the shapes
The main stitch types serve different purposes:
Stitch type | Typical use |
|---|---|
Satin | Narrow shapes, lettering and borders with a smooth thread surface |
Tatami fill | Larger areas covered by rows of stitches |
Run | Fine outlines and connecting paths |
Wilcom describes satin as suitable for small or narrow shapes, and run stitches as a way to follow outlines and connections. Its fabric settings identify tatami as suitable for large, irregular shapes. Wilcom’s stitch glossary, Wilcom’s fabric settings
Set density for the material and thread
Density describes how closely stitches are packed. In stitch-spacing settings, a smaller spacing value means denser stitching. Density may need adjustment when fabric or thread changes. Wilcom’s stitch-spacing definition, Wilcom’s density adjustment guidance
During sampling, inspect coverage, stiffness and distortion together. Identify the affected area for the digitizer instead of asking for a blanket increase in stitches across the whole logo.
Adapt underlay to each element
Underlay supports the visible stitches and helps stabilize the embroidery. Lettering needs particular care: Wilcom varies its underlay recommendations with letter height and column width. A setting suited to a large letter may be unsuitable for a small inscription. Wilcom’s lettering underlay guidance
Have the digitizer assess letter shapes, gaps and supporting stitches at the final size. More underlay is not automatically the right answer to unclear text.
Plan stitch direction around the cap front
For cap fronts, bottom-up and center-out sequencing is a useful starting approach. Melco recommends sewing away from the bill and center seam to manage fabric movement. Its guidance also distinguishes starting near the center from placing the first stitches directly on the thick seam. The sequence still needs to suit the artwork. Melco’s digitizing guide for caps
Stitch angle matters as well. Melco advises avoiding fill stitches parallel to the front seam and recommends completing the colors within freestanding elements before moving to another element to help maintain registration—the alignment between stitched parts. Melco’s cap digitizing recommendations
Discuss the cap-front sequence with the digitizer when reusing artwork originally prepared for a flat garment.
Understand size and placement limitations
There is no single embroidery size that fits every cap. Melco explains that a frame may accommodate a larger design than the cap itself can successfully carry. Cap profile affects usable height, while frame choice affects width. Designs extending too far toward the crown may encounter restricted movement and distortion. Melco’s cap sizing guidance
Ask the operator to confirm the usable area before choosing dimensions. Treat low-profile caps, visors, side panels and other hat styles as separate placement decisions.
Limitation | Practical response |
|---|---|
Limited usable area | Confirm width and height on the actual cap and framing setup |
Thick front seam | Ask the digitizer to review stitch paths and detail crossing the seam |
Fabric movement | Review framing, backing and stitch sequence together |
Distortion near the crown | Reassess design height and inspect the cap in its normal shape |
Small lettering or fine details | Approve a simpler version and evaluate its stitched sample |
For a US, Canadian or UK order, state measurement units explicitly. If a supplier works in different units, agree on one final specification rather than leaving conversions to separate production teams.
Specify side embroidery clearly
Side embroidery needs its own access check. Melco notes that sweatband construction near the adjustment strap can prevent side embroidery in the front setup, requiring a different framing system. Melco’s side-access guidance
Write wearer’s left or wearer’s right and provide an annotated side photograph. Name the measurement reference points and show whether each measurement ends at the design’s center or edge. Record the finished width, height and upright orientation.
Show nearby seams, eyelets and hardware. For a mesh panel, request a sample on that mesh. Agree whether the side design runs separately from the front and who handles production-file rotation.
For embroidery on both sides, approve each view separately. Keep text readable and show explicitly whether a directional symbol should face toward the brim on each side.
Resize or reuse a file only after review
Changing an embroidery file’s dimensions can change its stitching. Wilcom distinguishes machine files, where scaling can retain the stitch count, from design formats that can recalculate stitches and density. This makes the file type and editing method relevant to any resizing decision. Wilcom’s scaling definitions
Do not treat a percentage increase or decrease as a quality guarantee. Send the existing file, original dimensions and requested dimensions to the digitizer. Ask for a review of stitch spacing, stitch lengths, lettering, gaps and underlay.
A smaller side logo may need an approved simplified version of the front artwork. Similarly, a cap file intended for a shirt needs review for the new material and placement. Keep separate approved file revisions when the specifications differ.
Approve a stitched sample before production
Use the digital proof to agree on wording, colors, dimensions and orientation. Then request a sew-out—a physical stitched sample—on the intended cap using the planned production setup.
Inspect it after removal from the frame and return to its normal shape. Check:
Correct placement, wearer’s side and upright orientation.
Finished dimensions against the agreed specification.
Readable lettering and open spaces within the design.
Alignment of outlines, fills and separate colors.
Acceptable panel shape, coverage and feel.
Interior finishing, including loose connections or unintentionally caught layers.
If something needs correction, send an overall photograph and close views of the affected areas. Describe the visible problem: a shifted outline, closed letter space or misplaced logo gives the operator and digitizer a clearer starting point than “poor quality.”
Record the accepted cap style, file revision and sample specification. Ask whether another sample is needed when the cap, logo dimensions, thread or framing changes.
Prepare a complete digitizing enquiry
When contacting DigitEMB about embroidery digitizing, include the artwork, cap manufacturer and style, panel photographs, finished dimensions and requested placement. Identify any artwork elements that must remain unchanged.
Provide the embroiderer’s required machine file format, framing details and any existing stitch file. For multiple placements, explain whether each logo will run separately. Agree who will produce the physical sample and who will approve it before production begins.
Frequently asked questions
What is the maximum size for cap embroidery?
The usable size depends on the actual cap and frame. Have the operator confirm both width and height before digitizing, including clearance near the bill and crown.
Can I use a shirt embroidery file on a cap?
Send it for review first. The cap may require different sequencing, dimensions and support for its construction and seams.
What size should a side logo be?
Choose dimensions after the operator checks the side panel and framing access. A cap-front size recommendation does not establish the available side area.
Is a digital preview enough for approval?
It helps confirm the proposed appearance and specifications. Use a physical sample on the intended cap to assess stitching, readability, placement and panel shape.
Practical details for Basics and Limitations of Cap Embroidery Digitizing
Use the article above as a starting point, then make the production brief specific to your own design. A stitch file is made for a finished size and material, so the artwork alone is only part of the instruction.
Work through these points in order and keep the answers with the artwork or production request. A short written brief makes it easier to compare a proof with the intended result, ask a useful follow-up question and avoid relying on assumptions made from a screen image alone.
The aim is not to add unnecessary steps. It is to identify the choices that change the final result before work begins. If a requirement is unknown, flag it for confirmation rather than guessing; that keeps the approval process focused on the design, material and use that apply to this particular project. Save the approved brief with the project files for future reorders or revisions.
Confirm the finished use
State the item, placement and finished width and height. A chest logo, cap front and jacket back do not use the same sewing area, even when they start from the same artwork.
Protect the smallest details
Review small lettering, narrow gaps, thin outlines and tiny colour changes at the final size. Simplifying a fragile detail before digitizing is often more reliable than trying to force it into a small sew-out.
Match the file to the machine
Tell the production team the embroidery machine or format required, along with the fabric or garment type. This lets them prepare the right export and make choices that suit the material rather than treating every job alike.
Quick questions to check before you proceed
What should I send with my artwork?
Send the clearest original available, the finished dimensions, placement, fabric or garment type and the required machine format if you know it.
Can the same file be used at every size?
Not always. Scaling changes the relationship between stitch length, detail and fabric, so a design may need review when the finished size or placement changes.
What should I check before production?
Confirm the spelling, colours, final size, placement and any details that must remain readable. A proof or sample is the best point to catch a change.