
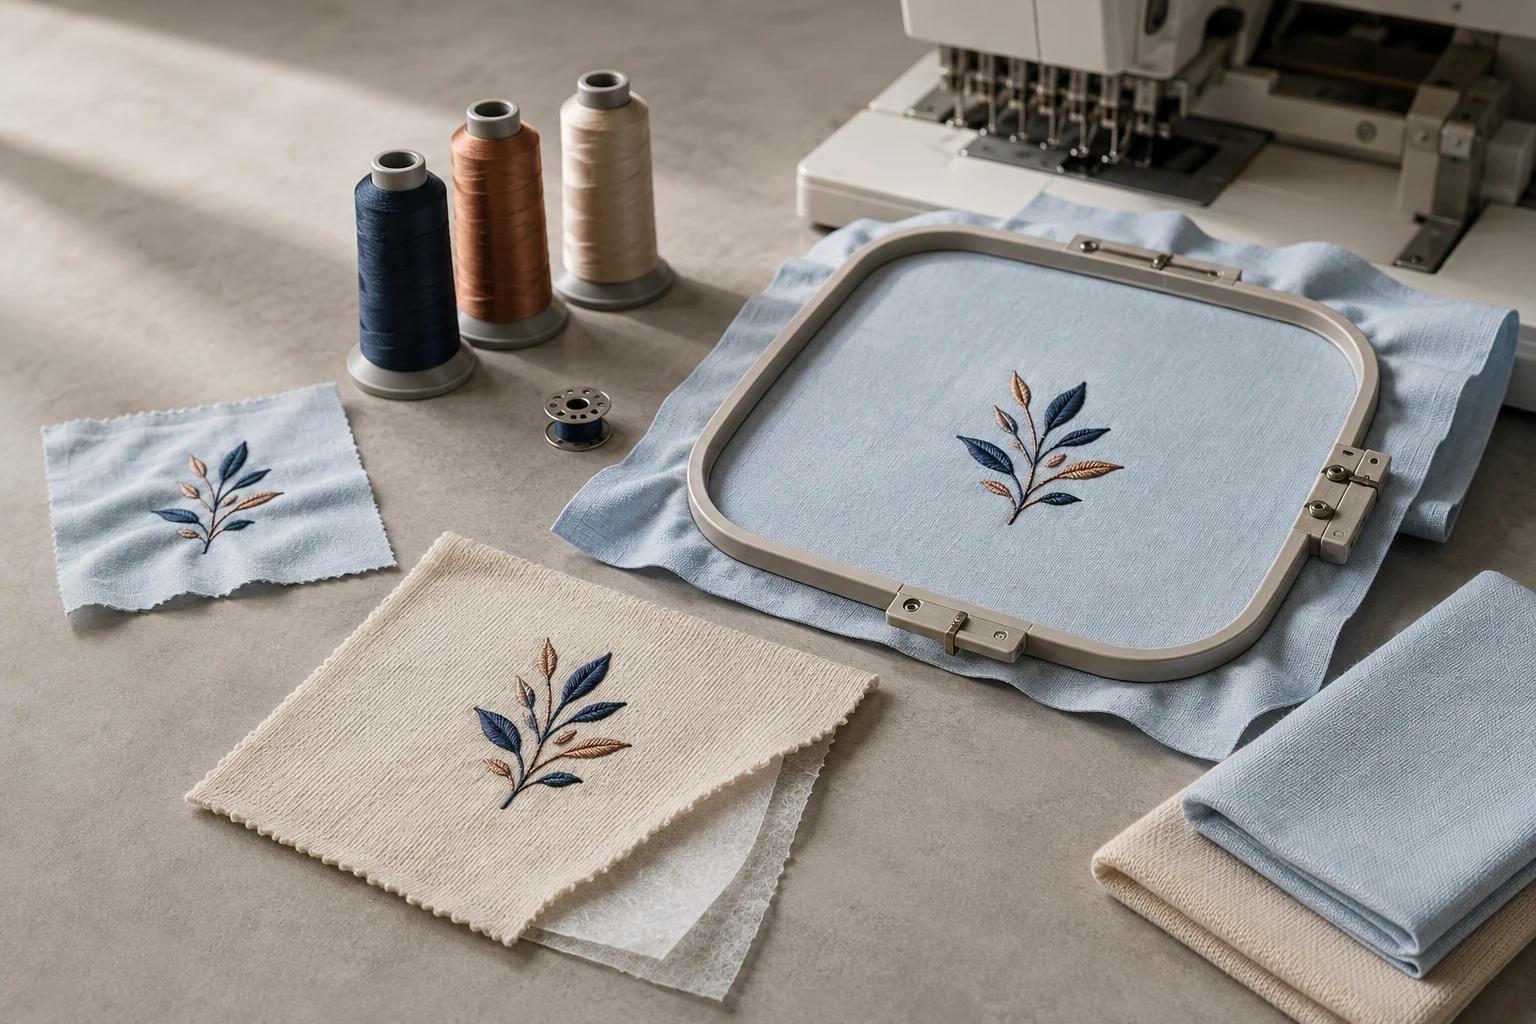
Cover image: AI-generated editorial concept; not a customer project or production proof.
To prevent puckering in machine embroidery, match the design to the fabric, use suitable stabilizer, hoop securely without stretching and test the complete setup before stitching the finished garment. Check threading and tension, too: excessive tension and overly dense stitching can pull the fabric out of shape. Brother’s puckering guidance identifies these as common causes.
What is embroidery puckering?
Puckering is the gathering or rippling of fabric around an embroidered area. Stitches place tension on the material, drawing it inward; the hoop and backing help resist that movement. Sometimes the problem becomes obvious only after the work leaves the hoop or is washed. Embroidery Library’s practical tests demonstrate how fabric strength, stabilizer and design complexity interact.
A successful setup balances all three. Adding stronger backing cannot make every dense design suitable for a delicate garment.
Match the design to the fabric
Lightweight fabrics generally offer less support for heavy stitching. A design with overlapping fills and shading can overwhelm material that handles an open, lightly stitched motif well. Total stitch count alone is not enough to judge suitability: consider how concentrated the stitches are and how much layering the artwork requires.
Embroidery Library’s tests found that even cut-away backing did not prevent puckering when a complex design was stitched on lightweight quilting cotton. A lighter design or sturdier fabric may be the better choice. See the fabric and design comparisons.
For buyers ordering embroidered polos, uniforms or merchandise, specify the actual garment rather than simply saying “cotton” or “polyester.” Include its construction, stretch and supplier details. Give the embroidery dimensions in inches or millimeters so a US, Canadian or UK supplier has an unambiguous brief.
Choose stabilizer for support and wearability
Choose backing according to fabric stability, design demands and the support needed after stitching. Avoid rules that assign tear-away to every lightweight fabric or cut-away only to heavy garments.
Fabric or project | Stabilizer starting point |
|---|---|
Stretchy T-shirts and knit polos | Cut-away backing provides continuing support beneath the embroidery. |
Stable woven fabric with light embroidery | Tear-away may be suitable; confirm with a sample. |
Dense embroidery on a suitable fabric | Consider cut-away support and assess the finished garment’s feel. |
Towels or other textured surfaces | Use suitable backing underneath; topping helps keep stitches above the surface texture. |
BERNINA’s embroidery workbook explains that cut-away remains behind the stitches to support the finished work. Its embroidery glossary distinguishes backing from topping and describes their uses.
For slippery or delicate fabrics, test any adhesive or fusible product on a spare piece before applying it to the garment. Follow the product’s application and removal instructions.
Hoop securely without stretching
Use the smallest compatible hoop that accommodates the design within the machine’s permitted embroidery area. This helps hold the material securely during stitching. BERNINA’s hoop selection guidance also notes that the selected foot affects the available stitching area.
Smooth the fabric and backing before clamping them. The fabric should be held evenly, without folds or slack. On knits, avoid pulling the garment into an enlarged shape: it can contract around the embroidery when released. Loose framing can also allow bunching during stitching. Brother explains both framing problems.
Check tension, needles and thread together
Start with correct threading
Follow the machine manual for upper threading and bobbin installation before changing tension. Use its recommended starting settings, then make small adjustments on a sample. Lower tension is not automatically better, and bobbin adjustments should follow the instructions for your particular machine. Brother’s troubleshooting advice includes both threading errors and excessive tension.
Select a compatible needle
Choose the needle system required by the machine, then match the point and size to the fabric and thread. Ballpoint options suit many knits; appropriate sharp-point options can suit certain fine woven materials. A bent, dull or worn needle can contribute to puckering and fabric damage. Consult the SCHMETZ needle guide rather than choosing a large needle simply because a garment feels heavy.
Treat finer thread as a setup change
Finer thread may be useful for delicate details, but it is not a universal cure. Changing thread size affects needle selection and tension, and the stitch file must suit the thread being used. SCHMETZ explains that excessive thread packed into a small area can pucker fabric and that tension should be checked when thread size changes. Read its thread sizing guidance.
Review dense areas before production
If the fabric is well supported but a particular area still gathers, ask the digitizer to review stitch concentration and overlapping sections. Very long column stitches may also need a different construction. Brother identifies excessive density and long columns among potential causes of puckering. See its design-related recommendations.
A useful revision request includes the file, final dimensions, garment details, backing, thread and clear photographs of both sides of the sample. If you need help preparing the file, see DigitEMB’s embroidery digitizing service.
Approve a sample in its finished state
Before a full order, request a sew-out on the intended garment or matching material. Inspect it after unhooping and removing excess stabilizer according to its instructions. For washable garments, include a care-label wash and dry in your sample approval process.
Record the file version and setup that produced the accepted result. If you make changes, test one variable at a time so the next sample tells you what helped. Treat a slower machine speed as something to evaluate on a sample, rather than assuming it will resolve unsuitable backing or design density.
Frequently asked questions
Why does embroidery pucker after leaving the hoop?
The hoop can conceal distortion while the fabric is held under tension. Overstretched knit fabric relaxes when released, and insufficient support can allow contraction around the stitches. Brother’s framing guidance explains why stretching during hooping matters.
Will more stabilizer always prevent puckering?
No. The design must also suit the fabric. Embroidery Library’s tests show that stronger backing alone may not rescue a dense design on lightweight material. See the tested combinations.
What should I ask an embroidery supplier before approving an order?
Ask whether the sample uses your intended garment, final design size and production setup. Request photographs with the garment lying relaxed, plus a physical sample when appearance, comfort or laundering performance is important to the order.
Practical details for How to Prevent Puckering in Machine Embroidery
Use the article above as a starting point, then make the production brief specific to your own design. A stitch file is made for a finished size and material, so the artwork alone is only part of the instruction.
Work through these points in order and keep the answers with the artwork or production request. A short written brief makes it easier to compare a proof with the intended result, ask a useful follow-up question and avoid relying on assumptions made from a screen image alone.
The aim is not to add unnecessary steps. It is to identify the choices that change the final result before work begins. If a requirement is unknown, flag it for confirmation rather than guessing; that keeps the approval process focused on the design, material and use that apply to this particular project. Save the approved brief with the project files for future reorders or revisions.
Confirm the finished use
State the item, placement and finished width and height. A chest logo, cap front and jacket back do not use the same sewing area, even when they start from the same artwork.
Protect the smallest details
Review small lettering, narrow gaps, thin outlines and tiny colour changes at the final size. Simplifying a fragile detail before digitizing is often more reliable than trying to force it into a small sew-out.
Match the file to the machine
Tell the production team the embroidery machine or format required, along with the fabric or garment type. This lets them prepare the right export and make choices that suit the material rather than treating every job alike.
Quick questions to check before you proceed
What should I send with my artwork?
Send the clearest original available, the finished dimensions, placement, fabric or garment type and the required machine format if you know it.
Can the same file be used at every size?
Not always. Scaling changes the relationship between stitch length, detail and fabric, so a design may need review when the finished size or placement changes.
What should I check before production?
Confirm the spelling, colours, final size, placement and any details that must remain readable. A proof or sample is the best point to catch a change.