
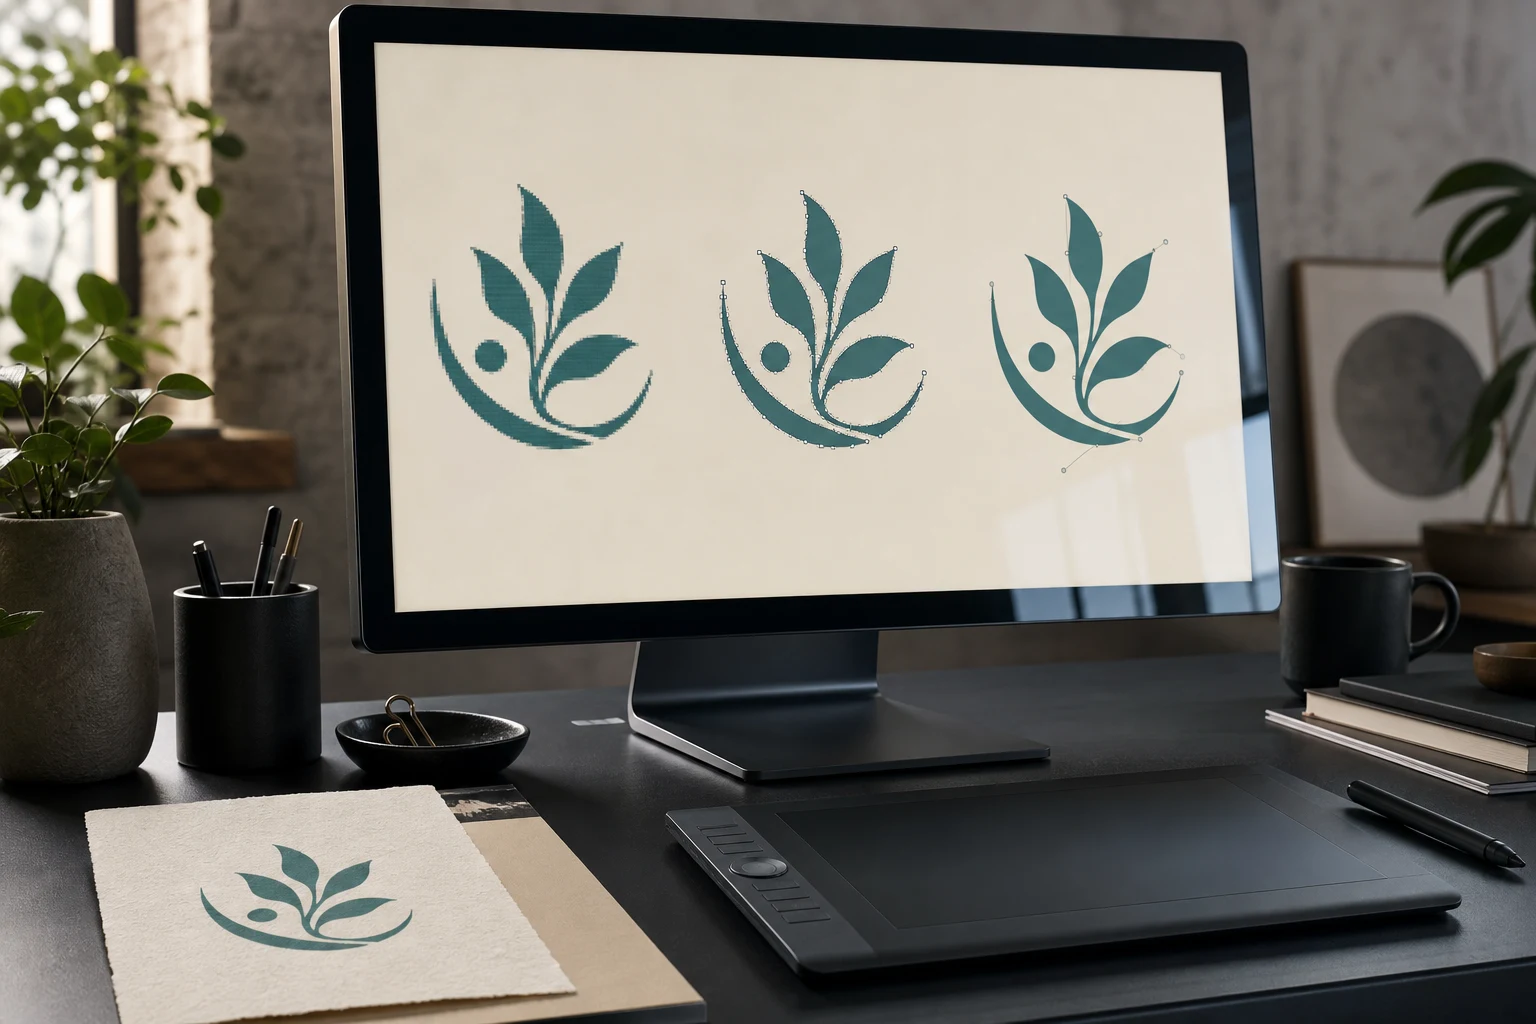
Cover image: AI-generated editorial concept; not a customer project or production proof.
Auto tracing is a useful starting point for clear, simple artwork; manual tracing offers greater control when lettering, curves or proportions need careful reconstruction. Combining the two can work well when most of an automatic trace is usable. Choose by the total work needed to reach an acceptable result, including cleanup.
Converting a JPG into vector artwork rebuilds its appearance as shapes and paths. It does not automatically recover missing detail or create a higher-quality photograph. Start with the clearest original you can obtain and decide which features must remain accurate.
Auto vs. manual tracing: which fits your artwork?
The following are practical starting points, rather than guarantees for every image.
Artwork or requirement | Approach to consider |
|---|---|
Clear silhouette or simple flat-color illustration | Try auto tracing and inspect the edges and gaps. |
Geometric mark with consistent circles and straight edges | Rebuild manually using shapes and carefully placed paths. |
Small lettering or a wordmark with distinctive spacing | Prefer manual reconstruction using a confirmed lettering reference. |
Illustration with usable broad shapes but damaged details | Combine automatic tracing with selective redrawing. |
Tiny, compressed JPG with ambiguous features | Seek a better source before choosing either method. |
Photograph with shading and texture | First decide whether you need a stylized vector interpretation or should retain the photograph. |
Adobe’s Image Trace preset examples show why source quality matters: some small images need substantial correction, and manual tracing can be more efficient than repairing the generated paths.
When automatic tracing works well
Illustrator’s current automatic tracing feature is Image Trace. It provides presets and adjustment options for converting raster artwork into vector graphics. Adobe documents the current interface in its Image Trace workflow.
Its main advantage is a quick starting point. For a clear silhouette or flat illustration, the preview may already be close enough to justify cleanup. Its limitation is that you still need to judge whether the generated shapes represent the intended artwork.
A compact workflow is:
Keep an untouched source copy, then choose File > Place to add the JPG.
Select the image and open Window > Image Trace.
Choose a preset suited to the intended appearance and adjust the result.
Compare important contours, enclosed spaces and small details with the original.
Keep a duplicate of the live trace before expanding it for path editing.
Inspect the result before committing to extensive repairs. A preview that looks acceptable when reduced may reveal damaged lettering or uneven outlines when enlarged. Conversely, tiny imperfections visible at extreme zoom may not matter at the intended output size.
When manual tracing is the better choice
Manual tracing lets you decide where paths go and how curves meet. It is useful when the artwork needs deliberate geometry, consistent spacing or interpretation of a rough reference. Even a simple logo can benefit from manual work if its proportions must be precise.
The Pen tool creates curves through anchor placement and direction handles. Adobe’s Pen tool guide explains drawing and closing curved paths.
A practical manual workflow is:
Set the document dimensions for the intended use and place the JPG as a reference.
Keep the reference on a locked layer and draw on a separate layer above it.
Rebuild the main geometry, using simple shapes where appropriate and the Pen tool for custom contours.
Refine curves, spacing, fills and overlaps against the reference.
Hide the reference and examine the rebuilt artwork on its own.
Manual work requires practice and can take longer to establish the initial shapes. It also cannot guarantee an exact reconstruction from an unclear JPG. Ask for a better reference or confirmation when a letter, contour or small feature is ambiguous.
Complexity alone does not make manual tracing the right answer. A detailed photograph may require extensive illustration work, and recreating all its texture may serve no useful purpose for the intended output.
When to combine both methods
Use a combined workflow when an automatic trace captures the main artwork but leaves a limited number of problem areas. For example, you might retain a usable illustrated silhouette and redraw an uneven border. This is an illustrative workflow, not a customer project.
After duplicating the live trace, select Expand to create grouped, editable paths. Enter isolation mode or ungroup the result to make corrections. Expansion ends access to the tracing settings for that object. Adobe covers these steps in its tracing results editing guide.
If excess anchors make editing difficult, try Object > Path > Simplify cautiously and compare the result with the original contour. Removing points is useful only when the shape remains appropriate.
Compare the cleanup effort before committing
Test a representative part of the artwork that includes its difficult features. Judge these points before deciding how to complete the file:
Shape accuracy: Are curves, corners and proportions consistent with the intended design?
Lettering: Are characters recognizable, with correct spacing and open internal spaces?
Editability: Can you select and revise meaningful shapes without navigating many unwanted fragments?
Finished appearance: Does the artwork remain clear at its intended size?
Continue with auto tracing when corrections are local and manageable. Switch to manual work when each adjustment creates another problem or most important shapes need replacing. Choose a combined approach when the usable and problematic areas are easy to separate.
For commissioned work, ask what the proposed conversion includes: basic tracing, selective cleanup or a fuller redraw. Compare quotes against the same source file, accuracy requirements and deliverables; the method name alone does not establish quality or value.
Prepare the artwork brief and delivery file
For buyers in the US, Canada and UK, state the finished width and height with explicit units, such as inches or millimeters. Include the intended use, required colors, file format and any details that must remain unchanged. Ask the receiving printer or supplier to confirm its requirements before preparing the delivery file.
Keep an editable master and request the required output format, such as SVG, EPS or PDF. Check the contents as well as the extension: placing the original JPG inside another document is not the same as rebuilding it as vector paths.
Review the final artwork with the reference hidden, then reopen the delivery file to check its appearance. Resolve unclear details before approving the conversion.
If you need help rebuilding the artwork, explore DigitEMB’s raster-to-vector services. Send the best available source and explain whether the priority is faithful reconstruction, simplified artwork or correction of specific details.
Frequently asked questions
Is automatic tracing always faster?
It can produce an initial result quickly, but total effort includes adjustment and cleanup. A short manual redraw may be more practical than repairing many distorted shapes.
Does manual tracing guarantee a perfect match?
No. It gives the artist control, but accuracy still depends on the reference, drawing decisions and review. Missing information needs clarification.
Can Image Trace handle gradients and photos?
Image Trace includes photographic presets, and supported settings can preserve gradients. The result still needs evaluation against the intended appearance; a detailed vector interpretation is not automatically an improvement over the original photograph. See Adobe’s current tracing guidance.
Should I redraw everything if one area looks wrong?
Usually, assess whether the usable paths can be retained first. Selective manual correction is sensible when the remaining artwork already meets your requirements.
Practical details for Convert JPG to Vector: Auto vs. Manual Tracing
Vector artwork is built from editable paths rather than a fixed grid of pixels. The clearest result starts with a specific intended use, because a file prepared for print, cutting and embroidery may need different checks.
Work through these points in order and keep the answers with the artwork or production request. A short written brief makes it easier to compare a proof with the intended result, ask a useful follow-up question and avoid relying on assumptions made from a screen image alone.
The aim is not to add unnecessary steps. It is to identify the choices that change the final result before work begins. If a requirement is unknown, flag it for confirmation rather than guessing; that keeps the approval process focused on the design, material and use that apply to this particular project. Save the approved brief with the project files for future reorders or revisions.
Start with the best source
Provide the largest, clearest original you have and include any brand colours, fonts or reference files. A small or blurry image can still be traced, but missing edges and lettering need careful confirmation.
Define the final use
Say whether the artwork is for print, cutting, screen printing, embroidery reference or a digital asset. This tells the artist which details, colour separations and file formats matter most.
Review paths, text and colour
Before using the finished file, check that lettering is correct, shapes are closed where required and colours match the approved artwork. Keep a master editable file as well as the delivery format used by production.
Quick questions to check before you proceed
Is a vector file the same as an embroidery file?
No. A vector is editable artwork; an embroidery file contains stitch instructions. Vector art can be useful source material for digitizing, but it still needs to be digitized for machine embroidery.
Can a blurry logo be converted?
Often, yes, but the result depends on what can be verified. Supply a clearer reference, font name or brand guide whenever possible.
Which details need approval?
Check spelling, line weight, enclosed spaces, colour choices and the shape of any logo elements before the file goes to print or production.