
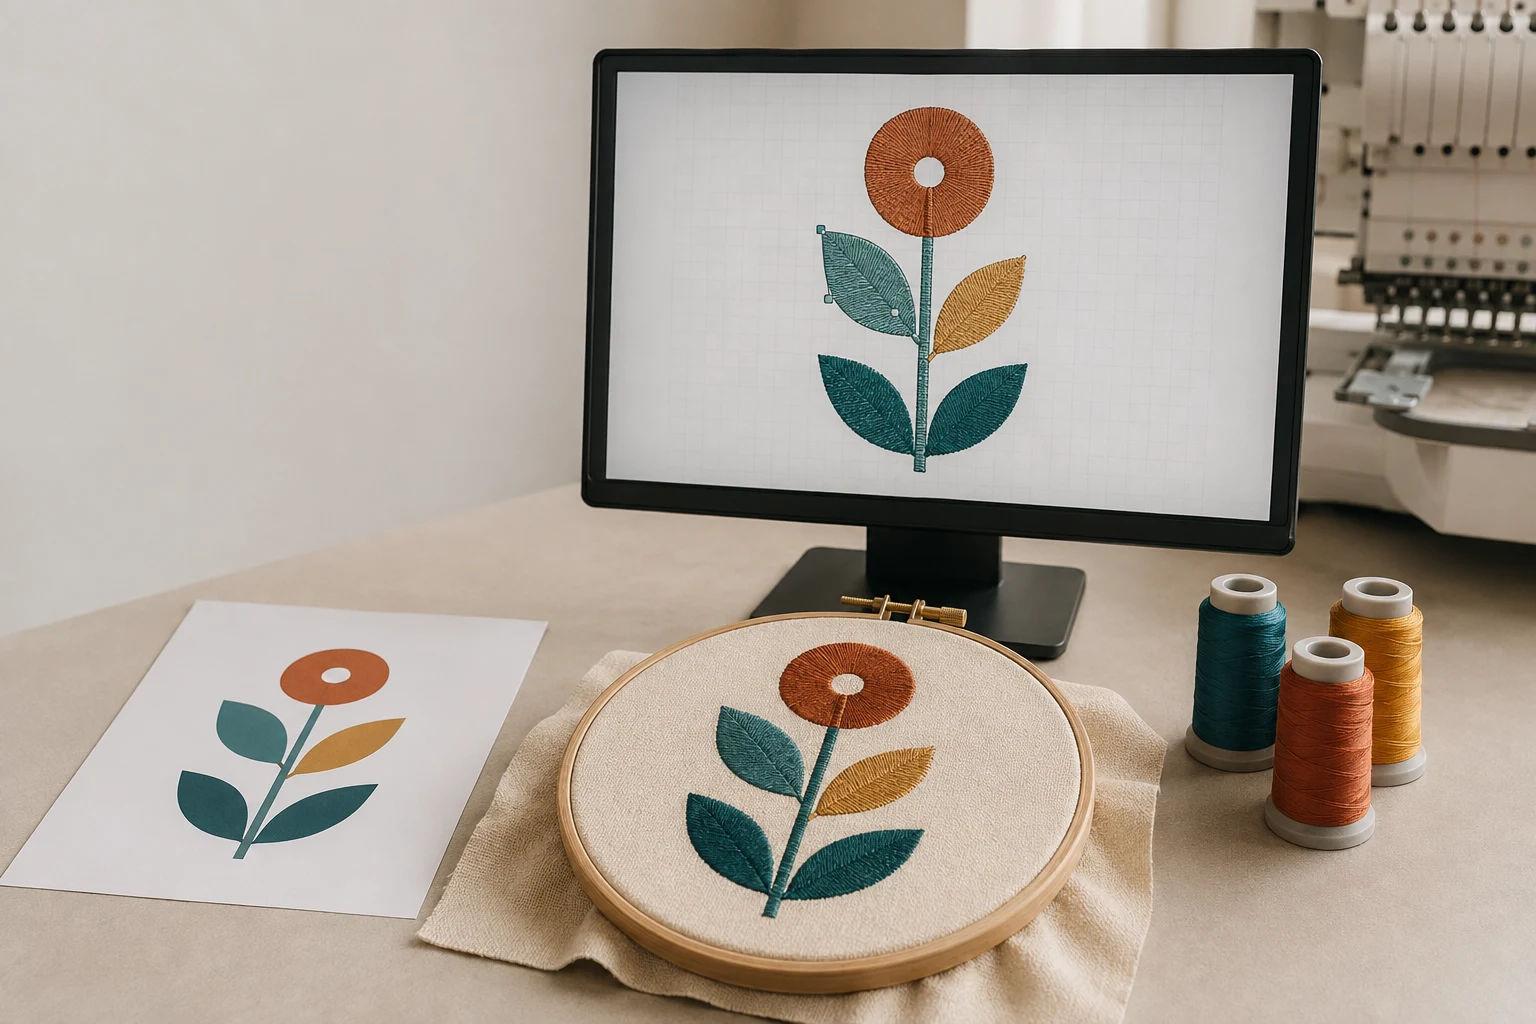
Cover image: AI-generated editorial concept; not a customer project or production proof.
Auto digitizing converts artwork into embroidery objects and stitches using software. To use it, prepare a clean image, set its finished size, run the conversion, review the generated embroidery, and test it on fabric. It can shorten the initial digitizing process, but the result still needs judgment and adjustment. Hatch’s auto-digitizing overview describes using automatic conversion for a first pass, followed by manual refinement.
What auto-digitizing tools do
Auto-digitizing software interprets image shapes and assigns embroidery properties. Depending on the tool, it can identify objects, choose stitch types, set stitch directions, and simplify colors. These are software decisions that you should inspect before sewing. Wilcom explains the conversion process.
Available tools differ between programs and product levels. Whole-image conversion processes an entire image; tools that work on selected areas give you more control over individual shapes. Photographic embroidery may use a separate feature such as PhotoStitch. Check that your software includes the method you need. Hatch’s guide to its auto-digitizing tools explains these different approaches.
Auto digitizing versus manual digitizing
With manual digitizing, the operator defines embroidery objects and their properties; this does not necessarily mean placing every stitch individually. Automatic tools interpret the artwork first, leaving the operator to review and refine the result. Hatch distinguishes automatic conversion from the object-by-object control of manual digitizing. See Hatch’s comparison.
Method | Practical use |
|---|---|
Automatic conversion | A starting point for clean artwork with simple shapes and a few solid colors. |
Manual digitizing | Greater control when specific shapes or details need deliberate construction. |
Combined workflow | Convert suitable areas automatically, then edit or rebuild the parts that need attention. |
The main advantage of automation is reducing initial setup work on suitable artwork. Its limitation is that the first conversion may require substantial correction. Judge the time saved after editing and testing, rather than by how quickly stitches appear on screen.
Prepare the artwork before conversion
Start with clearly separated shapes and solid colors. Hatch’s training materials identify clean, well-defined clipart as suitable for most of its automatic tools; photographs use a different approach. See Hatch Academy’s digitizing methods overview.
Before importing, work through these practical steps:
Remove unwanted backgrounds and stray marks.
Close accidental gaps while preserving intentional openings.
Simplify unnecessary shading and nearly identical colors.
Check that important outlines remain distinct.
Decide which small details must survive at the finished embroidery size.
In Wilcom, Prepare Bitmap Colors reduces image noise, flattens colors, and sharpens outlines so the software can distinguish regions. Inspect the processed image before accepting it: cleanup should preserve the shapes you want embroidered. Wilcom’s artwork preparation documentation explains the tool.
Set the intended dimensions before conversion. For a brief shared between US, Canadian, and UK buyers and decorators, label units explicitly—for example, 3 inches wide equals 76.2 mm. Specify the garment and placement as well as the artwork size. Wilcom’s Smart Design demonstration begins by adjusting the image size and simplifying its colors.
How to auto digitize with Wilcom Smart Design
The following steps follow Wilcom’s documented Smart Design workflow. Menu placement and available options can differ by version.
Import and size the artwork. Select the image and open Smart Design.
Prepare bitmap colors if prompted. Inspect the processed image before continuing.
Check color allocation. Locate each color and decide whether it should become a fill, a detail, or be omitted. Verify the background selection.
Review color order and matching. Choose how artwork colors map to the design palette or a thread chart.
Set detail, outline, and border options. Avoid duplicating outlines already present in the artwork. Generated outlines use running stitches; the border option adds a satin border.
Generate the design. Click OK, then inspect the embroidery objects.
Refine the result. Edit stitch types, colors, sequence, and connectors where necessary.
Smart Design accepts bitmap and vector artwork and uses closest joins to determine sequencing. Its output remains editable. Follow the official Smart Design instructions for the detailed controls.
Review, export, and test the result
Compare the generated embroidery with the original artwork. Pay particular attention to missing details, unwanted background stitching, and areas that need a different stitch type. Wilcom’s worked example includes correcting fill/detail assignments, removing unwanted elements, changing stitches, and adding support after conversion. These adjustments show why the automatic result needs review. See Wilcom’s worked example.
Keep an editable copy before exporting the machine file. Confirm the required format and hoop limits with the machine operator. Hatch’s auto-digitizing workflow includes saving, exporting, and stitching the finished design.
Make a test sew-out using the intended fabric and stabilizer setup. Inspect whether outlines meet fills, lettering remains readable, and the fabric stays acceptably flat. A screen preview cannot show every effect of stitching on fabric. Hatch’s Essential Guide to Machine Embroidery explains that a test stitch-out can reveal where pull compensation needs adjustment.
Use the sample to guide revisions, then test again after meaningful changes. Avoid treating a low stitch count or a convincing preview as proof that the file is ready for production.
When to request digitizing help
If correcting the conversion becomes difficult, prepare a clear brief for a digitizer. Include the original artwork, finished dimensions with units, garment fabric, placement, machine format, and any details that must remain legible. If you already tested the file, provide photographs of the sample and describe the problem.
You can review DigitEMB’s embroidery digitizing services when deciding whether to handle the conversion yourself or request assistance. Ask what file deliverables and revision arrangements apply to your project.
Frequently asked questions
Can any JPG become clean embroidery automatically?
No. Clear shapes and solid colors provide a better starting point than blurred edges or complex shading. Even suitable artwork needs review and a test sew-out.
Can I auto digitize a photograph?
Some software includes dedicated photographic tools. Hatch offers PhotoStitch options separately from its simple-artwork conversion tools. Choose the method for the desired stitched appearance. See Hatch’s tool guide.
Does vector artwork eliminate the need for digitizing?
No. Smart Design can accept vectors, but the artwork still needs conversion into embroidery objects, review, and testing. Wilcom’s Smart Design documentation covers both vector and bitmap inputs.
Practical details for How to Do Auto Digitizing for Machine Embroidery
Use the article above as a starting point, then make the production brief specific to your own design. A stitch file is made for a finished size and material, so the artwork alone is only part of the instruction.
Work through these points in order and keep the answers with the artwork or production request. A short written brief makes it easier to compare a proof with the intended result, ask a useful follow-up question and avoid relying on assumptions made from a screen image alone.
The aim is not to add unnecessary steps. It is to identify the choices that change the final result before work begins. If a requirement is unknown, flag it for confirmation rather than guessing; that keeps the approval process focused on the design, material and use that apply to this particular project. Save the approved brief with the project files for future reorders or revisions.
Confirm the finished use
State the item, placement and finished width and height. A chest logo, cap front and jacket back do not use the same sewing area, even when they start from the same artwork.
Protect the smallest details
Review small lettering, narrow gaps, thin outlines and tiny colour changes at the final size. Simplifying a fragile detail before digitizing is often more reliable than trying to force it into a small sew-out.
Match the file to the machine
Tell the production team the embroidery machine or format required, along with the fabric or garment type. This lets them prepare the right export and make choices that suit the material rather than treating every job alike.
Quick questions to check before you proceed
What should I send with my artwork?
Send the clearest original available, the finished dimensions, placement, fabric or garment type and the required machine format if you know it.
Can the same file be used at every size?
Not always. Scaling changes the relationship between stitch length, detail and fabric, so a design may need review when the finished size or placement changes.
What should I check before production?
Confirm the spelling, colours, final size, placement and any details that must remain readable. A proof or sample is the best point to catch a change.