
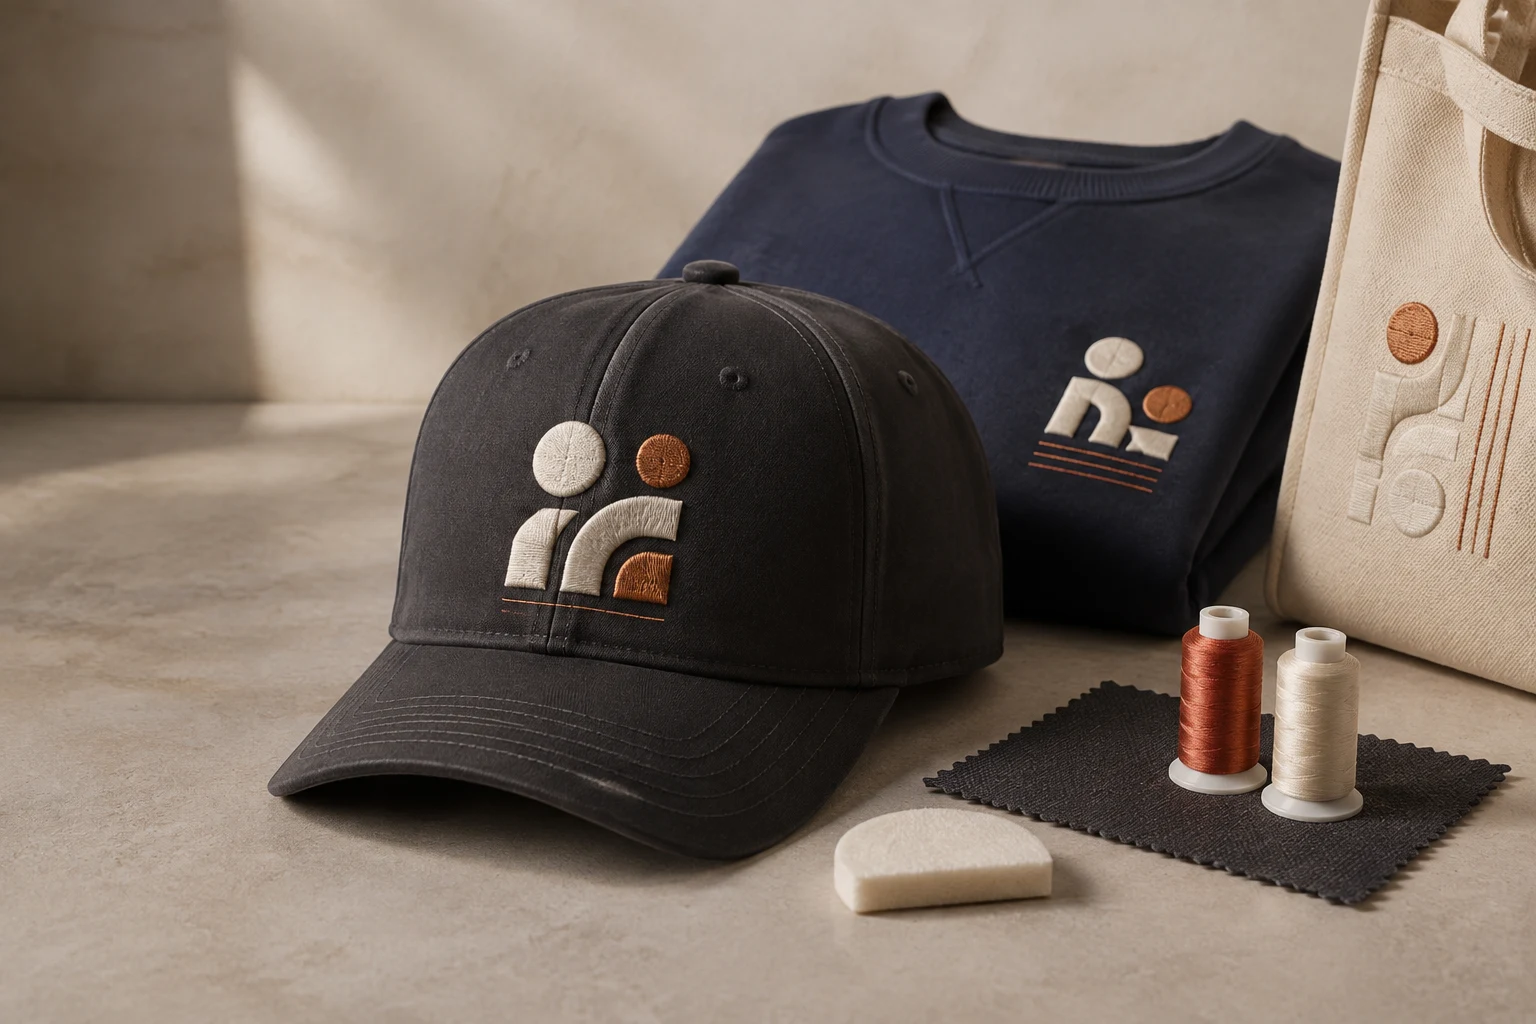
Cover image: AI-generated editorial concept; not a customer project or production proof.
3D puff embroidery creates raised designs by stitching over embroidery foam placed on top of the fabric. The foam remains beneath the finished stitches, giving letters and shapes depth. It suits bold artwork on stable materials, including caps, jackets and bags. The raised effect comes from the foam itself, rather than heat expansion. Madeira’s foam instructions
For buyers, the main decision is whether the artwork and product can support that extra dimension. A simple emblem may suit puff embroidery; a detailed logo may need a combination of raised and flat stitching.
What makes puff embroidery different?
The appeal is both visual and tactile: raised stitching adds a sculpted surface to selected parts of a design. It can give a monogram or emblem a distinct focal point without requiring every element to be raised.
Embroidery approach | When to consider it |
|---|---|
Flat embroidery | Designs where fine detail and a lower profile matter most. |
3D puff embroidery | Bold letters or shapes with enough width to cover foam. |
Combined flat and puff | Artwork with a large raised feature and smaller supporting details. |
Melco’s technical guidance calls for sufficiently large satin-stitch elements and modified lettering ends. It also places flat sections before the foam section in the sewing sequence. This makes the choice of raised areas part of the digitizing plan. Melco’s puff embroidery guide
How 3D puff embroidery is made
Prepare the design. Identify the areas to raise and create a stitch file adapted to foam embroidery.
Hoop the textile and backing. Sew the planned outlines and any preceding flat elements.
Add the foam. Pause the machine and secure a piece over the intended raised area.
Stitch over it. The embroidery covers the foam and perforates its edges.
Remove the excess. Tear away surrounding foam and carefully tidy remaining fragments.
Madeira’s tutorial describes this sequence and the use of satin stitches over foam. It also describes controlled heat as an optional way to shrink exposed remnants, warning that excessive heat can burn thread. A heat press is not a required expansion step. Madeira’s Bodybuilder tutorial
Designing artwork for a clean raised finish
Start with broad, clearly separated shapes. Madeira recommends artwork built mainly from satin columns and explains that open ends may need capping stitches to cover the foam. It also recommends matching the foam color closely to the thread. Madeira’s digitizing guidance
For a buyer, that means asking the digitizer to review the design at its actual sewing size. Discuss whether narrow strokes, tight gaps or small lettering should be enlarged, simplified or kept flat. Request approval before changing recognizable features of your artwork.
Avoid treating a single density, needle or foam thickness as a universal recipe. Ask the embroiderer to select settings for the actual materials and evaluate them in a stitched sample. Keep that sample as the reference for production.
Products and applications
Madeira identifies stable fabrics as suitable for its puff foam, including caps, jackets, bags and aprons. Its Bodybuilder tutorial also lists sweaters and badges as applications. These are starting points for product selection; the actual blank still needs assessment. Madeira’s foam application sheet, Bodybuilder applications
Possible projects include:
Fashion apparel: a raised emblem on a jacket or a bold feature on a sweatshirt.
Accessories: a monogram on a cap or a simple motif on a bag.
Team merchandise: prominent initials, with supporting text kept flat where appropriate.
Promotional products: a simplified mark on selected merchandise.
Personalized gifts: initials or a substantial decorative shape on a suitable blank.
For T-shirts, polos, hoodies and performance uniforms, ask for a sample on the exact product before committing. Judge how the decorated area looks, feels and moves when worn. A successful cap sample does not establish suitability for every garment.
Ordering online and choosing a provider
First confirm whether you are buying a digital embroidery file or finished embroidered products. Digitizing prepares the machine instructions; your order should explicitly state whether blanks, stitching, sampling and shipping are included.
DigitEMB lists puff work within its embroidery digitizing services. When requesting a file, identify the raised areas and provide the production details your embroiderer needs.
Information to provide | What to specify |
|---|---|
Artwork | Your clearest available file and any details that must remain unchanged. |
Finished dimensions | Width and height, with units clearly stated in inches or millimeters. |
Product | Exact cap or garment model, fabric and embroidery location. |
Raised areas | Which elements should use puff and which should remain flat. |
Production setup | Required machine format and the embroiderer’s foam specifications. |
Order scope | File only, sample, finished quantity or a combination. |
Schedule | Separate dates for proof review, sampling, production and arrival. |
For buyers in the US, Canada and UK, confirm the quote currency and distinguish digital file delivery from shipment of physical goods. For shipped orders, ask which shipping and import-related charges are included.
Compare providers using examples of similar work, their proposed sampling process and clear revision terms. Ask who will resolve problems found during the test sew-out. Confirm any deadline in writing rather than assuming that a file turnaround also covers finished merchandise.
Reviewing proofs and stitched samples
Use a digital proof to review spelling, colors, size and placement. Then request a stitched sample on the intended blank to assess the physical result.
Look for complete foam coverage, tidy ends, consistent raised areas and readable spacing. Inspect the surrounding fabric for distortion and check the reverse for comfort. If the sample needs changes, agree on those changes before approving a larger run.
For repeat orders, retain the approved file version, product details, thread references and sample photographs. Ask the supplier to flag substitutions before production.
Care and responsible material choices
Request care instructions for the finished decorated item. Ask the embroiderer to account for the garment, thread, foam and backing together, including washing, drying and ironing restrictions. For merchandise intended for regular laundering, request a care test before bulk approval instead of relying on a general durability promise.
If environmental considerations matter to your purchase, ask for specific information about the blank, thread, backing and foam. Request evidence for any recycled-content claim and clarification about which component it covers. Do not assume that one recycled component makes the entire item recyclable.
You can also ask the producer to plan foam cuts carefully and explain how offcuts are handled. Avoid describing the process as waste-free or inherently sustainable without evidence.
Frequently asked questions
Does heat make puff embroidery rise?
No. Foam beneath the stitches supplies the height. Madeira describes heat only as an optional finishing method for shrinking exposed foam remnants. Madeira’s finishing guidance
Can an existing flat embroidery file be used?
It needs assessment and may need redigitizing. Puff requires planning for foam coverage, open ends and sewing order; adding foam beneath an unchanged file is not a dependable conversion method. Melco’s digitizing guide
Can one design combine flat and raised embroidery?
Yes. Plan the flat sections first, followed by the foam section, as described in the manufacturer guidance. Mark the intended raised areas clearly when submitting artwork. Madeira’s foam instructions
What should I approve before a bulk order?
Approve the artwork dimensions, placement, colors, raised areas and a representative stitched sample. Also confirm the product, quantity, care instructions and agreed delivery scope.
Practical details for 3D Puff Embroidery: How It Works, Design Tips and Buying Advice
Use the article above as a starting point, then make the production brief specific to your own design. A stitch file is made for a finished size and material, so the artwork alone is only part of the instruction.
Work through these points in order and keep the answers with the artwork or production request. A short written brief makes it easier to compare a proof with the intended result, ask a useful follow-up question and avoid relying on assumptions made from a screen image alone.
The aim is not to add unnecessary steps. It is to identify the choices that change the final result before work begins. If a requirement is unknown, flag it for confirmation rather than guessing; that keeps the approval process focused on the design, material and use that apply to this particular project. Save the approved brief with the project files for future reorders or revisions.
Confirm the finished use
State the item, placement and finished width and height. A chest logo, cap front and jacket back do not use the same sewing area, even when they start from the same artwork.
Protect the smallest details
Review small lettering, narrow gaps, thin outlines and tiny colour changes at the final size. Simplifying a fragile detail before digitizing is often more reliable than trying to force it into a small sew-out.
Match the file to the machine
Tell the production team the embroidery machine or format required, along with the fabric or garment type. This lets them prepare the right export and make choices that suit the material rather than treating every job alike.
Quick questions to check before you proceed
What should I send with my artwork?
Send the clearest original available, the finished dimensions, placement, fabric or garment type and the required machine format if you know it.
Can the same file be used at every size?
Not always. Scaling changes the relationship between stitch length, detail and fabric, so a design may need review when the finished size or placement changes.
What should I check before production?
Confirm the spelling, colours, final size, placement and any details that must remain readable. A proof or sample is the best point to catch a change.