
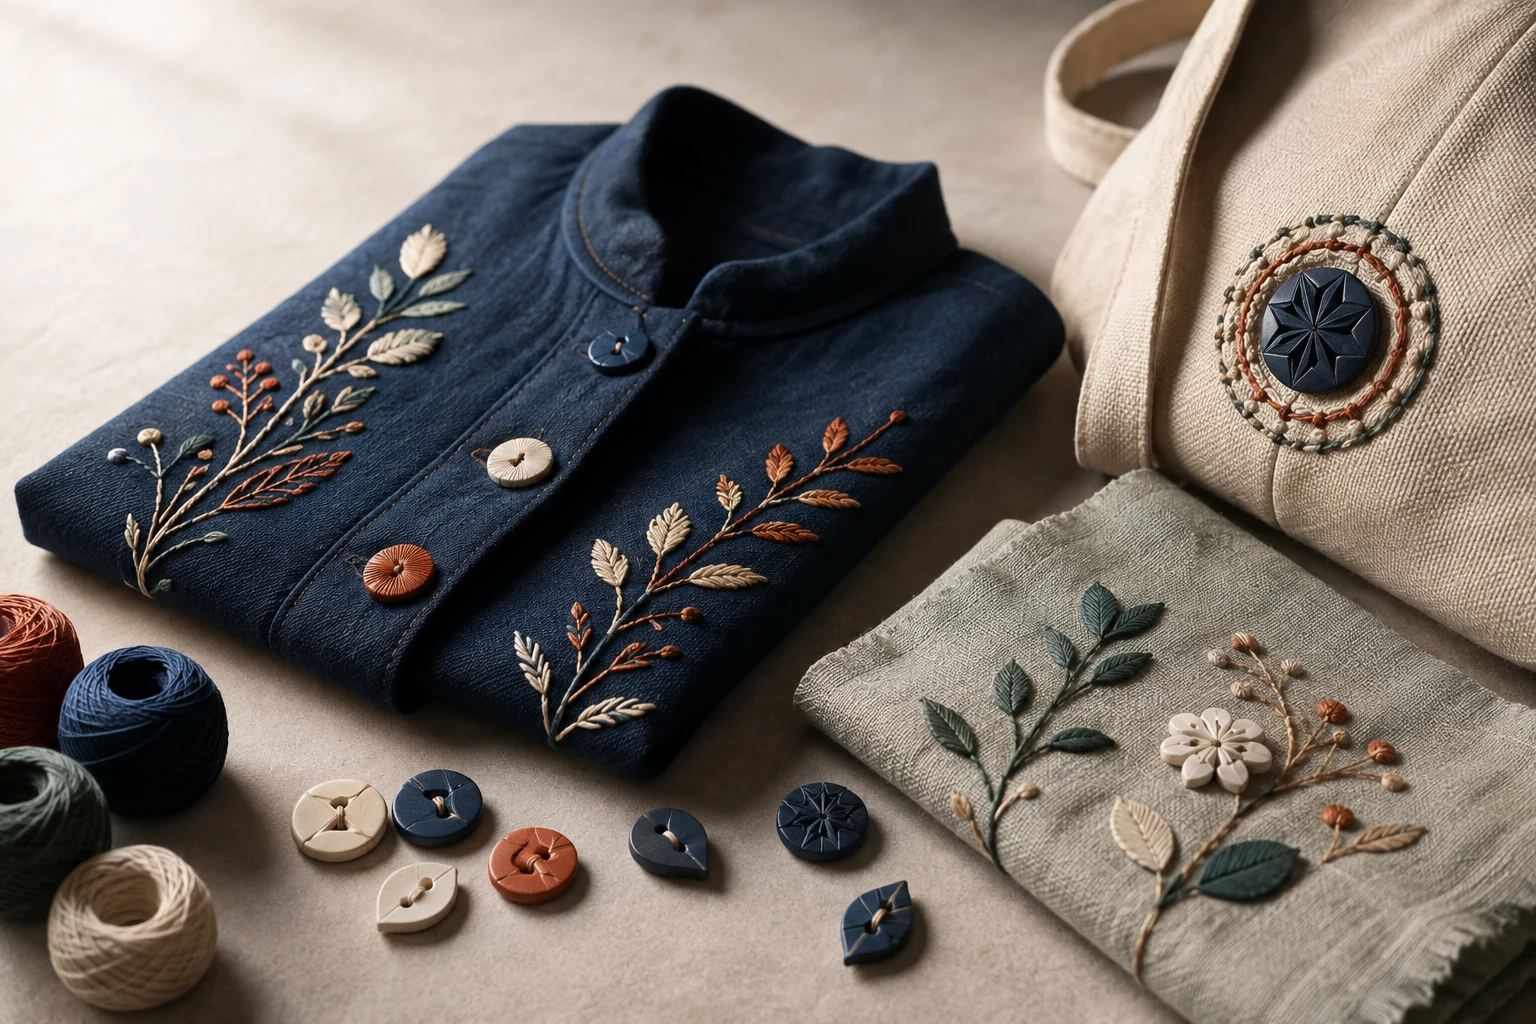
Cover image: AI-generated editorial concept; not a customer project or production proof.
3D printed embroidery accessories are separately printed components—such as buttons, raised badge elements and charms—combined with stitched fabric. They can add sculpted shapes and personalized details to clothing, bags and home décor. Start with a small sample, plan how it will attach, and test the complete piece before ordering a batch.
The useful choice depends on the project: a decorative wall hanging has different demands from a jacket button or a frequently washed bag. This guide explores accessory ideas and how to assess them when buying or commissioning pieces in the US, Canada or UK.
How 3D printing complements embroidery
Embroidery supplies the threadwork; a printed accessory adds a separate physical shape. A stitched stem might end in a printed flower, or an embroidered badge might surround a small raised emblem. These are design possibilities, rather than a ready-made product collection.
Printed components and embroidery also need separate production planning. DigitEMB’s embroidery digitizing service concerns the machine stitch file. A printed component needs its own model and printing arrangements. Share the same dimensions and placement drawing with both makers so the parts fit together.
Accessory ideas to explore
Custom buttons
Consider geometric buttons beside a stitched cuff, leaf-shaped accents on a jacket, or a coordinated set for an embroidered bag. Specify whether each button is decorative or must work as a fastener.
For a functional button, ask the maker to confirm its fit through the buttonhole, attachment-hole dimensions and strength around those holes. Request a finished sample: an attractive front does not reveal whether the back or hole edges will rub against fabric and thread.
Printed patches and badge accents
A raised printed emblem can become the focal point of an embroidered fabric badge. Keep enough fabric around it for the planned attachment, and decide whether the printed part should be removable.
Ask sellers what they mean by “3D patch.” The label alone does not establish that a component is 3D printed. Specify the manufacturing process, material and backing you require.
For a first concept, try a low-profile geometric centerpiece surrounded by stitched lines. Evaluate how it sits when the fabric bends, rather than judging only a flat product photograph.
Charms, flowers and textured add-ons
Small stars, leaves, initials or floral accents can complement hand embroidery on a gift or decorative hoop. Use a few focal pieces so the threadwork remains visible. Rounded forms and attachment points incorporated into the design are sensible starting requests.
On scarves and other flowing fabrics, assess whether the sample pulls the fabric out of shape or catches during movement. For cushions, place sculpted details away from surfaces people lean against; framed textile art offers more freedom to experiment.
Choosing a material
Material names provide a starting point, but they do not establish how a finished accessory will perform. Ask for the exact material grade and evaluate the printed shape, finish and attachment together.
Material | What to consider for embroidery accessories |
|---|---|
PLA | Useful for detailed prototypes and decorative concepts. Its limited heat resistance makes care planning especially important. |
PETG | A candidate to discuss for tougher components, with good layer adhesion. Fine detail and surface finish still need sample review. |
Flexible filament, such as TPU | Worth discussing for accents that need to bend. Request a sample to assess actual softness and shape. |
Prusa describes PLA as suitable for detailed models and prototypes, but notes brittleness and deformation above approximately 60°C/140°F. That is a material limitation, not a recommended laundry temperature. Prusa PLA guide.
Prusa identifies toughness and good layer adhesion as PETG strengths while noting limitations with detailed parts. These properties make it a candidate for evaluation, without establishing that a particular accessory is washable. Prusa PETG guide.
Flexible filaments offer flexibility and wear resistance, but their hardness varies and printing them presents additional challenges. Specify the grade instead of requesting only “soft plastic.” Prusa flexible-material guide.
Plan attachment before printing
For a first project, consider a component with purpose-designed sewing holes or loops that you can attach by hand after completing the embroidery. Ask for smooth edges and enough room for the intended needle and thread. Avoid placing a rigid component in the embroidery machine’s needle path.
Use this sample workflow:
Draw the full arrangement. Mark the stitched area, printed component, attachment points and finished dimensions.
Complete a fabric sample. Use the intended fabric, thread and stabilizer so you can assess the actual combination.
Check the printed part. Inspect the back, edges and holes for roughness, cracks or unwanted projections.
Attach and handle it. Check for tilting, fabric distortion, thread abrasion and catching during normal movement.
Test the intended care method. Review the complete assembly before committing to more pieces.
If adhesive is part of the design, ask its manufacturer whether it suits both the exact plastic and fabric. Follow its application and curing directions, and sample-test for staining, stiffness and loss of adhesion.
Printing directly onto textiles is another approach, but it needs a process developed for the fabric and printer. Prusa’s textile-printing tutorial describes special preparation and settings for its examples; it should not be treated as a universal recipe for every embroidered garment. Prusa textile-printing tutorial.
Care and durability: test the finished combination
Do not assume that a printed accessory can tolerate the garment’s usual washing, tumble-drying, ironing or dry-cleaning routine. Confirm the care requirements for the component, finish and attachment as well as the fabric.
Before approving a batch, document the care method used on the sample. Inspect it afterward for distortion, cracks, loose thread, lifting adhesive and changes to the surrounding fabric. A supplier’s claim about raw material strength does not replace this check.
Where practical, discuss a removable attachment if the textile needs care that the printed component cannot tolerate. Keep spare components and the approved design details if future replacement matters.
Where to find or commission accessories
Explore specialist printing services, local makerspaces and marketplace sellers, then ask whether they can produce textile accessories with the attachment features you need. Confirm whether the offer includes design work, physical prints or only a downloadable model.
For buyers in the US, Canada and UK, give dimensions in millimeters and include inches if helpful—for example, 25.4 mm equals 1 inch. Agree on the quote currency and ask how shipping, applicable taxes and import charges are handled before comparing totals.
A useful commission brief includes:
The item being decorated and where the component will sit.
A drawing showing embroidery, printed shapes and attachment points.
Finished width, height, thickness and quantity.
Intended flexibility, color, surface finish and care method.
Whether you need design work, a sample, repeat production or model files.
Who will print, embroider, assemble and review the finished sample.
Ask what changes the maker recommends after reviewing the design. Approve a physical sample before a larger order, and record its material and dimensions so subsequent pieces can be compared against it.
Frequently asked questions
Is 3D printed embroidery the same as 3D puff embroidery?
No. Printed accessories are separate physical components. Puff embroidery creates raised threadwork using foam; DigitEMB lists it separately within its embroidery digitizing services.
Can I wash clothing with printed accessories attached?
Only use a care method supported for the complete assembly. Confirm the component supplier’s guidance and test a sample with the fabric and attachment. A material name alone does not establish washability.
Do I need to own a 3D printer?
No. You can commission physical parts. Make sure the supplier knows whether you have a printable model or need design assistance, and confirm that the order includes finished components.
What is a manageable first project?
Try a small printed flower or geometric charm on an embroidered display hoop. It lets you evaluate proportion, surface finish and attachment before developing functional buttons or accessories for regularly washed garments.
Practical details for 3D Printed Embroidery Accessories: Buttons, Patches and Charms
Use the article above as a starting point, then make the production brief specific to your own design. A stitch file is made for a finished size and material, so the artwork alone is only part of the instruction.
Work through these points in order and keep the answers with the artwork or production request. A short written brief makes it easier to compare a proof with the intended result, ask a useful follow-up question and avoid relying on assumptions made from a screen image alone.
The aim is not to add unnecessary steps. It is to identify the choices that change the final result before work begins. If a requirement is unknown, flag it for confirmation rather than guessing; that keeps the approval process focused on the design, material and use that apply to this particular project. Save the approved brief with the project files for future reorders or revisions.
Confirm the finished use
State the item, placement and finished width and height. A chest logo, cap front and jacket back do not use the same sewing area, even when they start from the same artwork.
Protect the smallest details
Review small lettering, narrow gaps, thin outlines and tiny colour changes at the final size. Simplifying a fragile detail before digitizing is often more reliable than trying to force it into a small sew-out.
Match the file to the machine
Tell the production team the embroidery machine or format required, along with the fabric or garment type. This lets them prepare the right export and make choices that suit the material rather than treating every job alike.
Quick questions to check before you proceed
What should I send with my artwork?
Send the clearest original available, the finished dimensions, placement, fabric or garment type and the required machine format if you know it.
Can the same file be used at every size?
Not always. Scaling changes the relationship between stitch length, detail and fabric, so a design may need review when the finished size or placement changes.
What should I check before production?
Confirm the spelling, colours, final size, placement and any details that must remain readable. A proof or sample is the best point to catch a change.