
Plan for the real size
Make detail and border decisions at the patch’s intended finished dimensions—not only while zoomed in.
Embroidery digitizing, vector artwork, patches & stickers
Course companion · patch project
Study a basic patch workflow using the software’s digitizing tools.
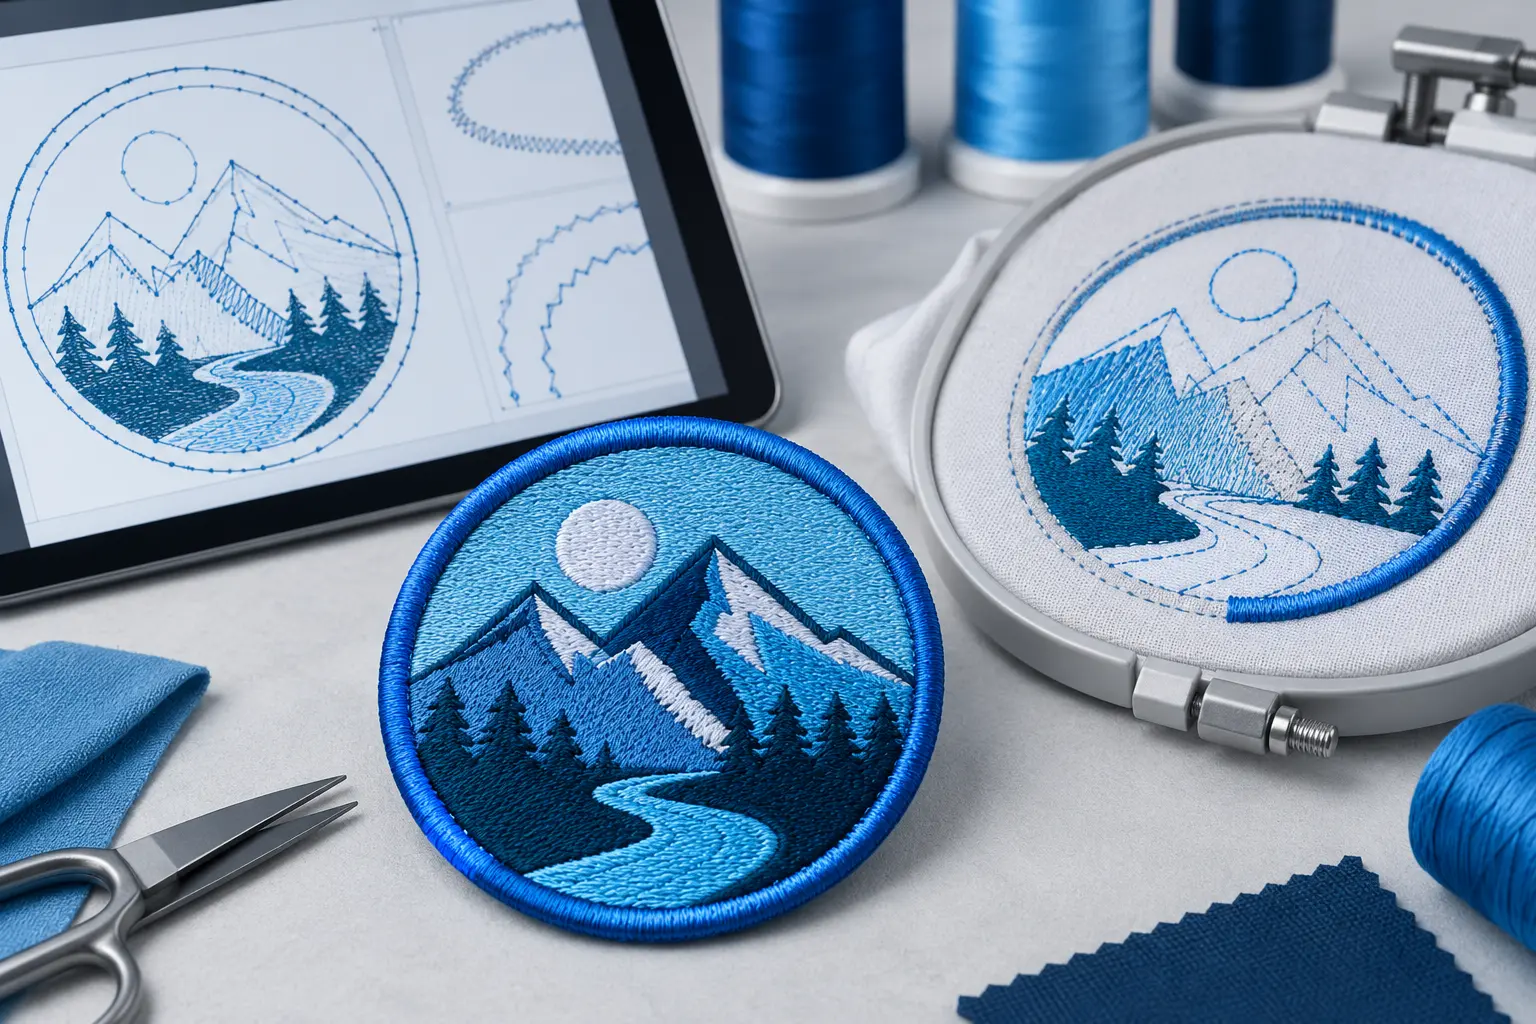 Shape · face · border
What to focus on
Make detail and border decisions at the patch’s intended finished dimensions—not only while zoomed in.
Build the patch artwork and its border as related but distinct production elements.
Use a sewn test to evaluate coverage, registration and material behaviour before repeating the setup.
Practice workflow
Use these notes beside the official course. They are a practical learning companion, not a replacement for the provider’s curriculum or software instructions.
Write down the finished dimensions, shape, base material and edge treatment before you digitize. These choices set the limits for every later decision.
Size · shape · materialSeparate the main artwork from the border. Simplify details that will not hold at the intended size, then decide which areas need fill, satin or running stitches.
Artwork · stitch rolesChoose underlay and stitch direction for the patch material. Work from stable background areas toward smaller foreground details.
Underlay · sequenceTreat the outer edge as its own production element. Check its width, corners and alignment instead of relying on the face artwork to define it automatically.
Edge · corners · alignmentReview the sewing order, trims, jumps and colour changes. Zoom out to the real finished size as well as checking the close-up view.
Order · trims · previewRun a sample on comparable material. Record what changed, keep the editable working file, and label it with the intended size and material before making another version.
Sample · compare · saveQuality checkpoints
Look for width changes around curves and tight corners. The border should read as one intentional edge.
Judge lettering and narrow gaps at the real patch size. Remove detail that turns into thread clutter.
Confirm the sequence avoids unnecessary jumps and does not trap later elements under the border.
Use the sewn sample to check registration, edge coverage and distortion. The screen preview cannot replace this step.
Design Doctor
Upload the artwork to Design Doctor for a free readiness check before you digitize or request production.
DigitEMB University is a practical industry learning platform by DigitEMB and is not an accredited university or degree-awarding institution.