
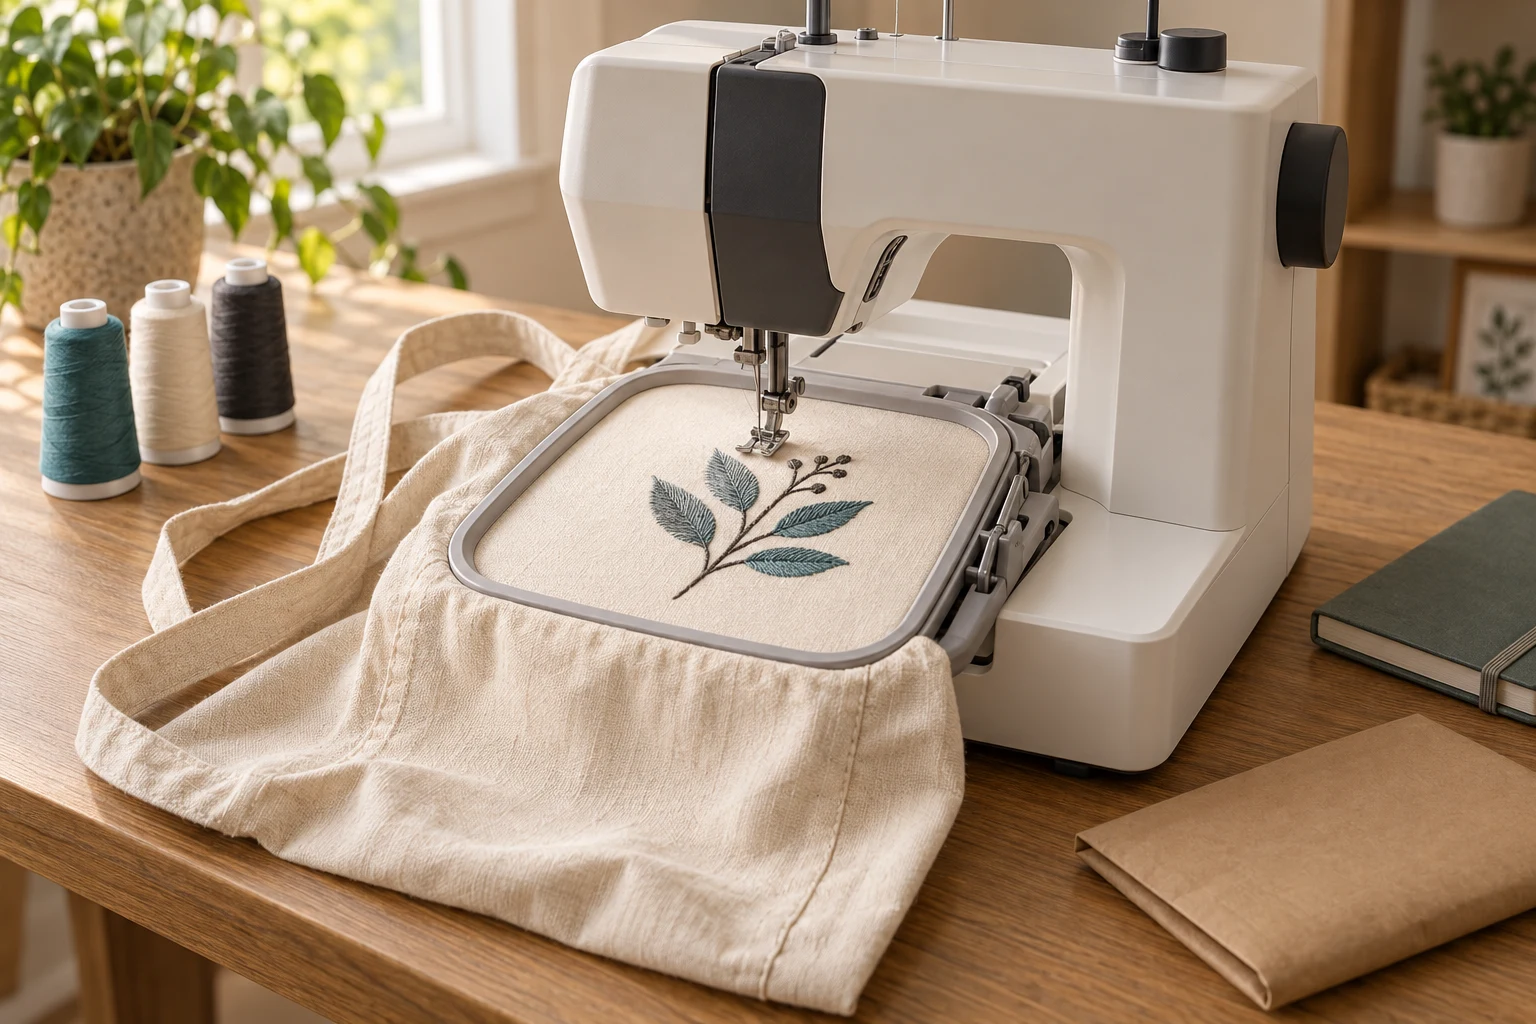
Cover image: AI-generated editorial concept; not a customer project or production proof.
To start an embroidery business from home, choose a specific customer group, test a small product range, plan your costs and check local business requirements. Then select equipment that can handle those products, source suitable materials and designs, and establish a sample approval process before accepting production orders.
This guide focuses on a home business that stitches products for customers. It covers the full path from an initial idea to repeat orders, including when outsourcing digitizing may fit your workflow.
Choose your customers and first products
Start with a customer need you can describe clearly: embroidered work shirts for local businesses, personalized gifts, club apparel or decorative household textiles. Your initial range might include shirts and jackets, hats, bags and backpacks, or cushion covers and table runners. Treat these as options to investigate; each product needs its own production testing.
Talk to prospective buyers about quantities, preferred garments, personalization and ordering difficulties. Compare competing offers using the same product and order size. The SBA’s business planning guidance explains how demand, location, competition and customer research inform a business idea.
Choose a manageable starting range. For example, you could sample one shirt style and one tote bag before adding several garment categories. This makes it easier to learn your production times and keep stock under control.
Write a practical business plan
Describe your customers, products, sales channels, production process and spending limits. Decide which work you will do yourself and which services you will buy. Include time for customer messages, purchasing, sampling, packing and bookkeeping.
Build your startup budget from current supplier quotes. Separate initial purchases from recurring expenses and keep money available for replacement supplies and rejected samples. The SBA’s planning resources include business plan guidance and startup cost planning.
Budget area | What to include |
|---|---|
Production equipment | Machine, suitable hoops, work surface and essential tools |
Design preparation | Digitizing services or software, plus learning and sampling time |
Materials | Blank products, thread, bobbins, needles and stabilizers |
Business operations | Relevant registration costs, insurance, bookkeeping and selling fees |
Order delivery | Packaging, shipping and time spent preparing parcels |
Operating reserve | Replacements, repairs, spoiled items and gaps between orders |
Avoid setting a revenue target without checking capacity. Time a complete sample order, including preparation and finishing, to estimate how much work fits around your other commitments.
Check home-business requirements
Requirements depend on where you operate and what you sell. Use official guidance to identify the registrations, permissions and tax questions relevant to your situation.
United States: The SBA’s launch guidance covers business registration, tax IDs, licenses, permits and insurance. Check state and local requirements for your home address and activities.
Canada: The Government of Canada’s starting-a-business guide links to registration, permits and licenses, and tax support. Requirements can involve more than one level of government.
United Kingdom: GOV.UK’s home-business guidance explains possible landlord or mortgage-provider permissions, planning considerations, insurance and business rates.
Before arranging collections or installing equipment, check whether customer visits, deliveries and machine use affect your home permissions or insurance. Keep business purchase records and order records organized from the start.
Select equipment around the products you will sell
Prepare a short list of requirements before comparing machines. Ask a dealer to demonstrate your intended product and design, and consult the manufacturer’s documentation for the exact model.
Equipment consideration | What to confirm |
|---|---|
Embroidery area | Your intended design fits the supported sewing field and hoop |
Product access | The item can be positioned without trapping other fabric layers |
Needle arrangement | How thread changes work for your typical multicolor designs |
File transfer | Accepted machine formats and the supported transfer method |
Production workflow | Time for loading, thread changes, trimming and unloading |
Home installation | Space, access, power requirements and a suitable support surface |
Ownership support | Training, maintenance instructions, servicing and warranty terms for your intended use |
A machine’s built-in designs and lettering features do not establish that it can create every custom design you plan to sell. Likewise, advertised stitching speed is only one part of order completion time. Measure the whole workflow during a demonstration or trial.
Manufacturers offer different machine configurations; Brother, for example, documents a single-needle embroidery machine and a six-needle, single-head machine. Compare the documented capabilities of the models available to you without assuming that needle count alone determines suitability.
Set up separate areas for incoming blanks, hooping, stitching, inspection and packing. Keep finished goods away from loose threads and cutting waste, and leave the clearance required by the machine manufacturer.
Source designs and decide how to handle digitizing

Embroidery digitizing turns artwork into a planned sequence of stitches. It includes decisions about stitch types, direction and sewing order. Hatch’s embroidery glossary explains these core terms.
You have three practical routes:
Create your own embroidery designs: Allow for suitable software, training and repeated practice.
Commission digitizing: Include the service cost and sample review time in your order planning.
Use ready-made designs: Read the specific license before offering embroidered products for sale, and retain the relevant terms with your records.
For customer artwork, request confirmation that the customer has permission to use it for the proposed products. Resolve unclear permissions before production.
When commissioning digitizing, supply the artwork, finished dimensions with units, product, fabric, placement, thread preferences and machine model. Confirm the required machine format, deliverables and revision arrangements. Hatch distinguishes editable design formats from machine formats in its supported embroidery files reference.
You can review DigitEMB’s embroidery digitizing service when planning outsourced design preparation. Confirm the scope, quote and testing arrangements for your project before ordering.
Keep the digitizing discussion focused on what your business needs to purchase or learn. You do not need to master every specialist technique before testing a small product range.
Buy materials you can reproduce consistently
Source sample blanks before committing to stock. Record the supplier, product code, fabric composition, color and size so repeat orders can use the same specification. Compare shipping charges, stock availability and replacement arrangements alongside the unit cost.
Your working supplies will typically include embroidery thread, compatible bobbins and needles, stabilizers, scissors or thread snips, measuring tools and packing materials. Use the machine and material manufacturers’ instructions when selecting compatible supplies.
Stabilizer choice should follow the fabric and design. Madeira describes cut-away stabilizers as providing support for unstable materials such as knits and light woven fabrics. Its cut-away stabilizer guide explains their role. For raised surfaces, Madeira’s backing and topping reference describes how toppings help keep stitches from sinking into the fabric.
Make a sample using the actual blank, thread and support materials you intend to use. Inspect the front and back, check placement and lettering, and evaluate the item after care carried out according to the relevant material instructions. Record what worked before buying larger quantities.
Price the complete order
Prepare a cost sheet for each product and customization option. Count both the physical inputs and the time needed to complete the job.
Include blanks, consumables, digitizing or design preparation, sampling, production labor, finishing, packing, selling fees and an allocation for overhead. Add an allowance for expected waste or rework based on your own records. Then decide what profit the order needs to contribute.
A useful quoting structure is:
Order quote = setup and design preparation + quantity × item charge + separately stated delivery and applicable charges.
Your item charge should cover the costs assigned to each piece and your intended profit. Use the formula as an organizing tool; it does not set a market price.
State what the quote includes: product specification, quantity, embroidery size and placement, personalization, sample approval and delivery arrangements. Explain any separate setup charge and whether it applies again to an unchanged repeat order.
For US, Canadian and UK customers, identify the currency as USD, CAD or GBP. Clarify which taxes, shipping or other charges are included. Compare competitors’ offers only after checking these details.
Build a brand buyers can understand
Choose a business name and a consistent visual style, then show the actual products you can make. Clear photographs of your own samples help buyers assess stitch appearance, placement and product choices.
Your website or storefront should explain:
Which products and customization options you offer.
What information is needed for a quote.
How artwork and samples are approved.
How customers can contact you about an order.
What ordering, care and delivery information accompanies the purchase.
Use clean, protective packaging appropriate to the item. Add decorative packaging only when it fits your budget and customers’ expectations.
Find customers and learn from early orders
Choose a few sales channels you can maintain consistently. Local business introductions, craft fairs, community events and a focused online storefront can each provide opportunities to show samples and discuss requirements.
For business or club apparel, prepare a concise sample offer with the product choices and information needed for a quote. For gifts, show personalization clearly and explain how customers submit spelling and other details.
Share useful photographs and production explanations on social media. Ask satisfied buyers for honest feedback and permission before displaying their artwork or finished orders. Track which inquiries become paid orders before increasing advertising spending.
Review early jobs for recurring questions, time-consuming steps and preventable mistakes. Use those findings to improve your product descriptions and quoting process.
Establish an order workflow before expanding
Record the request: Product, sizes, quantity, artwork, dimensions, placement and required date.
Confirm the quote: Scope, payment arrangements, currency and delivery details.
Prepare and review the design: Resolve spelling, colors and any artwork changes.
Approve a sewn sample: Check the intended materials and record the approved file version.
Produce and inspect: Check each item against the approved specification.
Pack and document: Retain order details, dispatch information and repeat-order references.
Build time for purchasing, sampling and revisions into the schedule. Agree on a delivery date only after checking material availability and your production queue.
Expand when your records show what needs to change. Another hoop, better stock organization or outside digitizing support may address a bottleneck before another machine is justified.
Frequently asked questions
How much does it cost to start?
There is no single reliable total. Build a budget from quotes for the equipment, supplies and services your initial products require. Include sampling, recurring expenses and an operating reserve.
Do I need digitizing software immediately?
You can commission digitizing or use appropriately licensed ready-made files. If you want to create or substantially edit embroidery designs yourself, check that the software includes those tools and exports the formats you need.
Can I start with one machine?
Plan around one machine if it can produce your chosen items at acceptable quality within your available time. Test complete orders before deciding how much work to accept.
How should I handle customer-supplied garments?
Inspect the items and discuss suitability before accepting them. Agree in writing on sampling, existing damage and how production problems will be handled. Avoid promising results on an unfamiliar garment without testing a suitable sample.
What should I sell first?
Choose products that prospective customers want and that you can sample, price and reproduce confidently. A small, clearly defined range makes early orders easier to manage.
Practical details for How to Start an Embroidery Business from Home
The best next step is to translate the topic in this article into a short, specific brief. That gives everyone involved the same reference before a file, proof or finished product is prepared.
Work through these points in order and keep the answers with the artwork or production request. A short written brief makes it easier to compare a proof with the intended result, ask a useful follow-up question and avoid relying on assumptions made from a screen image alone.
The aim is not to add unnecessary steps. It is to identify the choices that change the final result before work begins. If a requirement is unknown, flag it for confirmation rather than guessing; that keeps the approval process focused on the design, material and use that apply to this particular project. Save the approved brief with the project files for future reorders or revisions.
State the intended outcome
Describe where and how the finished item will be used, who it is for and the result that matters most. This helps separate a useful requirement from a visual preference.
Collect the source material
Provide the clearest artwork, references and text available. Mark anything that cannot change, such as a logo, spelling, colour or placement requirement.
Review the final details
Before approving work, check the real size, material, format and any production constraints. Confirm the details that affect how the design will look in use, not only on a screen.
Quick questions to check before you proceed
What should I prepare first?
Start with the artwork, its intended use, finished size and any requirements that cannot change.
Why is a proof important?
A proof is the shared reference for checking details before production. It is the best time to correct a size, spelling, colour or placement issue.
What makes a useful request?
A clear request explains the goal, provides the best available source material and identifies the details that need approval.