
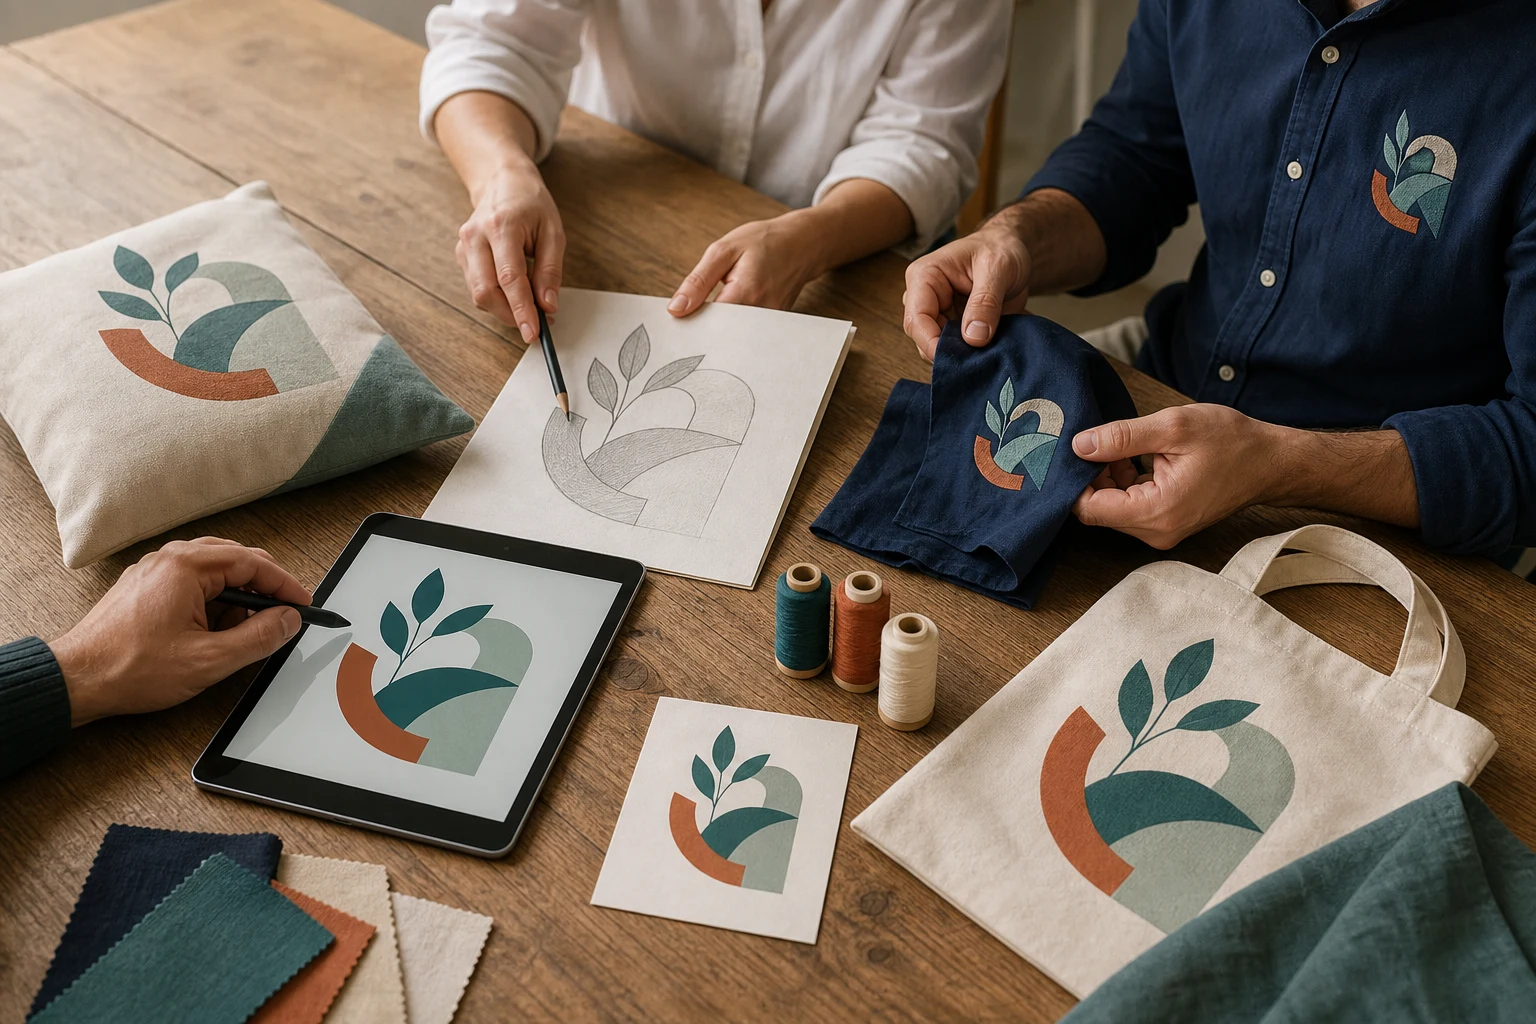
Cover image: AI-generated editorial concept; not a customer project or production proof.
Collaborative design projects bring clients, designers, vector artists and embroidery specialists together to develop artwork for a shared purpose. A successful project connects creative decisions with production requirements: agree on the brief, review concepts, prepare the appropriate files, test the physical result and record final approval.
This approach suits business merchandise and personal commissions alike, from apparel and accessories to event materials and home décor. The central task is keeping everyone aligned as one idea moves between digital artwork and physical products.
Who contributes to a collaborative design project?
One person may fill several roles, but each responsibility should have a clear owner.
Contributor | Main responsibility |
|---|---|
Client or project lead | Defines the audience, intended use, budget and final approval authority. |
Designer or illustrator | Develops concepts, composition, lettering and the visual direction. |
Vector artist | Creates or refines editable shapes for the required artwork applications. |
Embroidery digitizer | Translates artwork into embroidery objects and stitches for the intended application. |
Production partner | Confirms equipment requirements, makes samples and produces the agreed items. |
Bring the production partner into the conversation before the design is finalized. Ask them to flag details that need adjustment for the selected product, placement or decoration method.
Collaboration can give buyers more informed creative control and make technical compromises easier to understand. It also introduces coordination work, so appoint one person to consolidate feedback and approve changes.
Where collaboration is useful
The same working process can support several kinds of projects:
Apparel and uniforms: coordinate the artwork, garment color and placement across shirts, jackets and other clothing.
Corporate merchandise: maintain a recognizable visual identity across embroidered accessories and printed materials.
Personal accessories: develop original illustrations or monograms for bags, hats and scarves.
Events and gifts: create a shared theme for apparel, keepsakes and decorations while checking names and dates carefully.
Home décor: coordinate motifs across cushions, wall hangings and other textile pieces.
For example, a hypothetical event project could use one botanical illustration on a printed invitation, an embroidered tote and a decorative cushion. The team would agree on the essential shapes and colors, then review each application separately. The goal is a coherent family of products, with an appropriate version for each use.
Start with a brief everyone can use
Give the team the best available original artwork, reference images and a short explanation of what the project should communicate. Separate elements that must remain unchanged from those open to interpretation.
Include the following information before detailed design work begins:
Brief detail | What to specify |
|---|---|
Purpose and audience | Who will use the items and what the design should express. |
Product and material | Garment or object, fabric, base color and intended decoration method. |
Size and placement | Finished artwork width and height, plus a placement reference. |
Visual requirements | Exact wording, preferred colors, required motifs and details that may be simplified. |
Deliverables | Whether you need concepts, vector artwork, embroidery files, samples or finished goods. |
Review arrangements | Named approver, review dates and how feedback will be collected. |
Commercial scope | Budget, quantities, included revisions and responsibility for sampling and production. |
For teams working across the US, Canada and UK, label measurements explicitly in inches or millimeters. Write dates with the month spelled out, identify the time zone for review deadlines, and specify USD, CAD or GBP when discussing quotes. Distinguish the artwork approval date from the date physical goods are needed.
Move from concepts to approved production
1. Explore the visual direction
Start with sketches or a small selection of concepts. Discuss composition, wording, style and color before spending time on detailed production preparation.
Ask reviewers to explain the problem they see. “The event name is difficult to read at the proposed size” gives the designer a clearer task than “make it stand out.”
2. Consolidate feedback
Use one shared review location and identify the version under discussion. A shared document, annotated proof or project board can work; the important feature is a clear record of comments and decisions.
Have the project lead resolve contradictory requests before sending revisions to the designer. Keep approvals attached to a specific file version, size and application.
3. Prepare artwork for each output
Vector artwork uses mathematically defined shapes and can retain crisp edges when resized. That makes it useful when the same illustration or logo must appear at several sizes. Adobe explains the distinction in its guide to raster and vector images.
Embroidery requires a further step. Digitizing assigns stitch behavior to the artwork; a vector drawing alone is not an embroidery machine file. Wilcom describes how digitizing involves creating embroidery objects, selecting stitch types and generating stitches in its explanation of auto-digitizing.
A vector file is also not mandatory for every embroidery project. Wilcom documents workflows that start with scanned or bitmap artwork, although the image may need preparation before conversion. See its guidance on preparing artwork.
Ask the team to show any proposed simplification alongside the original. Approve changes to small lettering, fine outlines or decorative details explicitly, rather than discovering them in the finished product.
4. Review a physical sample
For embroidered items, arrange a sew-out using the intended material and production setup where possible. Fabric, hooping, stabilizer and stitch choices can affect how the design pulls during stitching. Hatch explains these factors and the role of a test sew-out in its pull compensation guidance.
Review the sample for readable lettering, placement, shape, thread appearance and fabric distortion. Record what needs changing and ask for another sample when the revision affects the result you are approving.
For printed items, agree with the printer on the appropriate proof or sample. Treat visual approval of a screen preview and approval of a physical sample as separate decisions.
5. Complete the handoff
Ask for an organized delivery package containing the agreed production files, a readable preview and the specifications needed to identify their intended use. Confirm the required machine or printer format with the production partner.
Keep a simple version history. A filename such as botanical-tote_v03_approved is more useful than several files called final. Record the approved dimensions, placement, color references and sample date alongside it.
Choosing professional support
Choose support around the work the project needs. Some projects require original illustration and art direction; others already have approved artwork and need vector cleanup or embroidery digitizing.
Before commissioning a provider, ask who handles each stage, what revisions are included, who makes the physical sample and which editable files are part of the delivery. Confirm whether the quote covers digital files, finished products or both.
If embroidery file preparation is part of your project, review DigitEMB’s embroidery digitizing services and provide the approved artwork, intended size, material and production requirements. Agree on the scope before work begins.
Frequently asked questions
Can we collaborate remotely?
Yes. Share a written brief, collect comments in one place and name a final approver. Agree on how physical samples will be reviewed when the team cannot inspect them together.
Can one design be used for embroidery and print?
Often, but plan for separate production versions. The team should agree on the shared visual identity and approve any adaptations required for each application.
Do we need a vector file before contacting a digitizer?
Not necessarily. Share the clearest original artwork available and ask what preparation is required. A digitizer may work from bitmap artwork, while a separate vector version may be useful for printing or future design edits.
What should happen if the product changes after approval?
Tell the designer, digitizer and production partner before proceeding. Ask them to reassess the approved size, placement and production file, and arrange a new sample where needed.
Does hiring more specialists guarantee a faster project?
No. Clear responsibilities, consolidated feedback and timely approvals matter more than team size. Agree on a schedule that includes review and sampling time.
Practical details for Collaborative Design Projects for Embroidery and Vector Art
The best next step is to translate the topic in this article into a short, specific brief. That gives everyone involved the same reference before a file, proof or finished product is prepared.
Work through these points in order and keep the answers with the artwork or production request. A short written brief makes it easier to compare a proof with the intended result, ask a useful follow-up question and avoid relying on assumptions made from a screen image alone.
The aim is not to add unnecessary steps. It is to identify the choices that change the final result before work begins. If a requirement is unknown, flag it for confirmation rather than guessing; that keeps the approval process focused on the design, material and use that apply to this particular project. Save the approved brief with the project files for future reorders or revisions.
State the intended outcome
Describe where and how the finished item will be used, who it is for and the result that matters most. This helps separate a useful requirement from a visual preference.
Collect the source material
Provide the clearest artwork, references and text available. Mark anything that cannot change, such as a logo, spelling, colour or placement requirement.
Review the final details
Before approving work, check the real size, material, format and any production constraints. Confirm the details that affect how the design will look in use, not only on a screen.
Quick questions to check before you proceed
What should I prepare first?
Start with the artwork, its intended use, finished size and any requirements that cannot change.
Why is a proof important?
A proof is the shared reference for checking details before production. It is the best time to correct a size, spelling, colour or placement issue.
What makes a useful request?
A clear request explains the goal, provides the best available source material and identifies the details that need approval.