
Use
Name the garment or item, fabric, washing method, and whether the patch must come off.
Embroidery digitizing, vector artwork, patches & stickers
First custom patch order
Choose the right patch type, size, backing, border, artwork, quantity, and proof details before production begins.
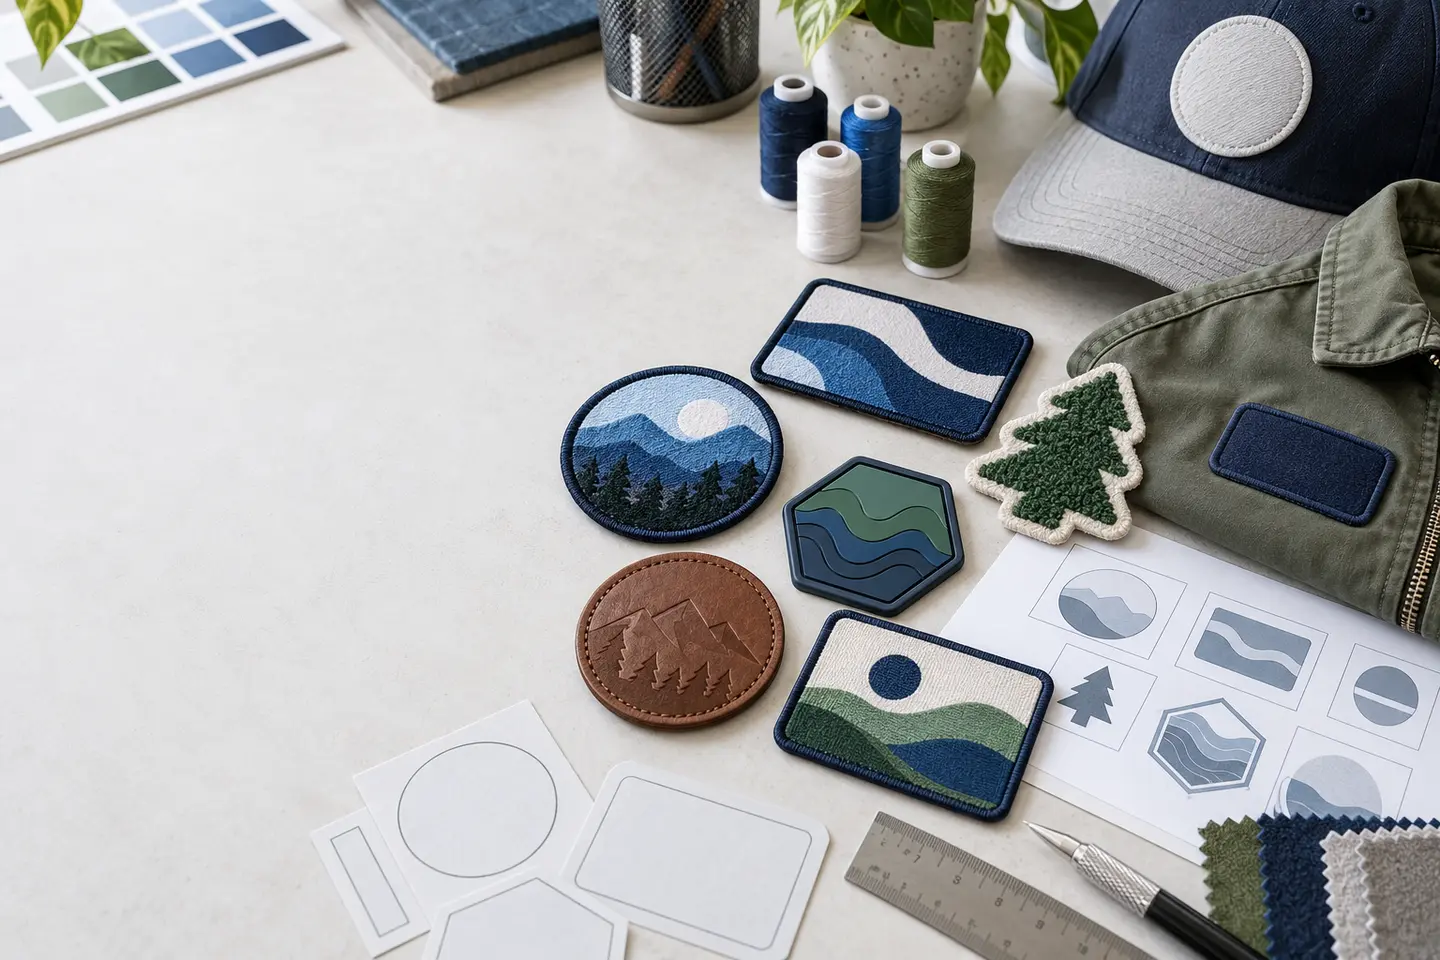
The complete plan
Each choice affects the next one. Start with the real use, not the artwork, and your specification becomes easier to explain and approve.
Name the garment or item, fabric, washing method, and whether the patch must come off.
Test paper shapes on the real item, then record the finished width and height.
Match the construction to your artwork, detail level, texture, and working environment.
Choose sew-on, heat-applied, hook-and-loop, or temporary adhesive for the actual surface.
Use a merrowed edge for simple shapes or a close-cut satin edge for detailed outlines.
Send clean vector artwork when possible and list every background, design, border, and text color.
Include useful spares and work backward from the date the finished patches must be in hand.
Check size, shape, construction, colors, spelling, quantity, and placement before approval.
Choose by outcome
There is no single best construction. Choose the one that protects the most important part of your design and suits where the patch will be used.
Bold logos, uniforms, teams
Classic raised thread on twill. Strong for clear shapes, short wording, and a traditional patch finish.
Small text and fine linework
Finer woven threads hold more detail with a flatter surface than standard embroidery.
Outdoor, wet, or rugged use
Flexible molded material with solid color areas and strong dimensional detail.
Varsity and heritage styling
Soft looped yarn creates a bold, tactile look that works best with simple artwork.
Caps, bags, and premium labels
Usually debossed or laser engraved for a restrained, durable finish.
Photos, gradients, many colors
Best when the original image depends on continuous tone or detail that thread cannot reproduce.
Unsure between two types? Ask for the trade-offs at your finished size before approving a large run.
Measure the real space
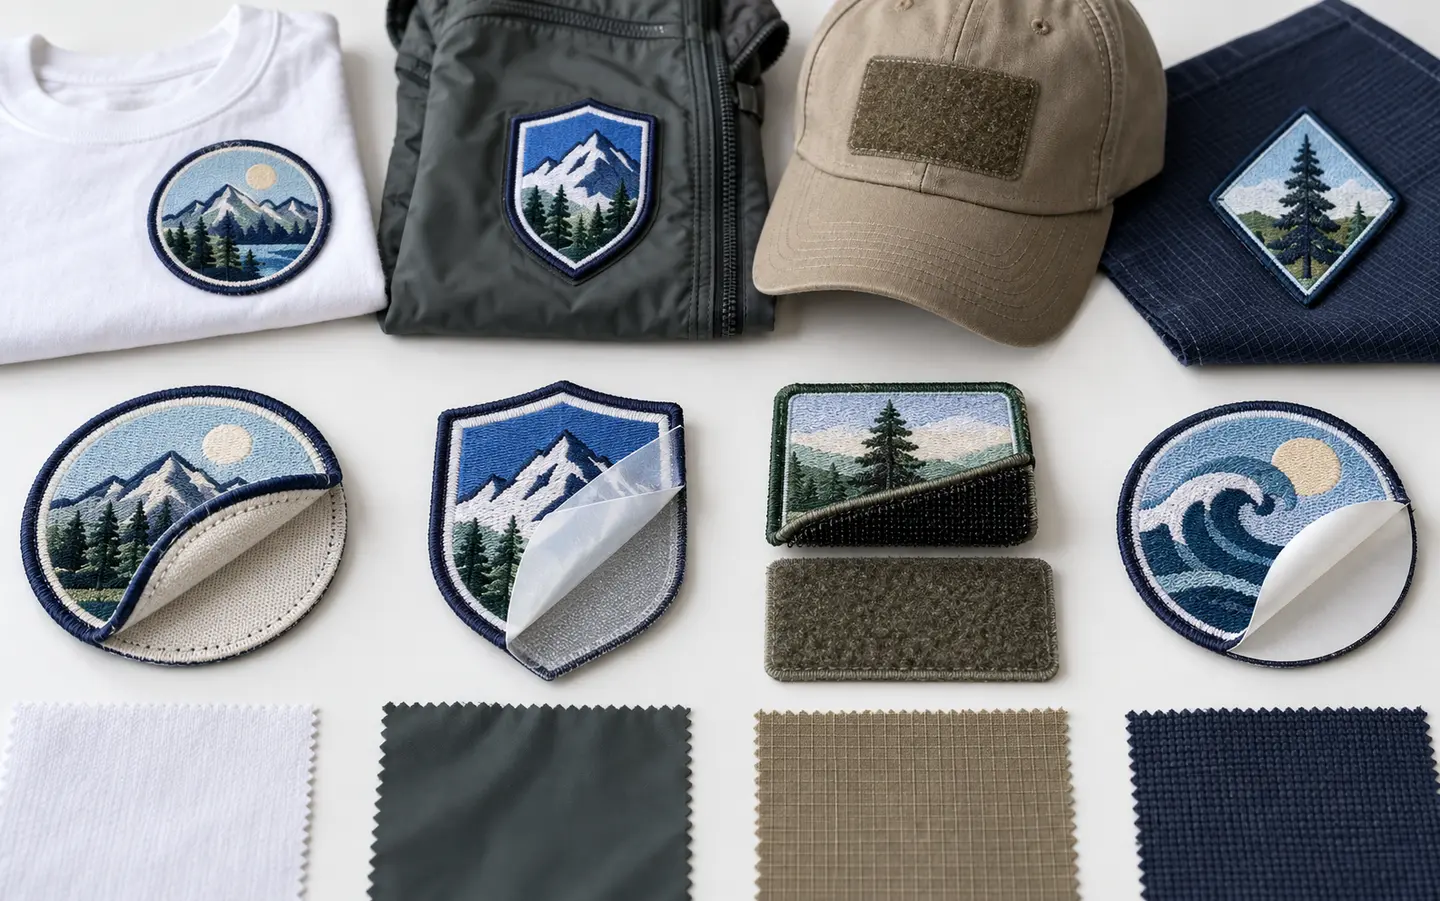
The most permanent option and a practical choice for heat-sensitive fabric or hard washing.
Fast application on compatible cotton, polyester, and blended fabrics. Confirm the garment can take heat.
Built for patches that move between items or need to be removed before washing.
A temporary peel-and-stick option for suitable hard goods rather than everyday clothing.
Avoid assuming an iron-on backing is safe for nylon, coated rainwear, leather, or another sensitive surface. Confirm the fabric and application method first.
Your order brief
Complete these ten fields and attach your best artwork. Your maker can then quote, prepare the proof, and ask focused questions without guessing.
Uniform, club, team, resale, event, or identification
For example: cotton shirt, nylon jacket, cap, backpack, or hard case
Width × height, with the shape named or sketched
Embroidered, woven, PVC, chenille, leather, or printed
Sew-on, heat-applied, hook-and-loop, or temporary adhesive
Merrowed or close-cut satin, plus the border color
Background, design, wording, and border colors
Vector file or the largest, sharpest image available
Required count plus sensible spares
The date patches must arrive, before application or distribution
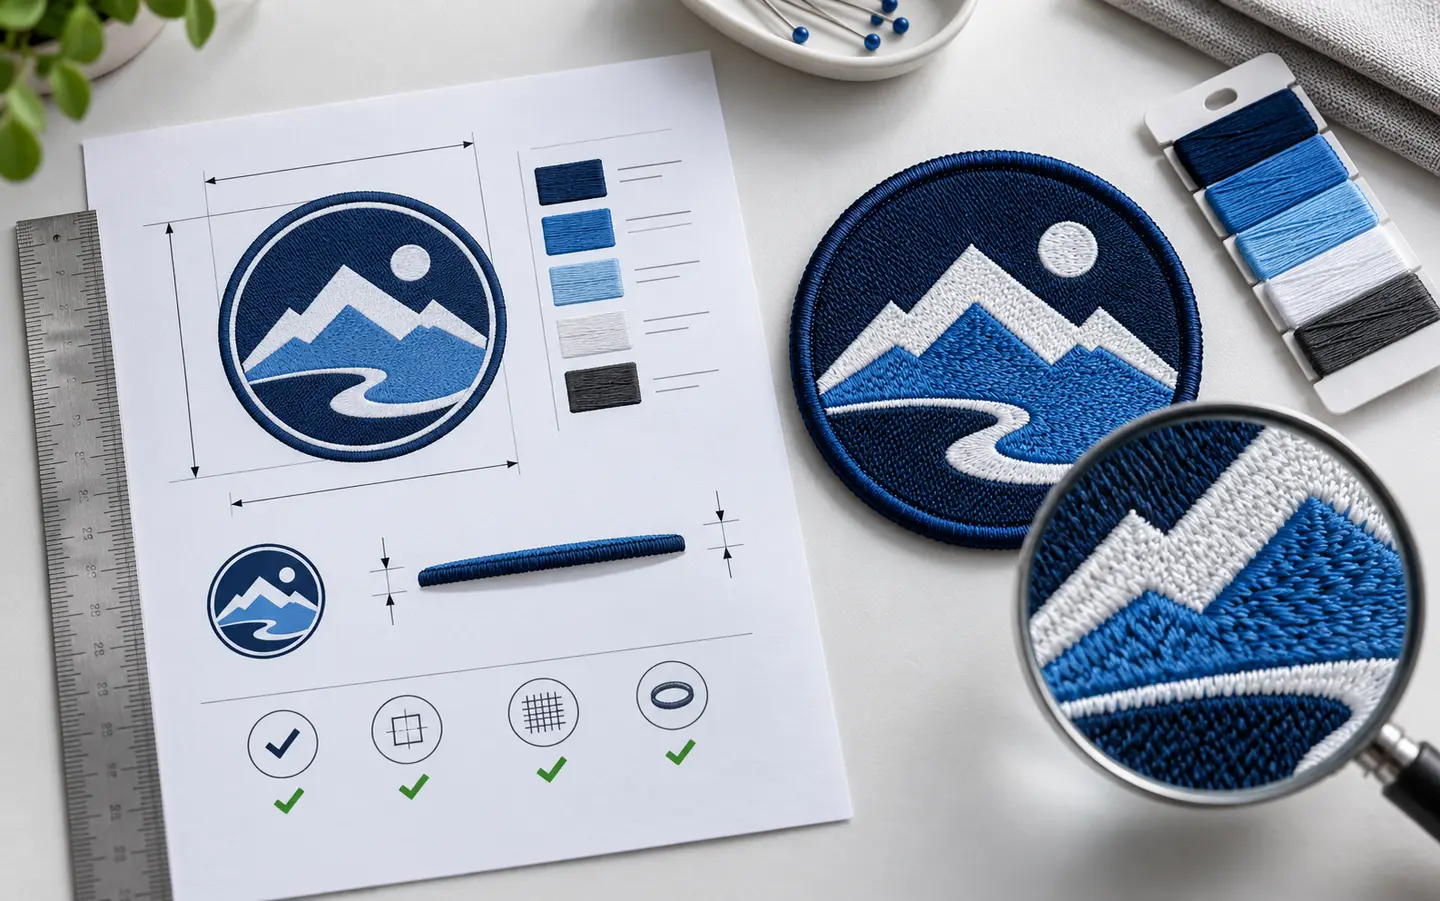
Before production
Compare the proof with your written brief line by line. Do not rely on memory, and send every correction in writing before you approve.
Count the delivery, compare several pieces with the approved proof, then apply one patch to spare fabric of the same type before completing the full run.
Ready to plan yours?
Use the saved checklists and short knowledge checks to turn these decisions into your own complete patch specification.
Explore the guideCommon first-order questions
Start with how the patch will be used, then compare that need with the detail in your artwork. The best construction must satisfy both.
Print the design at the finished size. If it is difficult to read on paper, enlarge the patch, shorten the wording, simplify it, or consider a construction that holds finer detail.
No. The garment must tolerate the required heat and pressure. Heat-sensitive or coated materials may need a sew-on or removable option instead.
Approve the complete production specification: size, shape, construction, backing, border, colors, spelling, quantity, and any agreed application details.
Allow for new staff, lost or damaged pieces, and application mistakes. The sensible number depends on the use and how easily you can reorder.
DigitEMB University is a practical industry learning platform by DigitEMB and is not an accredited university or degree-awarding institution.