
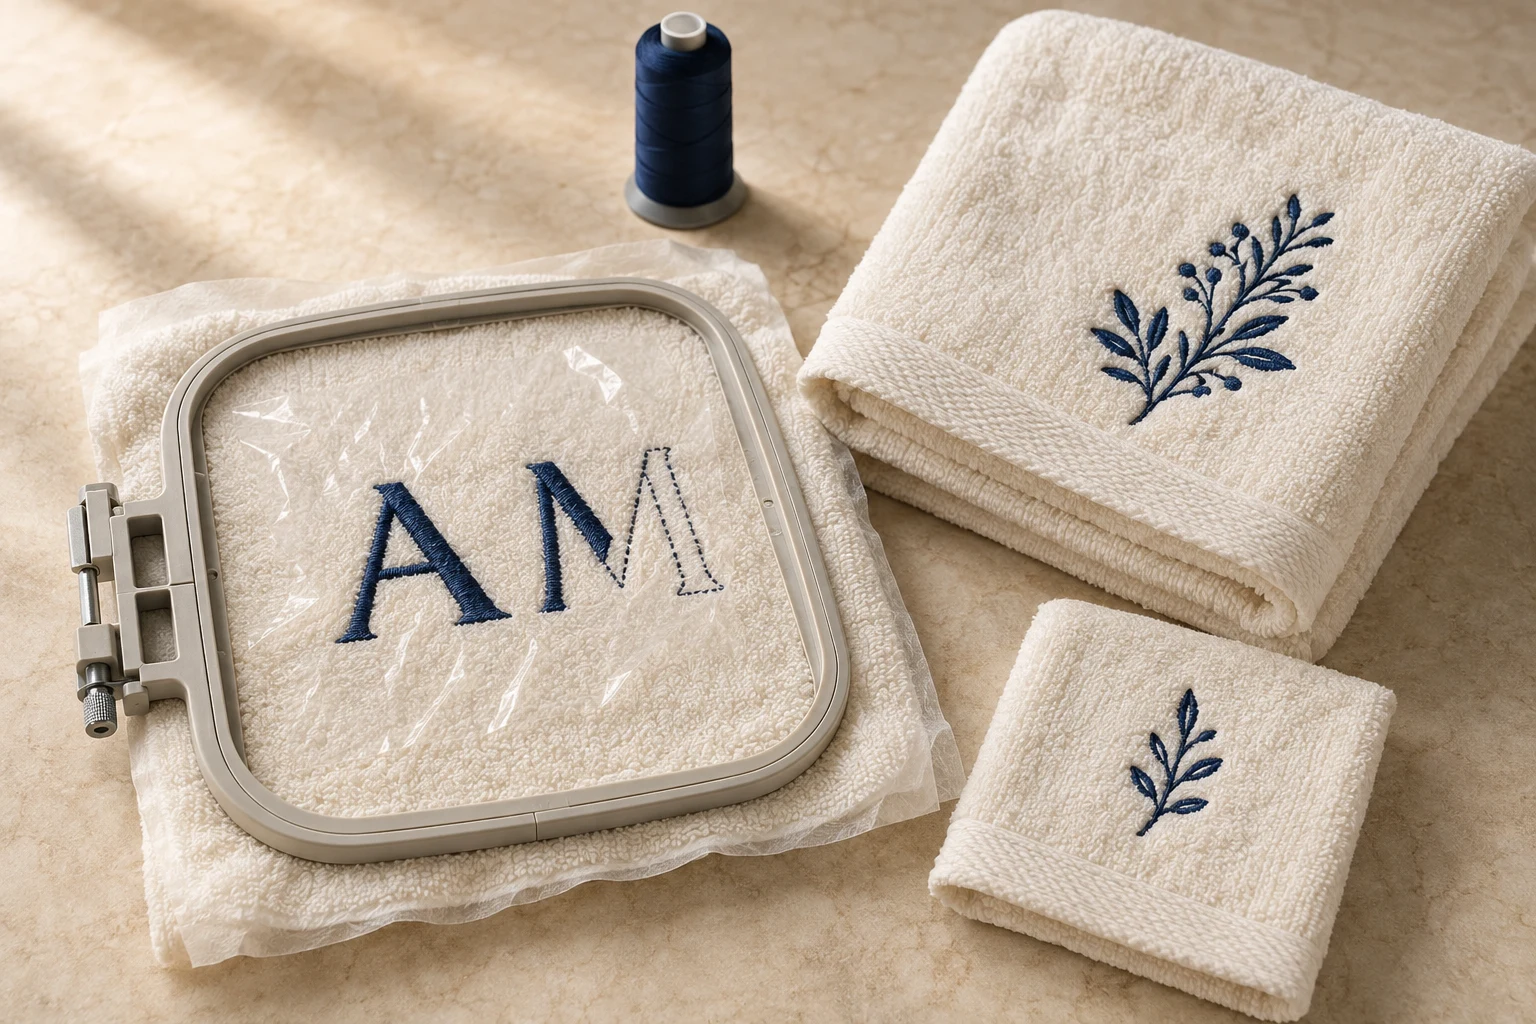
Cover image: AI-generated editorial concept; not a customer project or production proof.
For clear machine embroidery on towels, use artwork suited to the terry loops, backing underneath and water-soluble topping above. Secure the towel without stretching it, keep excess fabric clear of the machine, and test the finished design on the actual towel before stitching a batch.
Names, monograms and decorative designs can personalize bath towels, hand towels and washcloths for everyday use or gifts. This guide covers the full process, from choosing materials to checking the reverse after laundering. Smooth tea towels and microfiber products need their own setup assessment.
Choose the towel and design together
Start with the towel’s fiber label, care instructions and embroidery area. Record the product reference so a later order does not accidentally use a different blank. For a gift, consider how the towel will look folded; for a gym towel, consider where the embroidery will touch the skin.
Terry’s textured surface can obscure fine stitching. Embroidery Library recommends substantial designs with solid fills in its terrycloth towel tutorial. Use that as a starting point when assessing lettering, thin outlines and small decorative details.
If a logo contains a tiny tagline, request a larger version or an approved simplification. Identify which details the artwork owner permits you to change. Ask the digitizer to review underlay, density and compensation for the actual towel, then judge the result from a sew-out rather than a screen preview.
Select needles, thread and bobbin thread
Use the needle system required by your machine and select the size for the thread and fabric combination. Janome’s thin-terry project lists size 11 or 14 embroidery needles and embroidery bobbin thread; these are project examples, not settings for every towel. See its monogrammed towel instructions.
Choose thread with the intended care process in mind. Madeira describes its Polyneon polyester thread as chlorine-bleach resistant and suitable for commercial linens. That product-specific property does not make the towel, its dyes or every other embroidery material bleach-safe. Check the complete combination against the towel’s care label and Madeira’s thread specifications.
If the reverse will be visible, discuss bobbin color with the embroiderer while retaining a bobbin thread compatible with the machine. Include the underside in sample approval rather than assuming it will look identical to the front.
Understand backing, topping and knockdown stitches
These components have different jobs:
Component | Purpose on a towel |
|---|---|
Backing | Supports the embroidery beneath the towel. |
Water-soluble topping | Helps keep stitches above the surface loops during stitching. |
Knockdown stitches | Form a permanent stitched foundation that controls pile around the design. |
Backing choice depends on the towel and design. Janome uses medium-weight tear-away for its thin-terry monogram project, while Embroidery Library uses cutaway in its towel tutorial. Compare suitable options through sampling, including how the remaining backing feels against skin. Neither example establishes one universal stabilizer choice. See Janome’s setup and Embroidery Library’s materials.
Knockdown can help when surrounding loops obscure outlines after topping removal. Embrilliance describes it as global underlay extending beyond the design to control nearby nap. Approve its boundary and thread color because the flattened area may remain visible. See “Add Knockdown Stitching,” printed page 76 of the Embrilliance user guide.
Prepare the towel and confirm placement
Check the care label before washing or drying. If you prewash the sample, record that preparation and repeat it consistently for production. Keep care labels available for the finished recipient.
Place a full-size paper template on the towel and check it both flat and folded. Establish orientation before marking: which end hangs down, which face shows, and where the design should sit relative to the woven band or hem?
Use these planning priorities:
Towel type | Placement consideration |
|---|---|
Bath towel | Check that the design remains visible when folded over a rail. |
Hand towel | Compare the design with the woven band and displayed panel. |
Washcloth | Keep the motif proportionate and consider comfort in use. |
Record the distance from a named reference edge to a named point on the embroidery. For example, specify the gap from the upper edge of the woven band to the bottom of the design, together with horizontal centering.
For US, Canadian and UK orders, state dimensions clearly in inches or millimeters. If both appear, identify the controlling measurement. Generic placement distances should not override the approved template.
Hoop or float the towel
For a towel that fits the hoop, arrange backing below the fabric and topping above it. Align the placement marks and secure the layers without stretching the towel. Remove the placement template before stitching.
If thickness prevents hooping, floating means hooping the backing and securing the towel on top. Embroidery Library demonstrates temporary adhesive and additional securing points, while noting that floating can be less precise. Follow the equipment and adhesive instructions, and keep any pins outside the needle path. Its hooping and floating guidance also emphasizes keeping excess towel clear of hoop movement.
Use only holding accessories compatible with the machine and hoop. Test adhesive removal on the sample rather than assuming every product will release cleanly from the loops.
Stitch and finish the sample
Confirm the file. Check the final dimensions, orientation, color sequence and exact monogram letter order.
Check clearance. Ensure only the intended towel layer is beneath the needle and that loose fabric cannot catch during movement.
Use the planned setup. Record the needle, thread, backing, topping and holding method so the sample can be reproduced.
Inspect before trimming. Identify loose jump threads separately from missing or damaged stitches. Avoid cutting towel loops while cleaning up.
Remove stabilizers as directed. Support the stitching during tear-away removal; trim cutaway according to its instructions. Remove soluble residue using the product’s specified method.
Janome demonstrates supporting the embroidery while gently removing stabilizers and dabbing away leftover soluble topping in its finishing steps.
Inspect both sides, then wash and dry using the agreed compatible care process. Check readability, alignment, puckering, backing edges and comfort again. Examine any hoop impressions after finishing; do not promise that every mark will disappear.
Troubleshoot before repeating the design
Use specific observations to request changes:
Sample problem | Next comparison to request |
|---|---|
Small letters disappear | Larger or simplified lettering. |
Loops obscure the outer edges | A revised knockdown area. |
Embroidery feels too firm | A review of coverage and overlapping stitch layers. |
Outlines do not align | A review of holding stability and the stitch file. |
Backing feels uncomfortable | An alternative support or finishing approach. |
Placement looks wrong when folded | A revised full-size template. |
Where practical, change one variable at a time. Label samples with their file revision and materials. Keep the approved physical sample and setup record as the production reference; an initial wash comparison does not establish a guaranteed service life.
Prepare a useful digitizing brief
When discussing a project through DigitEMB’s embroidery digitizing service, provide:
Artwork and permission for any simplification.
Towel product reference, fiber information and a close photograph of the pile.
Finished design dimensions and a measured placement template.
Thread colors and exact letter order for personalization.
Machine model and required embroidery file format.
Intended laundering process and whether visible knockdown is acceptable.
Confirm who will stitch the sample and who will approve the finished towel. Agree project deliverables and sampling arrangements before proceeding with a batch.
Frequently asked questions
Can I reuse an embroidery file made for a shirt?
Have it reviewed for the towel’s pile, final dimensions and setup. Approve a towel sample before repeating it.
Does water-soluble topping replace backing?
No. Topping manages the surface loops during stitching; backing provides support underneath. Select both for the project.
Does every towel need knockdown stitches?
Assess the finished sample after topping removal. Consider knockdown when nearby pile obscures the design, and approve the visible flattened area.
Where should a towel monogram go?
Choose its position with a full-size template and the intended fold or hanging arrangement. Record the approved position from clearly identified edges.