
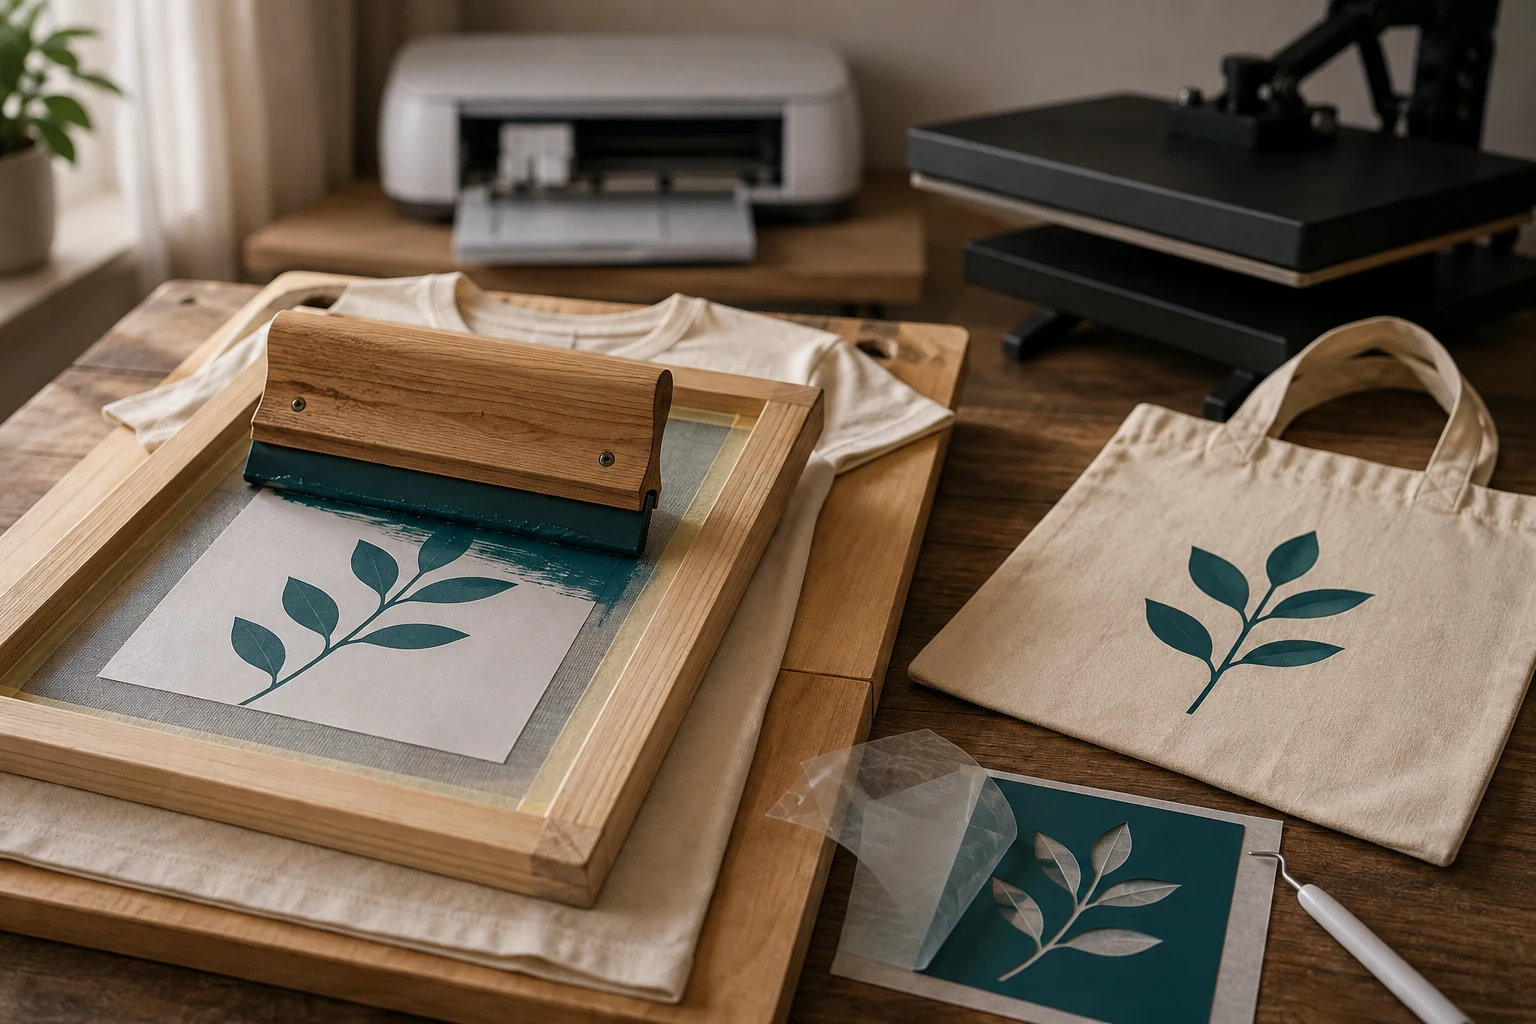
Cover image: AI-generated editorial concept; not a customer project or production proof.
To screen print with a Cricut, cut an adhesive vinyl stencil, attach it to a mesh screen, and use a squeegee to push fabric screen printing ink through the openings onto your garment. Finish the ink according to its manufacturer’s instructions. Cricut cuts the stencil; the screen and ink create the print. Cricut explains this workflow.
This method can be used for custom T-shirts, tote bags and suitable fabric home decor. The vinyl stays on the screen during printing. It does not become the decoration on the fabric, and this process does not produce a ready-to-press transfer.
Equipment and materials you need
Start with a simple, single-color design and a spare piece of the intended fabric for testing.
Supply | What to check |
|---|---|
Cricut cutting machine and Design Space | Your machine supports the chosen vinyl and design dimensions. Use its compatible blade and loading method. |
Permanent adhesive vinyl | Choose adhesive vinyl for the stencil; Everyday Iron-On and SportFlex are different materials. |
Transfer tape and weeding tool | The tape must lift the stencil pieces and release them onto the mesh. |
Screen printing frame with taut mesh | Leave room around the artwork for masking and the squeegee stroke. |
Screen printing squeegee | Its blade should cover the design while fitting inside the frame. |
Fabric screen printing ink | Confirm suitability for the fabric, garment color and available curing equipment. |
Blank fabric item and test fabric | Use a smooth, flat print area away from seams and zippers. |
Masking tape, protective paper and a flat insert | Protect the worktop, block unused mesh and separate garment layers. |
Finishing and cleaning supplies | Follow the ink manufacturer’s instructions for curing, cleanup and handling. |
Cricut recommends permanent vinyl because it adheres securely to the screen. Speedball’s craft vinyl screen printing kit illustrates the core supplies: a frame, squeegee, fabric ink, craft vinyl and transfer tape.
The adhesive stencil replaces the photo-emulsion stencil for this workflow, so emulsion, emulsion remover and an exposure light are unnecessary. Ryonet’s vinyl cutter demonstration shows the approach.
For buyers in the US, Canada and UK, check the units on supply listings. State artwork dimensions in inches or millimeters, confirm whether mesh counts are per inch or centimeter, and distinguish °F from °C in curing instructions.
Prepare the design and cut the stencil
1. Choose artwork you can weed cleanly
Begin with bold shapes and generous gaps. Inspect the design at its actual print size, including small lettering and enclosed spaces. A simple initial project makes it easier to evaluate stencil transfer and ink coverage.
Set the finished dimensions before cutting. Leave a generous vinyl border around the image so you can mask the remaining mesh without covering the design.
If you need artwork redrawn, explore DigitEMB’s vector art conversion services. Explain that the file is for an adhesive vinyl screen stencil, and supply the finished size and details that must remain visible. Ask for the required cut-file format before commissioning the work.
2. Mirror for the garment-side application
This tutorial places the vinyl on the underside of the screen—the side facing the fabric. Mirror the artwork before cutting for this arrangement. Once installed, lettering should read correctly when viewed from the ink side of the screen. Ryonet’s vinyl stencil demonstration uses this mirrored, underside placement.
Load the vinyl using your machine’s instructions, select the appropriate material setting and make a small test cut before committing the full sheet.
3. Remove the areas that should print
Weed away the vinyl where ink must pass through. Keep the surrounding background and any pieces that must block ink, such as the center of an “O.” This is the negative stencil needed for printing. Screen Print Direct’s stencil guide explains the vinyl method.
Compare the weeded stencil with your original artwork before transferring it. Missing interior pieces are much easier to correct now.
Transfer the vinyl and prepare the screen
Work with clean, dry mesh and support it gently during application.
Apply transfer tape over the weeded stencil and smooth it so all remaining vinyl pieces are supported.
Peel away the vinyl backing slowly. Stop and press down any pieces that fail to lift.
Position the adhesive side of the vinyl against the garment-facing underside of the mesh.
Smooth the stencil onto the mesh without stretching or distorting it.
Peel the transfer tape back slowly, leaving the vinyl attached. Check that small interior pieces remain in position.
Tape over exposed mesh outside the stencil, including gaps between the vinyl border and frame. Leave only the intended print openings uncovered.
Inspect both sides for loose edges, bubbles and overlooked openings. The transfer tape must be removed before printing. Screen Print Direct’s instructions cover transferring the stencil and masking the screen.
Print your fabric
1. Prepare a flat printing area
Follow the blank supplier’s preparation instructions. Ensure the fabric is clean and dry, and remove wrinkles using a method suitable for that material.
Protect the work surface. Place a clean, flat insert inside a shirt or tote so ink cannot reach the opposite layer. Keep seams, pockets and zipper bulk outside the print area; forcing a zipper flat is not a reliable substitute for choosing a clear area.
Measure placement from consistent reference points. Mark the screen position on the work surface with removable tape if you plan to repeat the design.
2. Make a test print
Position the screen over spare fabric of the same type. Hold the frame steady, place ink above the design and pull the squeegee across it with controlled, even pressure. Keep the screen from sliding during the stroke. The squeegee pushes ink through the open stencil areas, as shown in Ryonet’s printing demonstration.
Lift the screen carefully without dragging it across the wet print. Inspect the edges, open spaces and solid coverage before printing your finished item.
3. Repeat only after the sample looks right
Check the stencil between impressions. Pause if an edge lifts or ink appears underneath a blocked area. Record the successful placement and setup so you can repeat them.
Start with one color. For separate colors that must align, plan individual stencils and a repeatable registration method. Adding another ink color without lifting the screen does not, by itself, solve multicolor alignment.
Dry, cure and clean up
Use the curing instructions for your exact ink product. Drying to the touch and completing the required cure are separate checks. Speedball states that its standard fabric screen printing ink becomes permanent when properly heat set.
Confirm the drying interval, approved heat source, temperature, duration and any protective covering with the ink manufacturer. Check that the fabric can tolerate the required process. Do not substitute iron-on vinyl settings or a generic household-oven recipe for fabric ink instructions.
Allow the finished sample to cool, then follow the specified waiting period before washing. Wash-test a sample before making a batch or supplying printed items to someone else.
Clean the screen and tools promptly using the ink manufacturer’s method. Speedball identifies soap-and-water cleanup for its standard fabric screen printing ink and advises against thinning it with water. Its acrylic screen printing ink is not recommended for washable fabric. See Speedball’s product guidance.
If you remove the stencil, peel it carefully and clean the mesh according to the screen supplier’s instructions. Inspect the screen before applying a new design.
Troubleshoot the test print
Use these checks to identify what to adjust, changing one part of the setup at a time.
What you see | What to check next |
|---|---|
Backward lettering | Check mirroring and which side of the screen holds the stencil. |
Ink outside the artwork | Look for uncovered mesh, lifted vinyl or gaps in masking tape. |
Missing centers in letters | Check whether small blocking pieces were lost during weeding or transfer. |
Patchy coverage | Inspect the openings for obstruction and check fabric flatness and the squeegee stroke. |
Doubled or smeared edges | Check whether the screen moved during printing or touched the wet print again. |
Print loses ink during washing | Review fabric compatibility and the complete drying and curing instructions. |
Frequently asked questions
Can a Cricut screen print by itself?
No. It cuts the vinyl stencil. You still need a mesh screen, squeegee and suitable printing ink. Cricut’s explanation confirms these separate stages.
Does the vinyl go on the shirt?
In this workflow, it goes on the screen. Ink passes through the open areas onto the fabric, and the vinyl remains attached to the mesh during printing.
Can I reuse the stencil?
You may print successive items while the stencil remains securely attached. Inspect it between prints; there is no fixed reusable-print count for every combination of vinyl, mesh, ink and cleaning method.
Can I print polyester or dark fabric?
Check the exact ink’s compatibility and curing requirements first. Dark fabric also requires suitable opacity. Test the complete ink-and-fabric combination rather than assuming a successful cotton sample will predict another material’s result.
Do I need a heat press?
That depends on your ink’s approved curing method. Choose an ink whose instructions you can follow with your available equipment, and verify the sample after curing and washing.