
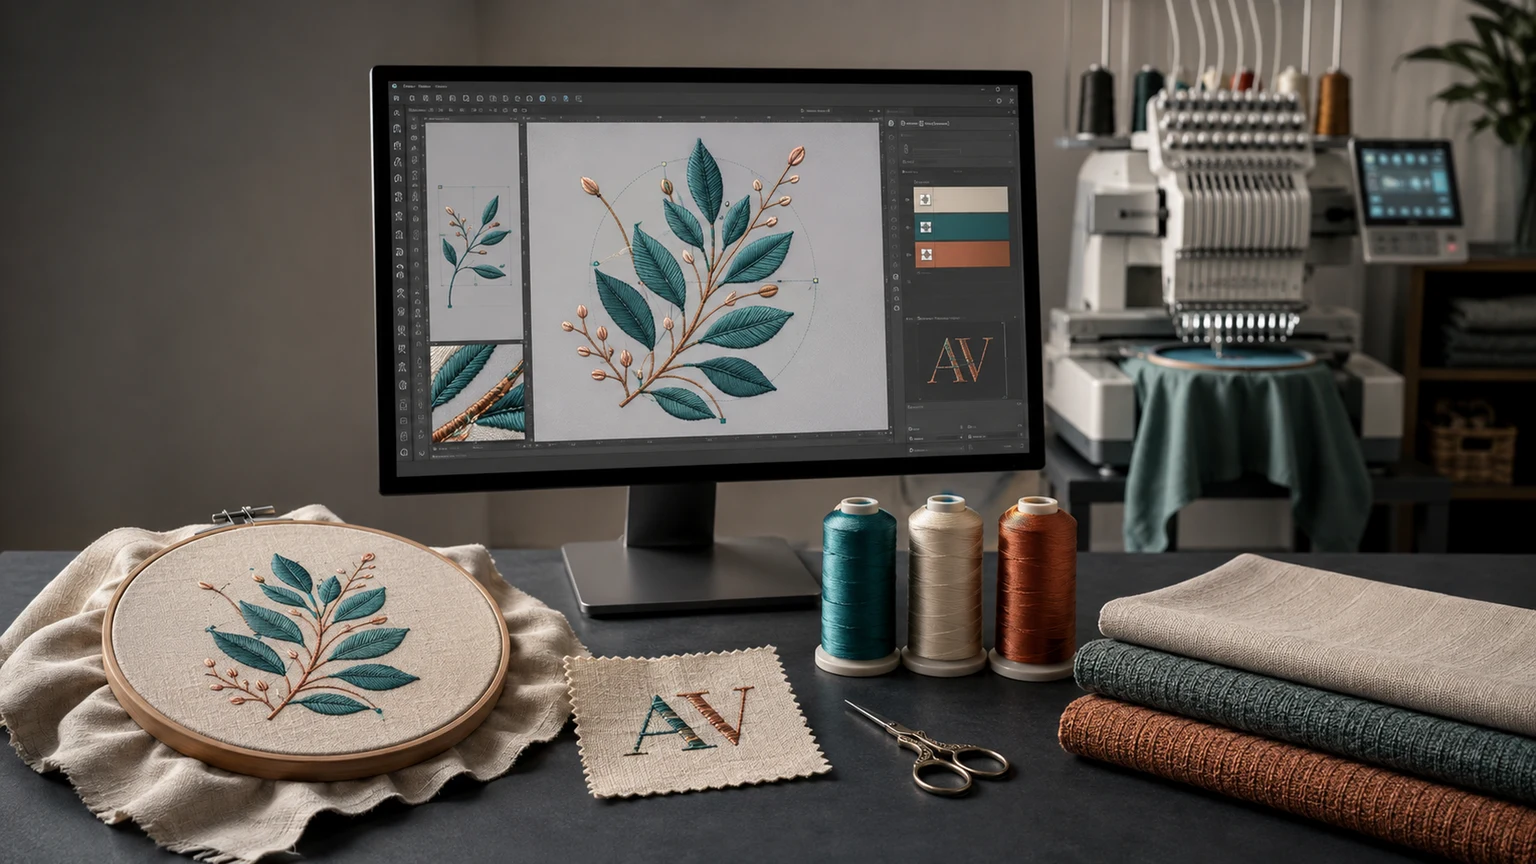
Cover image: AI-generated editorial concept; not a customer project or production proof.
Wilcom EmbroideryStudio is embroidery software for creating, editing, personalizing and preparing designs for machine stitching. Its main capabilities include digitizing artwork, controlling stitch properties, adding lettering, organizing designs and exporting machine files. The tools available depend on the product level and licensed options. Wilcom currently markets EmbroideryStudio 2026. Explore EmbroideryStudio.
For buyers, the first decision is whether you need to create embroidery from original artwork or mainly customize existing designs. That distinction helps determine which tools justify the investment.
What is Wilcom EmbroideryStudio?
EmbroideryStudio brings embroidery design and production tasks into one desktop application. A digitizer can develop shapes and stitch settings, while a production team can use appropriate editing and lettering tools to prepare repeat orders.
The earlier e4 release belongs to the product’s history; it should no longer be described as the latest version. Wilcom’s 2026 release introduces features including Multi Blend, Continue Digitizing and expanded output tools. Availability should be checked against the selected level and license. Read the 2026 release overview.
Which product level fits your work?
Wilcom lists four EmbroideryStudio levels. Use their intended roles as a starting point, then confirm the specific tools required for your jobs.
Product level | Main role |
|---|---|
Designing | Creating original embroidery with comprehensive digitizing, lettering, editing and decoration tools. |
Decorating | Combining embroidery and graphic decoration work with a more limited toolset than Designing. |
Editing | Modifying existing designs and handling lettering, monograms and personalization. |
Lettering | Adding names, lettering and monograms, with customization and machine connection capabilities. |
These distinctions come from Wilcom’s product descriptions. Add-on Elements and license choices affect the available features, so a level name alone is not a complete specification. See Wilcom’s product levels and licensing notes.
A useful evaluation is to bring representative work to a demonstration: an original logo, a repeat name order and a design that needs a size change. Ask the demonstrator to complete those tasks using the exact level under consideration.
Key features and their practical limits
Digitizing and stitch control
EmbroideryStudio Designing provides tools for building embroidery objects and adjusting stitch angles, density, underlay and pull compensation. Branching can sequence selected objects and create connecting travel runs, helping reduce unnecessary trims. Automatic digitizing can also process bitmap artwork. See Designing’s tools.
These controls give the operator ways to refine a design. They do not establish that every imported image will produce acceptable embroidery automatically. Evaluate the resulting stitch plan and sew a sample before approving production.
Resizing and editable EMB files
Wilcom’s native EMB format stores design information for later editing as well as stitching. Keeping that working file is useful when an order returns with changes. Read about Wilcom file formats.
The distinction between a design file and a machine file matters when resizing. Wilcom’s e4 documentation explains that scaling an EMB design can regenerate stitches while preserving density, whereas scaling a machine file has tighter limitations. Resizing should therefore start with the original editable design when available. See Wilcom’s resizing guidance.
For example, adapting a large jacket design to a small chest placement should include a review of lettering and fine details. Treat the smaller version as a separate production approval, even when the software handles the initial scaling.
Fabric settings and underlay
Auto Fabrics adjusts a limited group of stitch parameters for the selected fabric, including density, pull compensation, underlay and stitch length. It does not replace every object setting or physically assess the material. Read how Auto Fabrics works.
This makes fabric presets a useful starting point. A design intended for a woven shirt and one intended for a stretchy garment still need review in their actual production conditions. Wilcom also allows custom fabric settings, including different values for fill, satin and lettering objects. See custom fabric settings.
Lettering, monograms and team names
EmbroideryStudio offers numeric and interactive controls for lettering, including letter positioning and rotation. These help an operator refine a name or monogram within a layout. See lettering controls.
Team Names supports repeated personalization, such as combining a logo with different names. Wilcom’s Editing page describes importing a name list to generate individual name-and-logo designs. This can reduce repeated setup, but spelling, alignment and the longest names still deserve inspection. Explore Editing and personalization.
Graphics and multi-decoration work
Wilcom lists CorelDRAW Graphics Suite with the Designing and Decorating levels. This supports artwork preparation alongside embroidery and broader decoration workflows. Confirm the bundled version and required decoration features before purchase. See Wilcom’s graphics and decoration capabilities.
For a business applying the same artwork through embroidery and print, the practical goal is to maintain suitable files for each process. A visually consistent design still needs production preparation for its intended output.
File output and machine preparation
EmbroideryStudio 2026’s Output Files tool can produce EMB designs, machine files such as DST, PES or EXP, and production worksheets through saved output profiles. This helps standardize repeat export tasks. See output options.
File compatibility and machine transfer are separate checks. Wilcom documents different transfer methods, including direct connections and removable media; the appropriate method depends on the machine. Confirm its accepted format, sewing area and transfer method before buying software around a particular workflow. Read Wilcom’s machine output guidance.
What should US, Canadian and UK buyers check?
Assess the total setup around your workload, including software, equipment and learning time.
Buying consideration | What to confirm |
|---|---|
Computer compatibility | Compare your operating system, processor, memory and storage with the current requirements. |
Essential tools | Ask whether each required feature is included in your chosen level and license. |
Purchase terms | Request the total in your billing currency and clarify applicable taxes, renewal terms and upgrade access. |
Machine workflow | Demonstrate export and transfer for your exact embroidery machine. |
Training and support | Confirm available training, support channels and hours relevant to your time zone. |
Existing files | Test representative EMB and machine files, particularly if exchanging work with older software users. |
Wilcom’s 2026 requirements specify Windows 11 64-bit and 16 GB minimum memory. Check the complete current requirements rather than relying on an older e4 installation guide. Review system requirements.
During an evaluation, complete a small job from artwork to exported file and sample sew-out. Record the time needed for cleanup, lettering changes and output preparation. That gives you a more useful basis for deciding than a feature count alone.
Buying software or using a digitizing service
In-house software can suit recurring work when someone has time to learn digitizing and maintain production standards. Outsourcing may suit occasional designs or work beyond your current experience. A mixed approach can also be practical: obtain a digitized design, then handle permitted personalization in-house.
If you are considering DigitEMB’s embroidery digitizing services, provide the artwork, finished dimensions, garment or fabric, placement and required machine format. For cross-border communication, label dimensions clearly in inches or millimeters. Ask whether an editable source file is included and how revisions for other sizes or fabrics are handled.
Frequently asked questions
Is Wilcom suitable for beginners?
A beginner can evaluate it, but the appropriate level depends on the task. Adding names to existing designs requires a different set of skills from creating original embroidery. Start with a representative job and allow time for learning and sample stitching.
Can Wilcom automatically convert an image into embroidery?
Designing includes automatic digitizing tools for bitmap artwork. Treat the generated result as something to inspect and refine before production. See automatic digitizing capabilities.
Should I keep the EMB file after exporting DST or PES?
Yes. Keep the original EMB working file for later revisions and export the format required by the machine separately. Wilcom’s output tools support both design and machine files. See design and machine output.
Does a fabric preset guarantee a good sew-out?
No. Auto Fabrics changes selected parameters; it does not replace every setting. Review the design and test it with the intended material and production setup. See Auto Fabrics’ scope.
Practical details for Wilcom Embroidery Software: Features, Product Levels and Buying Considerations
Use the article above as a starting point, then make the production brief specific to your own design. A stitch file is made for a finished size and material, so the artwork alone is only part of the instruction.
Work through these points in order and keep the answers with the artwork or production request. A short written brief makes it easier to compare a proof with the intended result, ask a useful follow-up question and avoid relying on assumptions made from a screen image alone.
The aim is not to add unnecessary steps. It is to identify the choices that change the final result before work begins. If a requirement is unknown, flag it for confirmation rather than guessing; that keeps the approval process focused on the design, material and use that apply to this particular project. Save the approved brief with the project files for future reorders or revisions.
Confirm the finished use
State the item, placement and finished width and height. A chest logo, cap front and jacket back do not use the same sewing area, even when they start from the same artwork.
Protect the smallest details
Review small lettering, narrow gaps, thin outlines and tiny colour changes at the final size. Simplifying a fragile detail before digitizing is often more reliable than trying to force it into a small sew-out.
Match the file to the machine
Tell the production team the embroidery machine or format required, along with the fabric or garment type. This lets them prepare the right export and make choices that suit the material rather than treating every job alike.
Quick questions to check before you proceed
What should I send with my artwork?
Send the clearest original available, the finished dimensions, placement, fabric or garment type and the required machine format if you know it.
Can the same file be used at every size?
Not always. Scaling changes the relationship between stitch length, detail and fabric, so a design may need review when the finished size or placement changes.
What should I check before production?
Confirm the spelling, colours, final size, placement and any details that must remain readable. A proof or sample is the best point to catch a change.