
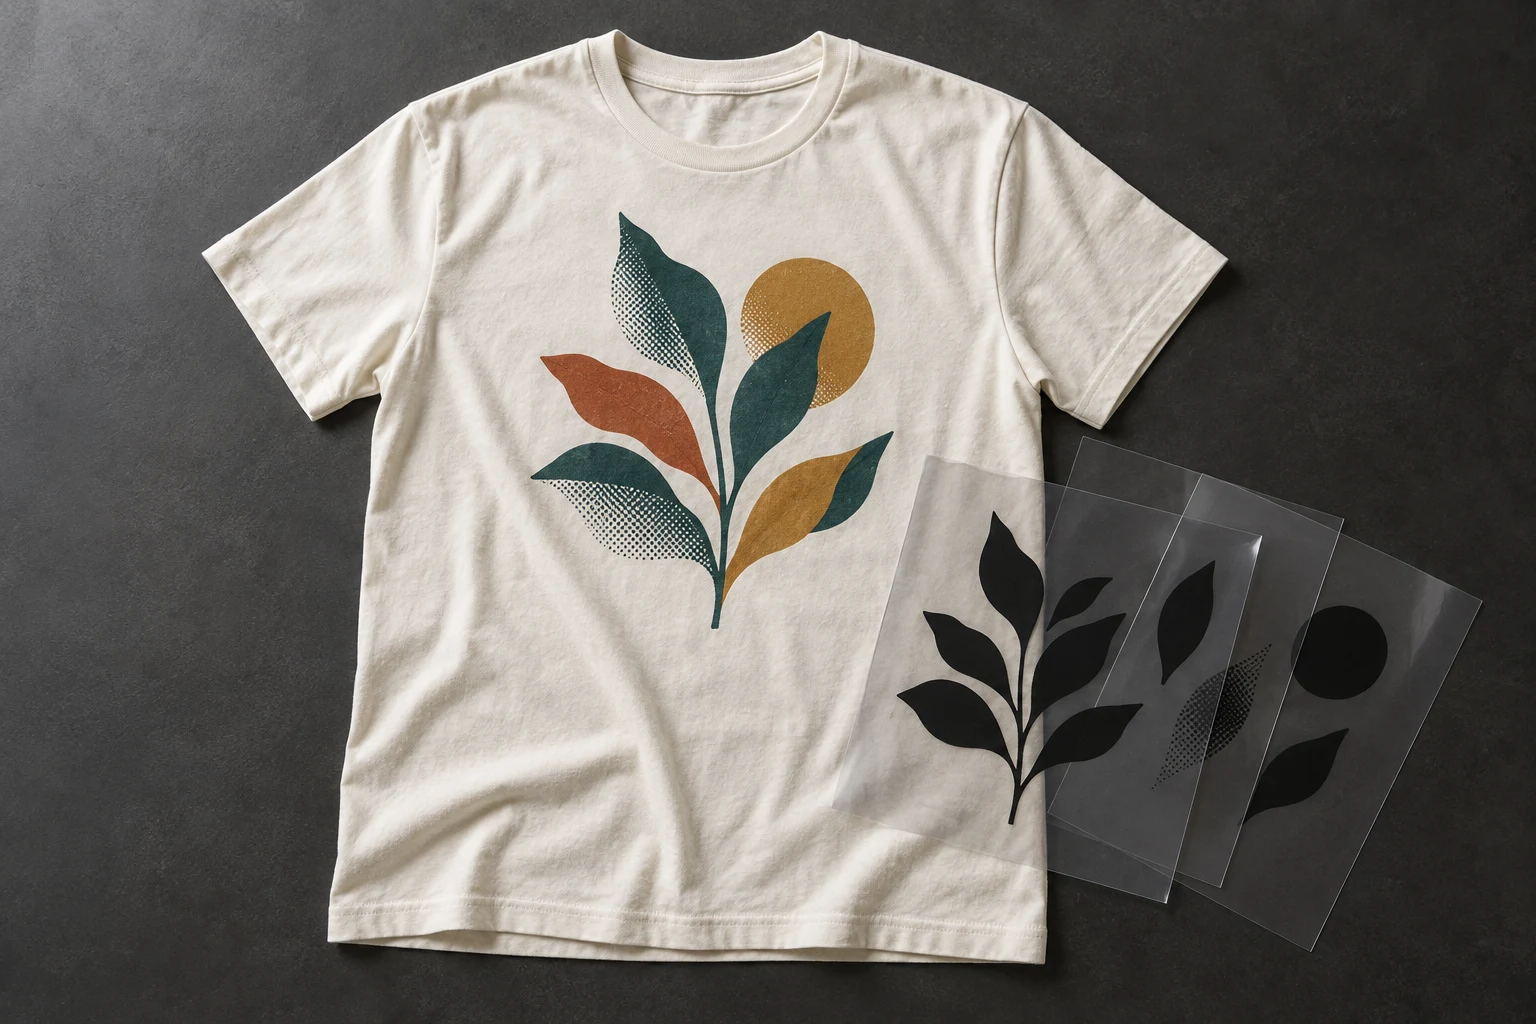
Cover image: AI-generated editorial concept; not a customer project or production proof.
Color separation for screen printing divides artwork into individual ink separations used to prepare separate screen stencils. The printer aligns those screens so their ink deposits combine into the finished image. Adobe’s screen-printing artwork tutorial demonstrates this relationship between artwork colors and screens.
A separation represents an ink’s contribution to the design. It may contain solid shapes, dots that reproduce shading, or both. Simply putting different colors on separate document layers does not establish that the file will output correctly.
Types of color separation
The method should suit the artwork, garment color and printer’s equipment. Four common approaches are spot color, four-color process, simulated process and index separation.
Spot color
Spot printing uses a separately mixed ink for each specified spot color. It is a useful starting point for lettering, logos and illustrations with a limited palette. Spot inks can also reproduce colors outside the range available through ordinary CMYK combinations. See Adobe’s spot and process color explanation.
Spot colors are not restricted to solid areas. Tints and gradients can use spot colors; the production workflow must translate the tonal areas into printable dots. Adobe’s swatch guide describes spot-color tints and gradients.
What does PMS mean?
PMS stands for Pantone Matching System, a system for specifying and communicating colors. Pantone describes how its spot colors use defined ink-mixing formulas in its spot versus process reference.
Give the printer the complete color reference and discuss an appropriate physical sample when matching matters. A reference number or monitor preview alone does not guarantee the appearance on your chosen garment.
Four-color process: CMYK
Four-color process combines cyan, magenta, yellow and black inks to reproduce a range of colors. It suits photographic imagery and complex color content, although its printable range is limited. Converting RGB artwork to CMYK can change colors according to the profile and conversion settings. Adobe explains these limits in its process-color guidance.
For garment printing, ask whether the printer’s CMYK workflow requires a white or light substrate, or a separately prepared base. “Four-color” describes the process ink set; it does not promise that every garment job uses exactly four screens.
Simulated process
Simulated process uses selected spot inks and halftones to reproduce the appearance of many colors. It is an option for shaded illustrations and photographic designs, including work on dark garments with a suitable underbase. A screen printer’s simulated-process explanation describes this use of halftoned inks over a white base.
The palette and screen count depend on the artwork and production plan. Confirm them before treating a preview as an approved separation set.
Index separation
Index workflows reduce artwork to a selected palette and use a distributed pixel pattern to suggest additional tones. Photoshop’s Indexed Color conversion provides palette and dithering controls; Adobe explains that dithering combines available pixels to simulate missing colors in its indexed-color documentation.
An indexed image still needs preparation for individual ink output. Ask whether your printer accepts this workflow before converting the artwork. Converting a file to Indexed Color is not, by itself, a finished set of screen separations.
Spot color or CMYK: which should you choose?
CMYK and four-color process refer to the same basic ink system, so they do not need separate comparisons.
Artwork or requirement | Approach to discuss with the printer |
|---|---|
Logo with a few specified colors | Spot separations with agreed ink references |
Photograph on a suitable light background | Four-color process, subject to the printer’s workflow |
Shaded illustration on dark apparel | Simulated process with a planned underbase |
Artwork intended for a limited pixel palette | Index separation, if the printer supports it |
These are starting points for a production discussion. Compare quotes using the same artwork, print size, garment and quantity. Ask for the total screen count, including any base or highlight white, instead of estimating it from the number of colors visible on screen.
How to prepare spot separations in Illustrator
The following workflow suits editable vector artwork with a limited ink palette. Photographs and complex tonal artwork require a different separation strategy.

1. Inspect and select the artwork
Work in a copy of the original file and set the intended print dimensions. Identify lettering, strokes, fills and any placed raster images before changing the design.
Use the Selection tool for whole objects and Direct Selection for individual points or path segments. The Magic Wand selects objects with similar attributes, such as fill color; its selection is not limited to touching areas. Adobe explains these distinctions in its object-selection guide.

2. Organize shapes without losing details
Inspect overlaps and decide which shapes should print together. Keep a copy before applying Pathfinder operations, and compare the result with the original. Check counters inside letters, fine gaps and outlines after any geometry changes.
Do not make merging the entire illustration a mandatory step. The useful goal is a clear ink assignment while retaining the intended artwork.

3. Assign each intended ink a spot swatch
In the Swatches panel, create a new swatch and set its Color Type to Spot Color. Name it clearly and apply it consistently to the relevant fills and strokes. Repeat for each intended ink. Adobe provides the spot-swatch creation steps.
You can organize objects into named layers for easier editing, but the spot-color assignments determine the spot separations. Check for duplicate swatches that represent the same intended ink.

4. Preview the ink separations
Open Window > Separations Preview, enable Overprint Preview and toggle inks individually. Look for unexpected process-color output, missing objects and extra spot inks.
Adobe cautions that this preview does not show every production detail, including trapping, printer’s marks and halftone-screen settings. Use its separation preview and output instructions alongside the printer’s requirements.
5. Agree on output with the printer
Confirm whether the shop wants the editable source, a PDF that preserves spot colors, or separated output. Ask who will handle registration marks, film orientation, halftones and any underbase.
Illustrator supports host-based separations and separation through a raster image processor, or RIP. The appropriate route depends on the output equipment. Follow Adobe’s printing separations guidance and the shop’s specifications rather than assuming an ordinary composite PDF is separated output.
Which software can handle color separation?
Illustrator provides spot swatches and separation preview for vector artwork. Photoshop offers pixel-based color controls, including the indexed-color options described above. Choose according to the artwork and required deliverable.
CorelDRAW also supports color separations. Its print settings can output process and spot colors, select individual separations and control their order. Corel recommends discussing trapping requirements with the print provider; see its color-separation documentation.
Before buying additional software, ask the printer which tasks it performs and which files it accepts. An existing design application may handle the artwork stage while the printer handles final output.
Color separation in commercial production
Commercial printing uses separations to control individual ink contributions. A job may combine process and spot colors; it does not automatically reduce every design to CMYK. Corel’s separation guidance explains this distinction.
For screen printing, confirm the garment, ink plan and production proof together. A digital preview helps assess layout and intended colors. A physical test print is the useful next step when fabric appearance, ink coverage or fine detail is critical.
For buyers in the US, Canada and UK, a useful artwork brief includes:
Finished print width and height, clearly labeled in inches or millimeters.
Garment fabric, garment color and print placement.
Original artwork and any required color references.
Quantity and any alternate garment colors or print sizes.
The printer’s accepted file format and separation requirements.
Who prepares the separations and who approves the production sample.
For artwork assistance, review DigitEMB’s raster-to-vector and color-separation services. Include the receiving printer’s specifications so the requested file work is clearly defined.
Frequently asked questions
Does every separation need to be vector artwork?
No. Separation workflows can use vector shapes or pixel-based artwork. Match the format to the design and printer’s requirements; a photograph does not have to become vector art simply to be separated.
Are separate Illustrator layers enough?
No. Layers help organize the document. Check the ink assignments and actual separation output before handing off the file.
Can a spot color include shading?
Yes. Spot-color tints and gradients are possible. Agree on how those tones will be reproduced in the screen-printing workflow. Adobe’s swatch documentation covers these color types.
Does converting a file to CMYK make it ready to print?
No. Color conversion is one preparation step. The printer still needs suitable artwork, correct dimensions and output settings for the agreed production method.
Practical details for What Is Color Separation for Screen Printing? Types and Workflow
Vector artwork is built from editable paths rather than a fixed grid of pixels. The clearest result starts with a specific intended use, because a file prepared for print, cutting and embroidery may need different checks.
Work through these points in order and keep the answers with the artwork or production request. A short written brief makes it easier to compare a proof with the intended result, ask a useful follow-up question and avoid relying on assumptions made from a screen image alone.
The aim is not to add unnecessary steps. It is to identify the choices that change the final result before work begins. If a requirement is unknown, flag it for confirmation rather than guessing; that keeps the approval process focused on the design, material and use that apply to this particular project. Save the approved brief with the project files for future reorders or revisions.
Start with the best source
Provide the largest, clearest original you have and include any brand colours, fonts or reference files. A small or blurry image can still be traced, but missing edges and lettering need careful confirmation.
Define the final use
Say whether the artwork is for print, cutting, screen printing, embroidery reference or a digital asset. This tells the artist which details, colour separations and file formats matter most.
Review paths, text and colour
Before using the finished file, check that lettering is correct, shapes are closed where required and colours match the approved artwork. Keep a master editable file as well as the delivery format used by production.
Quick questions to check before you proceed
Is a vector file the same as an embroidery file?
No. A vector is editable artwork; an embroidery file contains stitch instructions. Vector art can be useful source material for digitizing, but it still needs to be digitized for machine embroidery.
Can a blurry logo be converted?
Often, yes, but the result depends on what can be verified. Supply a clearer reference, font name or brand guide whenever possible.
Which details need approval?
Check spelling, line weight, enclosed spaces, colour choices and the shape of any logo elements before the file goes to print or production.