
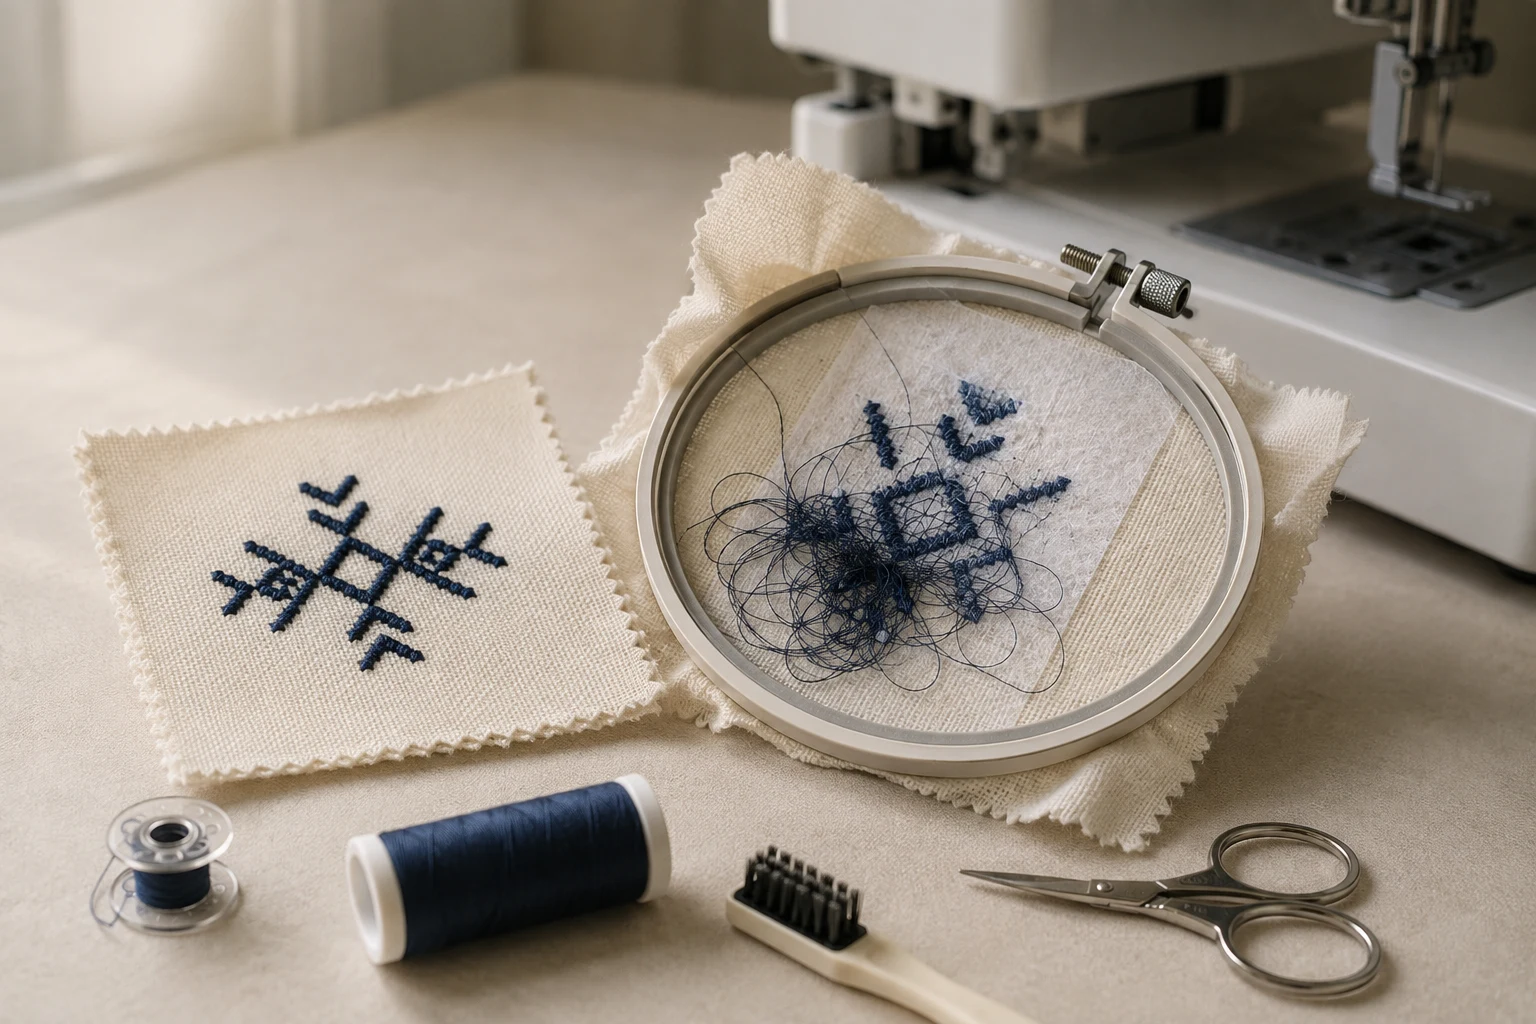
Cover image: AI-generated editorial concept; not a customer project or production proof.
To fix bird nesting in machine embroidery, stop the machine, safely clear the tangled thread, and rethread the upper thread before changing tension settings. Then check bobbin installation, needle condition and fabric support, and run a sample before returning to the garment. A nest underneath the fabric can come from incorrect upper threading; its location does not prove that bobbin tension is the cause. Brother’s tangled-thread guidance.
What is bird nesting?
Bird nesting is a mass of tangled thread beneath the embroidery, sometimes trapping the fabric against the needle plate or collecting in the bobbin area. You may notice loose loops, rattling or a sudden stoppage. Brother explains that incorrectly threaded upper thread may fail to pull back up properly and become tangled below the fabric. Brother’s explanation and remedy.
The checks below apply to home and commercial embroidery workflows. Use your machine’s manual for the exact threading path, bobbin specification, cleaning procedure and restart controls; these differ between models.
1. Stop and clear the jam safely
Stop immediately and switch off the machine before working around the needle or bobbin area. Do not pull the hoop or garment against trapped threads.
Follow your model’s jam-removal procedure to release the needle and gain access. Cut accessible tangled threads carefully, keeping the blades clear of the fabric. Remove the bobbin, bobbin case or needle plate only as directed by the manual. If the fabric remains trapped, seek service instead of forcing it free.
Remove loose thread fragments and lint with the prescribed cleaning tool. Refit removed parts correctly, inspect for damage, and replace a bent or damaged needle. Brother recommends replacing the needle after a fabric jam because it may have been damaged. Its illustrated procedure is model-specific, so do not assume its handwheel direction or disassembly steps apply to every machine. Brother’s jam-removal instructions.
2. Rethread the upper thread completely
Remove the upper thread and follow the full threading sequence again, including the guides, tension system and take-up lever. For machines whose instructions require it, raise the presser or embroidery foot during threading so the thread seats correctly in the tension system.
Check the spool arrangement against the manual rather than assuming every spool feeds the same way. Do not try to compensate for a missed guide by turning the tension control. Brother’s embroidery manual specifically identifies incorrect upper threading as a cause of tangles underneath the fabric. Brother embroidery operation manual.
3. Check the bobbin, needle and thread
Before adjusting bobbin tension, confirm that the bobbin is the correct type for your machine, is properly wound, and is installed with its thread following the specified path. Also check that the needle is installed correctly and that the needle and thread suit the fabric. These are separate checks: a correctly threaded machine can still have an unsuitable needle or bobbin. Brother embroidery troubleshooting guidance.
Return tension settings to the manufacturer’s recommended starting point for your setup, then evaluate a sample. Avoid generic advice to tighten a bobbin screw or use one tension number on every machine. If your manual permits bobbin-case adjustment, follow that procedure rather than experimenting with unidentified screws.
4. Check hooping and stabilizer
Fabric that lifts with the needle can interfere with stitch formation. This movement is called flagging, and BERNINA identifies it as a possible contributor to bird nesting. Secure the fabric and stabilizer using a method appropriate to the material, without stretching the garment out of shape. BERNINA embroidery glossary.
Choose backing for the fabric and design, and check that the garment is supported throughout the embroidery area. Madeira recommends stabilizing the work and hooping without stretching the fabric when addressing embroidery distortion. Madeira’s fabric preparation guidance.
5. Test the setup before changing the design
A useful diagnostic approach is to stitch a small, previously successful design on a scrap with suitable backing. Then test the problem design on material matching the intended garment. Change one variable at a time and record what happens.
What you observe | What to check next |
|---|---|
Tangling starts immediately after rethreading | Recheck the complete upper-thread path and bobbin installation. |
Several designs fail with the same setup | Revisit threading, needle, bobbin and machine condition. |
A simple test succeeds, but one design repeatedly fails | Record the failure location and review the design alongside fabric support. |
The fabric visibly lifts during stitching | Recheck hooping and stabilizer support. |
These observations help narrow the investigation; they do not establish a cause by themselves.
If the problem repeats in one area, ask the digitizer to review stitch density, overlapping objects, underlay and the design’s intended size. Do not automatically increase density for stretch fabric or choose a larger needle as a universal cure. Madeira notes that stitch density and needle size must work together, with adjustments for variables such as fabric. Madeira’s density and needle guidance.
For a file-related discussion through DigitEMB’s embroidery digitizing service, prepare the stitch file, final dimensions, machine model, fabric and stabilizer details, and clear photographs of both sides of the sample. State dimensions explicitly in inches or millimeters so US, Canadian and UK production teams can interpret the request consistently.
Can you save the affected embroidery?
Once the work is free, examine both sides in good light. Separate loose tangled thread from intact embroidery before trimming. Avoid cutting blindly across the back: you may cut stitches that belong to the design.
Treat recovery as a decision based on the actual garment. Check for holes, displaced fabric and loose stitches. If alignment and fabric condition remain sound, consult your machine’s stitch-recovery instructions before resuming. If the material has shifted or torn, restarting over the damaged area may not produce an acceptable result.
For an order, keep the affected piece aside until the repair has been inspected. A clean-looking front alone is not enough to judge whether the embroidery is secure.
Bird nesting versus puckering
Problem | What you see |
|---|---|
Bird nesting | Loose loops or a tangled mass of thread beneath the embroidery, sometimes causing a jam. |
Puckering | Wrinkles or ripples in the fabric around the stitches, without necessarily having a thread nest. |
Puckering calls for a review of fabric handling, backing, tension and design settings. Madeira discusses these factors in its puckering prevention guide. Clear a thread jam before investigating any remaining fabric distortion.
Frequently asked questions
Does thread bunching underneath mean the bobbin tension is wrong?
No. Incorrect upper threading can leave upper thread tangled in the bobbin area. Start by clearing the tangle and rethreading, then verify bobbin installation. Brother’s tangled-thread remedy.
Should I increase stitch density to prevent bird nesting?
No universal density increase will solve it. Density should suit the thread, needle and fabric. If only one design fails after the machine setup checks, request a file review and another sample. Madeira’s density guidance.
When should I stop troubleshooting and arrange service?
Arrange service if the fabric cannot be released using the manual’s procedure, components are damaged, or the needle contacts the plate after reassembly. Persistent jams after correct setup also warrant professional inspection. Brother’s service and inspection guidance.
Practical details for How to Fix Bird Nesting or Thread Bunching in Machine Embroidery
Use the article above as a starting point, then make the production brief specific to your own design. A stitch file is made for a finished size and material, so the artwork alone is only part of the instruction.
Work through these points in order and keep the answers with the artwork or production request. A short written brief makes it easier to compare a proof with the intended result, ask a useful follow-up question and avoid relying on assumptions made from a screen image alone.
The aim is not to add unnecessary steps. It is to identify the choices that change the final result before work begins. If a requirement is unknown, flag it for confirmation rather than guessing; that keeps the approval process focused on the design, material and use that apply to this particular project. Save the approved brief with the project files for future reorders or revisions.
Confirm the finished use
State the item, placement and finished width and height. A chest logo, cap front and jacket back do not use the same sewing area, even when they start from the same artwork.
Protect the smallest details
Review small lettering, narrow gaps, thin outlines and tiny colour changes at the final size. Simplifying a fragile detail before digitizing is often more reliable than trying to force it into a small sew-out.
Match the file to the machine
Tell the production team the embroidery machine or format required, along with the fabric or garment type. This lets them prepare the right export and make choices that suit the material rather than treating every job alike.
Quick questions to check before you proceed
What should I send with my artwork?
Send the clearest original available, the finished dimensions, placement, fabric or garment type and the required machine format if you know it.
Can the same file be used at every size?
Not always. Scaling changes the relationship between stitch length, detail and fabric, so a design may need review when the finished size or placement changes.
What should I check before production?
Confirm the spelling, colours, final size, placement and any details that must remain readable. A proof or sample is the best point to catch a change.