
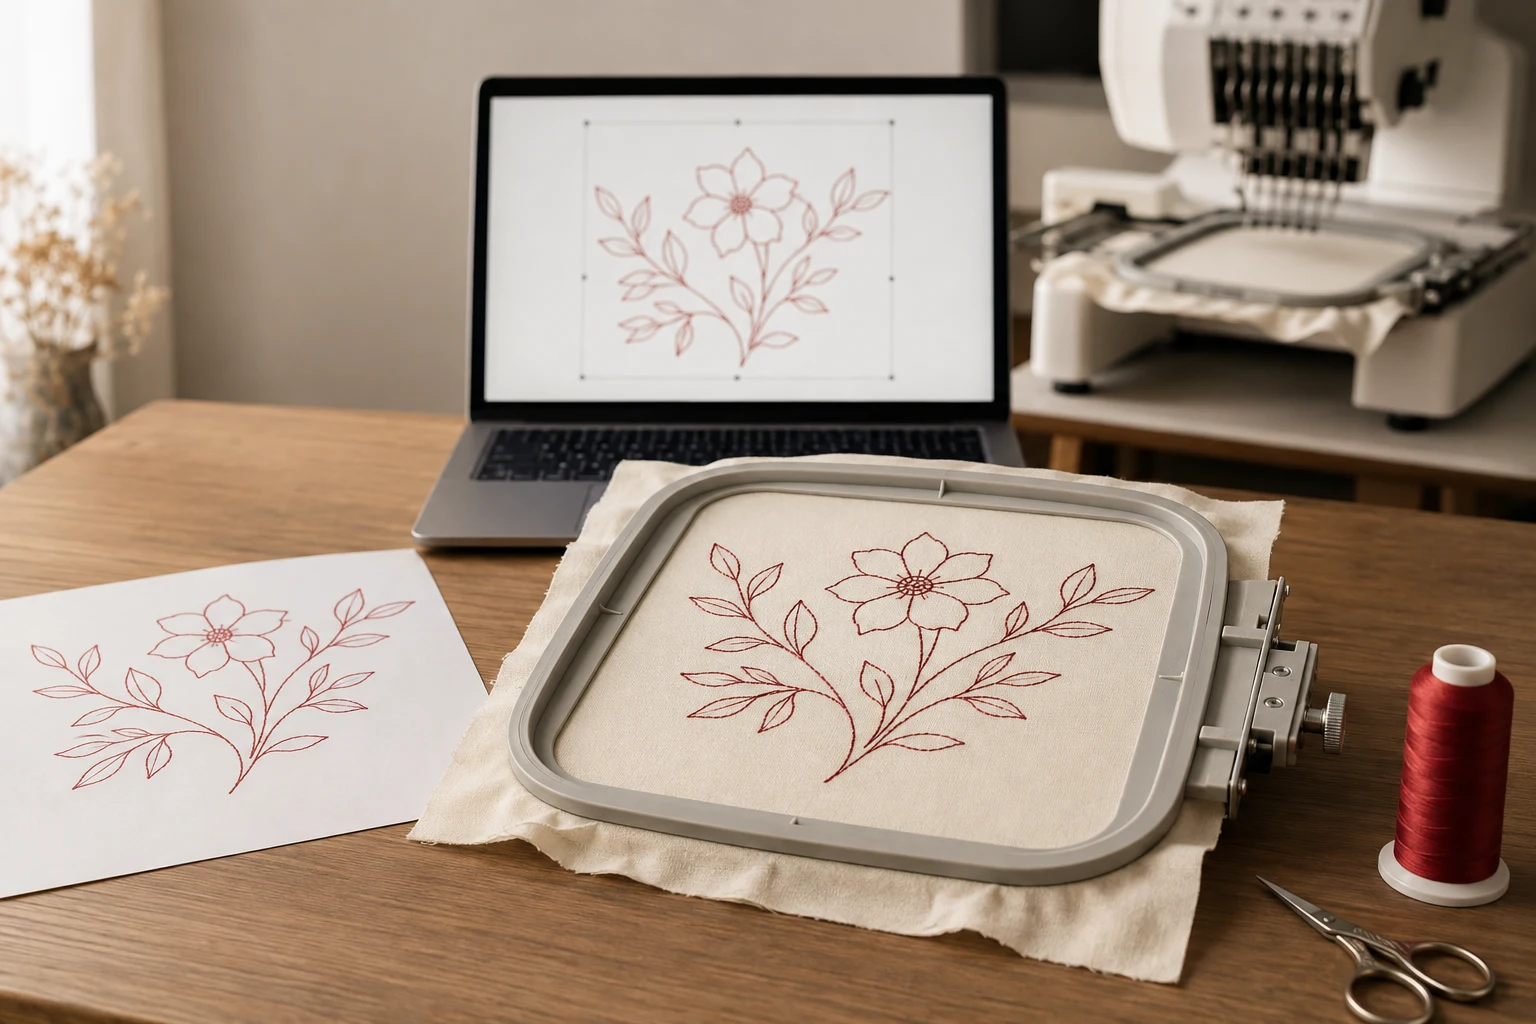
Cover image: AI-generated editorial concept; not a customer project or production proof.
To digitize redwork for machine embroidery, turn line artwork into outline stitch objects, connect the intended paths, sequence them, and test the exported file on your chosen fabric. Hatch’s Redwork tool automates sequencing for selected outlines and creates two stitching passes with a shared start and finish point. It is intended for outline work; filled objects need a different approach. Hatch’s Redwork and Branching guidance
This guide covers artwork preparation, the Hatch workflow, editing, materials and the final sew-out so you can assess the whole project before stitching a finished item.
What stitches work for redwork?
Redwork uses red outlines to describe a design while leaving the fabric visible inside its shapes. For machine embroidery, common outline options include Single Run, Triple Run, Backstitch and Stemstitch. Backstitch and stemstitch are separate stitch types, so preview their different textures before choosing one. Wilcom documents these options for recreating a hand embroidery appearance. Wilcom’s redwork guide
For a first sample, keep the motif simple: a flower, leaf spray or small kitchen illustration with clear, open spaces. Compare a restrained run outline with a more textured option at the intended finished size. Judge line weight from the stitched sample as well as the screen.
Prepare the artwork at its finished size
Start with a clear drawing you own or have permission to reproduce. Decide the dimensions before tracing; for example, a motif 4 inches wide is 101.6 mm wide. Include units when exchanging artwork with an embroiderer in the US, Canada or UK.
Remove stray marks and simplify details that become crowded at the final size. Treat a drawn line as a stitch path: tracing both sides of every thick pen stroke can create an unintended double outline.
Plan which elements should connect. A flower stem and leaf can share a junction, while a detached decorative dot may need its own stitching segment. Keep intentional gaps in the artwork rather than adding visible connecting lines solely to simplify routing.
Digitize the outlines in Hatch
The following steps follow the Hatch Embroidery 3 documentation; tool locations may differ in other versions.
Digitize the outline objects, making intended junctions touch or cross. Their initial order does not matter for this tool.
Select the connected outlines and choose Redwork from the Digitize or Edit Objects toolbox.
Follow the status bar prompt and click the shared entry and exit location.
Check the Sequence docker: the selection becomes one redwork object.
For a multicolor variation, apply the operation separately to each color.
Hatch uses a single run on the first pass and the chosen stitch type on the last pass. Turn off TrueView afterward to inspect jumps. Disconnected lines or filled objects can produce additional runs, and Closest Join can affect the start position or pass count. Hatch’s Create Redwork instructions
Edit and check the stitching path
Use Stitch Player to inspect the sequence. Outlines left outside the original selection remain separate, so check the whole design.
In Reshape, a redwork object’s entry and exit markers move together. To edit them independently, use Break Apart: the first operation produces a branched object; a second exposes its component objects. Make your changes and reapply Redwork where needed.
If the result contains extra passes, Hatch recommends turning off Closest Join, breaking the object apart and applying Redwork again. Save an editable copy before restructuring the design. Hatch’s redwork editing instructions
During playback, pay particular attention to intersections, detached details and repeated travel along the same line. Mark anything that needs checking in the physical sample.
Choose fabric and stabilizer together
For a first redwork sample, try a smooth, light-colored woven cotton or linen that makes the red outlines easy to inspect. Choose backing for the actual fabric and project rather than assuming a sparse design needs no support.
Fabric or project | Stabilizer starting point |
|---|---|
Stable woven cotton or linen | Tear-away backing is a common option for woven fabrics. |
Jersey or another stretchy knit | Cut-away backing provides continuing support. |
Sheer, washable fabric where backing would show | Consider water-soluble stabilizer if the fabric and project tolerate its removal. |
BERNINA’s guidance distinguishes tear-away for woven fabrics and cut-away for knits. Its machine manual also describes water-soluble stabilizer for fine or sheer fabrics. Follow the stabilizer’s application and removal instructions. BERNINA’s backing guidance, BERNINA 590 manual
Use the hooping method recommended for your machine and material. Test the complete fabric-and-backing combination, including how it looks after the backing is removed.
Choose machine embroidery thread
Select thread labeled for machine embroidery and compatible with your machine. Do not treat hand embroidery floss or pearl cotton as interchangeable with ordinary machine embroidery thread.
A standard 40-weight rayon machine embroidery thread is one practical sample choice. Madeira identifies its 40-weight rayon as a general-use thread and its 60-weight version as finer for detail. Follow the specific thread’s needle and care guidance; Madeira cautions against harsh laundering and bleach for its Classic Rayon range. Madeira’s machine embroidery thread guidance
Match the thread choice to the finished item’s care requirements. For a washable napkin or garment, test the stitched sample using the intended care method before committing to production. Record the thread manufacturer, range and color number so the red shade can be specified consistently.
Export and sew a sample
Keep the editable design, then export a machine file in the format required by your embroidery machine. Confirm the machine model, supported format and usable embroidery area against its manual before transferring the file.
Run a sample at the final size using the intended fabric, backing, thread and needle. Inspect it after unhooping and removing the appropriate backing:
Do repeated passes follow the same outline?
Are curves smooth and small details still open?
Are intersections visibly heavier than surrounding lines?
Are there unwanted thread bridges between separate elements?
Does the fabric lie flat?
If something looks wrong, compare the sample with playback. Check the path for duplicate objects or unnecessary travel, and check the physical setup for fabric movement. Change one variable at a time and repeat the sample before stitching the finished item.
What to send when ordering redwork digitizing
If you want help preparing the file, use DigitEMB’s embroidery digitizing service page. Provide the artwork, finished dimensions with units, fabric, placement, machine model, required format and preferred outline appearance.
Specify that the design should retain open spaces and a redwork outline style. Ask which editable and machine files will be supplied, and clarify how sample testing and revisions will be handled. Keep a reference photo of the approved sew-out with the production details.
Frequently asked questions
Does redwork have to use red thread?
You can use another thread color for the same machine outline technique. Hatch allows recoloring redwork objects, and the thread loaded on the machine determines the stitched color. Hatch’s editing guide
Is Redwork the same as Branching?
They both automate grouping and sequencing, but their routing differs. Redwork uses two passes and a shared entry and exit point. Branching can use separate entry and exit points and is suited to designs that include fills. Hatch’s tool comparison
What stitch length should I use?
There is no single setting to prescribe for every motif. Start with the software’s setting for your chosen outline stitch, inspect the curves and test at the finished size. Adjust based on the actual fabric, thread and sample rather than applying one value throughout every project.
Practical details for How to Digitize Redwork Embroidery Designs for Machine Embroidery
Use the article above as a starting point, then make the production brief specific to your own design. A stitch file is made for a finished size and material, so the artwork alone is only part of the instruction.
Work through these points in order and keep the answers with the artwork or production request. A short written brief makes it easier to compare a proof with the intended result, ask a useful follow-up question and avoid relying on assumptions made from a screen image alone.
The aim is not to add unnecessary steps. It is to identify the choices that change the final result before work begins. If a requirement is unknown, flag it for confirmation rather than guessing; that keeps the approval process focused on the design, material and use that apply to this particular project. Save the approved brief with the project files for future reorders or revisions.
Confirm the finished use
State the item, placement and finished width and height. A chest logo, cap front and jacket back do not use the same sewing area, even when they start from the same artwork.
Protect the smallest details
Review small lettering, narrow gaps, thin outlines and tiny colour changes at the final size. Simplifying a fragile detail before digitizing is often more reliable than trying to force it into a small sew-out.
Match the file to the machine
Tell the production team the embroidery machine or format required, along with the fabric or garment type. This lets them prepare the right export and make choices that suit the material rather than treating every job alike.
Quick questions to check before you proceed
What should I send with my artwork?
Send the clearest original available, the finished dimensions, placement, fabric or garment type and the required machine format if you know it.
Can the same file be used at every size?
Not always. Scaling changes the relationship between stitch length, detail and fabric, so a design may need review when the finished size or placement changes.
What should I check before production?
Confirm the spelling, colours, final size, placement and any details that must remain readable. A proof or sample is the best point to catch a change.