
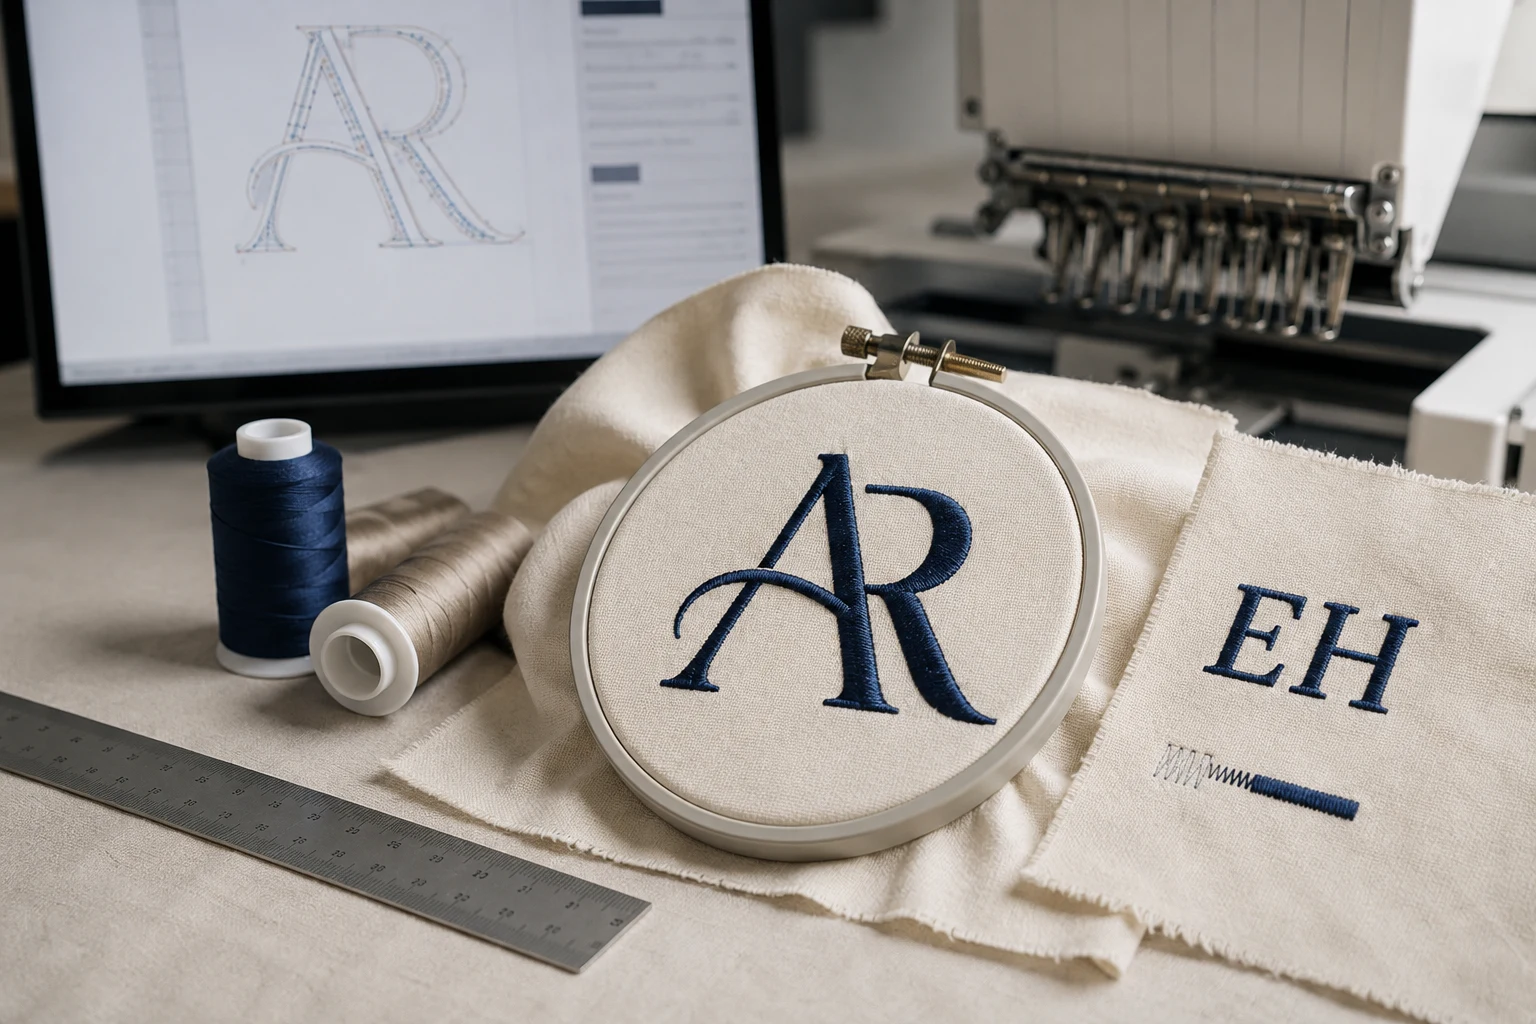
Cover image: AI-generated editorial concept; not a customer project or production proof.
To digitize letters in Wilcom, create a lettering object with an embroidery font or manually build custom letter strokes with Column A and Satin. Set the finished size, refine spacing and joins, adjust underlay and pull compensation, then export a machine file and test it on the intended fabric.
This workflow suits names, workwear lettering, accessory labels and decorative monograms. The instructions below reference Wilcom EmbroideryStudio documentation; tool locations and available features can vary by version and product level.
Plan the lettering and monogram layout
Confirm the exact text, capitalization, initial order and finished dimensions before creating stitches. For a monogram, agree which initial appears in the center and whether it should be larger. Sketch any surrounding circle, triangle or decorative border so the letters have enough room.
Record the garment, fabric, placement and machine model. For buyers working with embroiderers in the US, Canada or UK, explicitly label dimensions in inches or millimeters. For example, ¾ inch equals 19.05 mm; Wilcom can convert an entry such as 3/4in in the lettering height field. Wilcom lettering formatting guide.
Choose the construction method that fits the artwork:
Lettering requirement | Practical starting point |
|---|---|
Names or initials using an available font | Create an editable lettering object with a supplied embroidery font. |
A distinctive wordmark or custom monogram | Digitize the individual strokes manually. |
Connected script | Plan the letter shapes and their joining positions together. |
Create lettering with an embroidery font
For text that does not need a custom letter shape, start with Wilcom’s lettering tools:
Right-click Lettering to open its object properties.
Enter the exact text and select an embroidery font.
Check that the intended height falls within that font’s recommended size range.
Select a baseline appropriate to the layout.
Choose Create Text, place the lettering and press Enter to generate stitches.
These steps follow Wilcom’s lettering object workflow.
Review the whole word at its intended size. Check the visual space between letters, the openings inside letters such as A and B, and the balance of the monogram. Adjust height, width and justification through the lettering properties as needed. Wilcom formatting controls.
Manually digitize custom letter strokes
Use manual construction when the required shapes need more control than an available font provides. Begin with a simple letter before attempting an elaborate script monogram.
Build satin columns
Select Traditional Digitizing > Column A.
Choose the thread color and Satin stitch type.
Place points alternately along the two sides of the stroke.
Left-click for corner points and right-click for curve points.
Press Enter to finish the column while keeping its last stitch.
The paired points control the column’s width and stitch direction. Column A is designed for strokes whose widths and angles change. Wilcom Column A instructions.
Work through the letter’s stems, curves and crossbars in the intended sewing order. Where strokes meet, plan enough underlap to bind them together. For an even-width border or stroke, Wilcom also provides Outlines > Satin. Wilcom custom letter construction.
That custom font tutorial omits underlay and pull compensation while constructing reusable font characters because those settings are added when creating actual lettering. For a finished monogram design, review these settings before sewing.
Align connected script letters
For connected script, the outgoing tail of one letter must meet the next letter’s incoming stroke. Place a guide along the join line, then add an intersecting guide at the inside edge of the stroke. In the documented workflow, Options > Grids & Guides > Snap to Guides helps align the reference points.
Keep the join edge approximately perpendicular to the stroke’s slope. Wilcom’s custom script tutorial avoids added overlap on narrow joins because pull compensation supplies it. Treat that as guidance for this construction method and confirm the result in your sample. Wilcom script joining instructions.
Separate block initials do not need connecting tails. Preserve the intended gaps between them.
Set lettering underlay and pull compensation
Underlay supports the cover stitches and helps keep them above soft or napped fabric. Select the lettering object, right-click Auto Underlay, enable the first underlay and choose its type.
Wilcom gives the following height-based rules of thumb, rather than a complete recipe for every fabric:
Lettering height or application | Wilcom’s starting guidance |
|---|---|
Below 5 mm | Omit underlay in the documented guideline; confirm suitability for the chosen font and fabric. |
6–10 mm | Consider Center Run. |
Above 10 mm | Consider Edge Run. |
Large jacket-back letters | A second underlay layer may be useful. |
Inspect stroke width as well as overall height. The documentation also distinguishes By Shape underlay, calculated across a shape, from By Segment underlay. Lettering defaults described there exclude “As Digitized” lettering. Use Stitch Player to inspect the resulting sequence. Wilcom lettering underlay guidance.
Pull compensation extends stitching to account for fabric movement. Its appropriate value depends on fabric, hooping and column width, so avoid copying one setting across every monogram. Review it alongside stitch spacing and underlay. Wilcom pull compensation guidance.
Export and test the finished lettering
Keep an EMB design copy for your working file, then use Export Machine File to create the stitching output. Select the format required by the actual machine and check its hoop limits. Wilcom distinguishes design files, machine files and production worksheets in its output tool reference.
Make a test sew-out at the intended size using the planned fabric, thread, needle and stabilization. Inspect whether the letters remain readable, joins stay connected, openings remain clear and the fabric lies acceptably flat. Record any adjustments and test again before embroidering the finished item.
If you are commissioning the file, provide the exact text, approved initial arrangement, dimensions, fabric, placement and machine requirements. You can discuss that brief through DigitEMB’s embroidery digitizing service. Ask which file formats and supporting production information will be supplied.
Frequently asked questions
Do I need to draw every letter manually?
No. Wilcom’s lettering tool can generate stitches from a supplied embroidery font. Manual digitizing is useful when the required letter shapes need custom construction.
Should every monogram use the same underlay?
No. Letter height is only a starting reference. Stroke width, fabric and the selected lettering construction also matter; inspect the stitch sequence and test the design.
Do all letters need to connect?
No. Align joining strokes for connected script. Block initials and other separated lettering should retain the spacing specified in the layout.
Is a screen preview enough to approve the embroidery?
Use the preview to inspect layout and stitch order, then evaluate a physical sample. The sew-out lets you judge the lettering on the material that will actually be embroidered.
Practical details for How to Digitize Letters for Machine Embroidery in Wilcom
Use the article above as a starting point, then make the production brief specific to your own design. A stitch file is made for a finished size and material, so the artwork alone is only part of the instruction.
Work through these points in order and keep the answers with the artwork or production request. A short written brief makes it easier to compare a proof with the intended result, ask a useful follow-up question and avoid relying on assumptions made from a screen image alone.
The aim is not to add unnecessary steps. It is to identify the choices that change the final result before work begins. If a requirement is unknown, flag it for confirmation rather than guessing; that keeps the approval process focused on the design, material and use that apply to this particular project. Save the approved brief with the project files for future reorders or revisions.
Confirm the finished use
State the item, placement and finished width and height. A chest logo, cap front and jacket back do not use the same sewing area, even when they start from the same artwork.
Protect the smallest details
Review small lettering, narrow gaps, thin outlines and tiny colour changes at the final size. Simplifying a fragile detail before digitizing is often more reliable than trying to force it into a small sew-out.
Match the file to the machine
Tell the production team the embroidery machine or format required, along with the fabric or garment type. This lets them prepare the right export and make choices that suit the material rather than treating every job alike.
Quick questions to check before you proceed
What should I send with my artwork?
Send the clearest original available, the finished dimensions, placement, fabric or garment type and the required machine format if you know it.
Can the same file be used at every size?
Not always. Scaling changes the relationship between stitch length, detail and fabric, so a design may need review when the finished size or placement changes.
What should I check before production?
Confirm the spelling, colours, final size, placement and any details that must remain readable. A proof or sample is the best point to catch a change.