
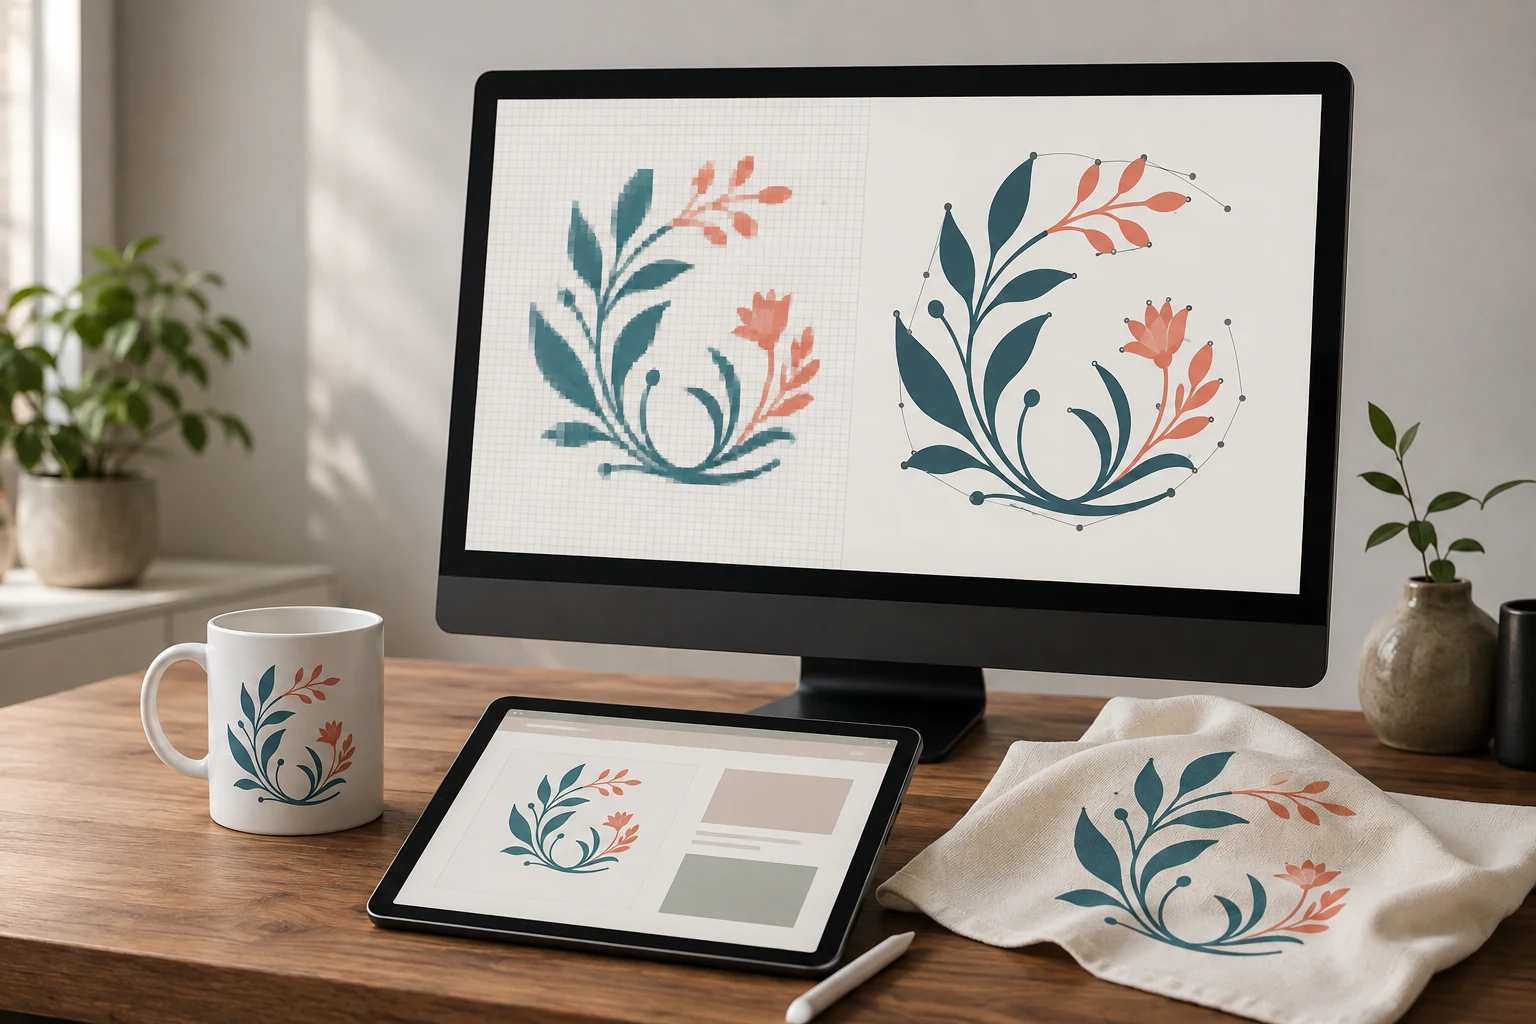
Cover image: AI-generated editorial concept; not a customer project or production proof.
To convert an image into SVG in Adobe Illustrator, place the image, use Image Trace, expand the result into editable paths, clean the artwork and export it as SVG. Reopen the exported file to check its appearance and objects. Adobe documents the Image Trace workflow and SVG export options.
This guide covers the complete image-to-SVG workflow, including exporting selected artwork and choosing between SVG and PNG for web graphics and sublimation projects.
What conversion changes—and what it cannot recover
SVG can contain vector shapes, text and raster images. Its vector shapes scale without the pixel grid of a photograph, but an embedded JPG or PNG retains its original resolution limits. Simply placing a bitmap inside an SVG does not redraw it. See the W3C SVG specification.
Start with the clearest original available. A simple symbol with distinct edges is a practical tracing exercise. With a blurry logo, compare the result carefully against the intended shapes; automatic tracing cannot establish details that the reference does not show clearly. Photographs may be better kept as raster artwork when continuous tones and texture matter.
Keep an original copy before tracing. If you already have editable vector artwork, proceed to the export stage.
1. Place the image and run Image Trace
In Illustrator on desktop:
Create a document and choose File > Place to add your JPG, PNG or other raster image.
Select the image, then open Window > Image Trace.
Choose a preset suited to the artwork, such as a black-and-white treatment for a single-color symbol or a color preset for flat-color artwork.
Review the trace and adjust its settings before expanding it.
Preset names and available controls can vary by version. Adobe’s current tracing instructions explain the panel workflow.
The useful controls depend on the selected mode:
Control | What to inspect |
|---|---|
Threshold | In black-and-white mode, adjust which pixels become black or white; watch thin lines and interior spaces. |
Colors | Balance the number of colors against the detail you need. |
Paths and Corners | Compare contour accuracy and corner shapes with the reference. |
Noise | Remove small unwanted areas without losing intentional fine details. |
Change one setting at a time so you can judge its effect. Consult Adobe’s Image Trace panel reference for control definitions.
2. Expand and clean the vector paths
When the trace looks suitable, select Expand in the Image Trace panel. This creates grouped, editable paths; the tracing settings are no longer adjustable afterward. Enter isolation mode or ungroup the result to edit individual objects. Adobe also identifies Object > Path > Simplify for reducing excess anchor points. See editing tracing results.
Inspect the artwork closely and at its intended display or print size. Remove stray shapes, correct uneven edges and confirm that small gaps remain open. Simplify cautiously: fewer points are useful only if the intended contours survive.
If you want transparency, remove unwanted background objects while preserving intentional white details. View the design against a contrasting background to distinguish transparent spaces from white-filled shapes.
Save an editable working copy before creating delivery files.
3. Export the artwork as SVG
Choose File > Export > Export As, select SVG, and choose the destination. Use Use Artboards when the export should follow the artboard bounds.
Review the SVG options:
Fonts: Outlines preserve letter shapes when font portability matters. Keep editable text in your working copy.
Images: Embedded images travel inside the SVG; linked images depend on external files. Neither option vectorizes a bitmap.
Decimal: More precision increases file size. Check fine curves after reducing it.
Minify: Removes unnecessary code spacing and empty groups.
Responsive: Omits absolute size values for browser scaling; the webpage still needs an appropriate layout.
These settings are described in Adobe’s export documentation.
Reopen the SVG in Illustrator and a browser. Check the exported boundaries, transparent areas, lettering and small details. Select objects to confirm that the intended artwork consists of paths rather than a remaining reference image.
Export only a selected graphic
For one icon or illustration within a larger composition, use Asset Export:
Select all objects that belong to the graphic.
Right-click and choose Collect for Export > As Single Asset.
Open Window > Asset Export and select the collected thumbnail.
Choose SVG as the format, review the format settings and select Export.
Collecting an asset does not create a duplicate object on the artboard. Changes to the source artwork update the collected asset. Adobe’s Asset Export guide explains this workflow.
Check the resulting file independently, especially when nearby artwork or background objects could have entered the selection.
SVG versus PNG for web graphics
SVG is useful for logos, icons and illustrations built from shapes. It supports scalable geometry and can participate in web animation and interaction, depending on how it is implemented. An elaborate traced image is not automatically smaller or faster than a raster version. Compare the actual exported files and their appearance. The SVG specification describes its graphics capabilities.
PNG stores pixels, supports transparency and uses lossless compression. It can be edited in raster software; it does not offer the same object-level path editing as vector artwork. See the W3C PNG specification.
Web artwork | Practical format choice |
|---|---|
Simple logo or interface icon | Consider SVG for scalable shapes. |
Screenshot or detailed raster illustration | Consider PNG when preserving pixel detail matters. |
Highly detailed traced artwork | Compare SVG complexity and file size with a suitable raster export. |
Graphic requiring transparency | Both formats support it; inspect edges against the actual page background. |
Accessibility requires deliberate implementation. Supply an appropriate text alternative for informative graphics; the SVG extension alone does not make an image accessible. Follow W3C image accessibility guidance.
SVG versus PNG for sublimation printing
SVG can be a useful editable source for resizing flat-color artwork across product layouts. PNG can be suitable for detailed raster artwork when its pixel dimensions support the intended print size. SVG is not a universal requirement or a guarantee of a better finished print.
Compatibility depends on the receiving software. For example, Sawgrass lists both PNG and SVG among the formats accepted by its MySawgrass design tool. Confirm the requirements of your own printer or supplier instead of assuming every sublimation workflow accepts the same files.
Before sending artwork, ask for the required format, finished dimensions, color settings and raster resolution where applicable. If a supplier requests PNG, retain the vector master and provide the requested raster export at the agreed size.
For buyers working with suppliers in the US, Canada or UK, label dimensions explicitly in inches or millimeters. Include the intended product and a visual reference showing the approved layout. Ask for a sample when printed color or fine detail is critical.
When to request conversion help
If tracing leaves distorted lettering, uncertain contours or excessive cleanup, have the artwork assessed before approving it. Send the best original, final dimensions, color references and intended use, and specify that you need editable vector paths in the delivered SVG.
DigitEMB’s raster-to-vector service provides a relevant starting point for discussing artwork conversion. Confirm the deliverables and application requirements for your particular file.
Frequently asked questions
Can I convert a JPG to SVG by changing its extension?
No. Renaming the file does not change its contents. Trace or redraw the artwork, then export it in SVG format.
Why does my SVG still look blurry?
It may contain a raster image, or the traced shapes may reproduce poor source edges. Inspect the objects in Illustrator rather than relying on the filename or browser preview alone.
Why is there a white box behind my design?
The background may have been traced as a filled object. Inspect the expanded paths and remove only the unwanted background, then check transparency against another color.
Is SVG always better than PNG for sublimation?
No. Choose according to the artwork, finished size and receiving software. Keep vector artwork for flexible editing, and supply the format the print workflow requires.
Practical details for How to Convert an Image Into SVG in Adobe Illustrator
Vector artwork is built from editable paths rather than a fixed grid of pixels. The clearest result starts with a specific intended use, because a file prepared for print, cutting and embroidery may need different checks.
Work through these points in order and keep the answers with the artwork or production request. A short written brief makes it easier to compare a proof with the intended result, ask a useful follow-up question and avoid relying on assumptions made from a screen image alone.
The aim is not to add unnecessary steps. It is to identify the choices that change the final result before work begins. If a requirement is unknown, flag it for confirmation rather than guessing; that keeps the approval process focused on the design, material and use that apply to this particular project. Save the approved brief with the project files for future reorders or revisions.
Start with the best source
Provide the largest, clearest original you have and include any brand colours, fonts or reference files. A small or blurry image can still be traced, but missing edges and lettering need careful confirmation.
Define the final use
Say whether the artwork is for print, cutting, screen printing, embroidery reference or a digital asset. This tells the artist which details, colour separations and file formats matter most.
Review paths, text and colour
Before using the finished file, check that lettering is correct, shapes are closed where required and colours match the approved artwork. Keep a master editable file as well as the delivery format used by production.
Quick questions to check before you proceed
Is a vector file the same as an embroidery file?
No. A vector is editable artwork; an embroidery file contains stitch instructions. Vector art can be useful source material for digitizing, but it still needs to be digitized for machine embroidery.
Can a blurry logo be converted?
Often, yes, but the result depends on what can be verified. Supply a clearer reference, font name or brand guide whenever possible.
Which details need approval?
Check spelling, line weight, enclosed spaces, colour choices and the shape of any logo elements before the file goes to print or production.