
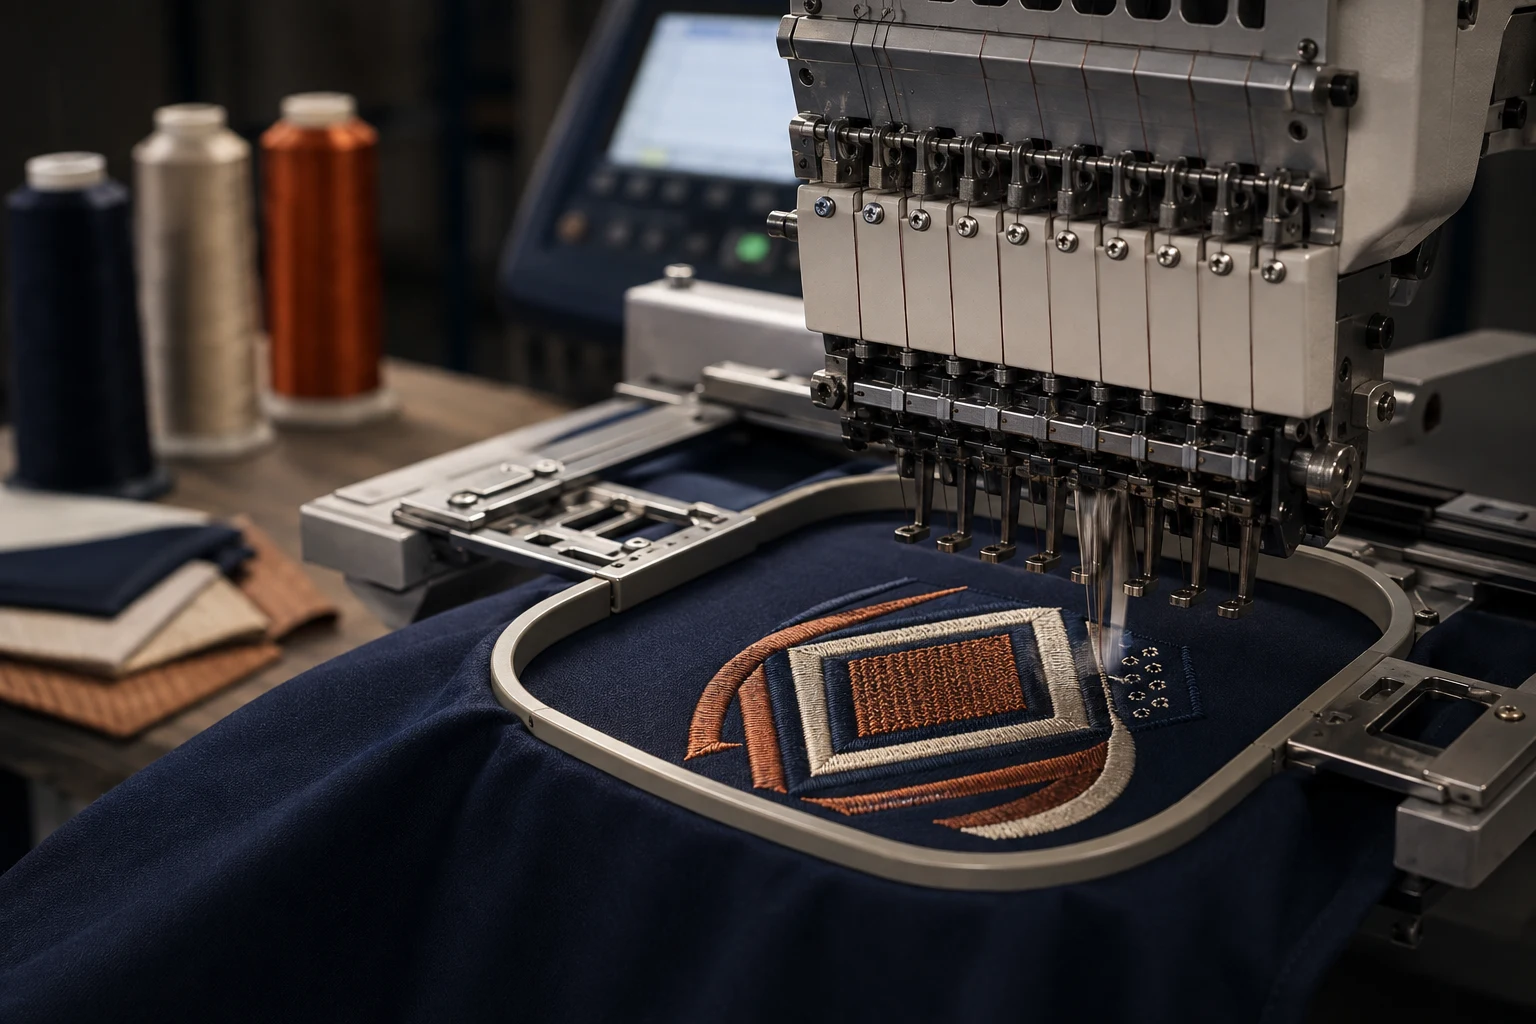
Cover image: AI-generated editorial concept; not a customer project or production proof.
Embroidery machine speed affects both stitching time and the conditions under which a design sews. The best setting is one that produces consistent, acceptable results on your actual fabric, thread and frame. Higher speed can shorten stitching time, but maximum speed is not a universal production setting. Slowing down can help with certain materials and threads; it cannot replace suitable digitizing and stabilization.
What embroidery machine speed means
Embroidery speed is commonly expressed in stitches per minute, or SPM. Distinguish the machine’s rated maximum, the speed limit you select and the average rate achieved throughout a complete job.
Limits vary by model and attachment. For example, Brother’s PR1050X allows maximum settings from 400–1,000 SPM with its standard embroidery frames, but 400–600 SPM with cap, cylinder or clamp frames. These are model-specific limits. Brother’s maximum-speed guidance.
Commercial equipment can have different capabilities. Melco’s UK comparison lists maximum flat-embroidery speeds up to 1,500 SPM for specified models. Check the exact model and frame specifications instead of assuming that all home or commercial machines share a speed range. Melco machine comparison.
What determines a suitable speed?
Fabric, stabilizer and framing
Brother advises reducing speed on thin, thick or heavy fabrics for the PR1050X. This supports testing a slower setting for demanding materials, rather than assigning one speed to every fabric. Brother’s fabric and speed advice.
Fabric also changes what the stitch file needs. Stretch knits behave differently from stable woven materials, so density, underlay, stitch length and pull compensation may need adjustment. A slower run alone does not provide those changes. Wilcom’s explanation of fabric-dependent settings.
Treat caps as a separate setup. Their curved framing, seams and construction can require a different design sequence and backing. Melco specifically cautions that a design prepared for a left-chest placement may be unsuitable for a finished cap. Melco’s cap embroidery guidance.
Thread and needle setup
Use the machine and thread manufacturer’s guidance for specialty threads. For example, Brother recommends 400 SPM when using metallic thread on the PR1050X. That number is an example for that machine, not a universal metallic-thread rule. Brother’s specialty-thread recommendation.
When comparing speeds, keep the needle, thread and threading setup consistent. Otherwise, you cannot tell which change affected the result. Avoid judging suitability solely by a broad label such as polyester, rayon or metallic; record the actual thread product used for the test.
Stitch structure and digitizing
Stitch length, satin-column width and thread thickness describe different things. Do not use them interchangeably when explaining a speed problem.
Digitizing settings should suit the final design size and material. Wilcom identifies density, underlay, pull compensation and stitch length as parameters that change with fabric requirements. Small lettering and intricate sections deserve particular attention during the sample run. Wilcom’s fabric-setting documentation.
Pull compensation extends stitches beyond an object’s outline to counter fabric pull-in. It does not loosen the machine’s thread tension. Underlay, backing and topping also help control distortion, so changing speed should be considered alongside those factors. Wilcom’s pull-compensation explanation.
How to choose and test a speed
There is no single best SPM for every project. Use this comparison method to establish a repeatable setting:
Check the manual. Find the permitted settings for your machine, frame and thread application.
Prepare a representative sample. Use the intended fabric, stabilizer, thread, needle and final-size stitch file.
Start within the manufacturer’s guidance. Avoid beginning an unfamiliar setup at its maximum simply because that setting is available.
Record a baseline. Note the selected speed, full elapsed time, thread breaks and visible defects.
Change speed only. Move one available increment at a time and compare equivalent samples.
Inspect after unhooping. Check lettering, outlines, coverage and fabric flatness, then repeat the preferred setting before committing to a batch.
For free-standing lace, test the finished result after removing the temporary support as directed by the design and stabilizer suppliers. For leather or vinyl, use representative scrap before committing the item.
What you observe | What to do next |
|---|---|
Clean stitching with few interruptions | Test the next permitted speed increment and compare quality and elapsed time. |
Breaks or uneven stitching appear after a speed increase | Return to the baseline setting and repeat the comparison. |
Puckering or outline gaps persist at both speeds | Review stabilization, hooping and stitch-file settings. |
Problems repeat at the same design location | Record the stitch location and request a design review. |
Skipped stitches or needle breakage continue | Stop the test and follow the machine’s troubleshooting instructions. |
These observations help isolate variables; they do not prove that speed caused a particular defect. Do not keep lowering speed indefinitely to work around a persistent setup or mechanical problem.
Why higher SPM does not equal faster finished production
For an idealized calculation, divide stitch count by a constant stitching rate:
Stitching minutes = stitch count ÷ SPM
A hypothetical 12,000-stitch design would take 20 minutes at a constant 600 SPM or 15 minutes at a constant 800 SPM. The five-minute difference assumes uninterrupted stitching at the stated rate.
Actual job time also includes color changes, trims, bobbin changes, rethreading, hooping and finishing. Measure a complete sample cycle before using a speed setting to estimate output or promise a completion date.
Review avoidable stops in the file, but preserve the sequencing needed for accurate embroidery. For example, Melco recommends completing individual cap-design elements with their colors before moving to another element to help maintain alignment. Reducing color changes at the expense of that sequence may be counterproductive. Melco’s cap sequencing guidance.
The useful production measure is acceptable finished pieces per hour, with rework included. A higher setting earns its place only when the complete test run supports it.
What to ask your digitizer or embroidery supplier
For buyers in the US, Canada and UK, a physical sample provides more useful evidence than an advertised machine speed. Specify the finished dimensions in inches or millimeters, garment material, placement, thread requirements and machine format. Ask whether the sample uses the intended production garment and setup.
If a file runs poorly, share clear photographs of both sides of the sample, the speed setting and the location of repeated problems. For help preparing a stitch file, see DigitEMB’s embroidery digitizing service. Agree on the sample acceptance criteria before the full run.
Frequently asked questions
Is 600–700 SPM the best embroidery speed?
It may be a useful test range on a compatible machine, but it is not a universal recommendation. The frame, material, thread and model-specific instructions determine where to begin.
Does slowing down always improve embroidery?
No. Compare samples to establish whether it helps your setup. Persistent distortion may require changes to digitizing or stabilization rather than another speed reduction.
Can faster stitching damage a needle?
Do not diagnose needle breakage from speed alone. Melco identifies needle selection and cap construction as relevant to needle deflection and breakage. Stop and investigate repeated breaks using the machine’s instructions. Melco’s needle guidance for caps.
Should small lettering always run slowly?
Test the lettering at its final size and compare permitted speed settings. Slowing down cannot supply missing detail or correct unsuitable density, underlay or compensation in the file.
Practical details for How Embroidery Machine Speed Affects Stitch Quality and Production
Use the article above as a starting point, then make the production brief specific to your own design. A stitch file is made for a finished size and material, so the artwork alone is only part of the instruction.
Work through these points in order and keep the answers with the artwork or production request. A short written brief makes it easier to compare a proof with the intended result, ask a useful follow-up question and avoid relying on assumptions made from a screen image alone.
The aim is not to add unnecessary steps. It is to identify the choices that change the final result before work begins. If a requirement is unknown, flag it for confirmation rather than guessing; that keeps the approval process focused on the design, material and use that apply to this particular project. Save the approved brief with the project files for future reorders or revisions.
Confirm the finished use
State the item, placement and finished width and height. A chest logo, cap front and jacket back do not use the same sewing area, even when they start from the same artwork.
Protect the smallest details
Review small lettering, narrow gaps, thin outlines and tiny colour changes at the final size. Simplifying a fragile detail before digitizing is often more reliable than trying to force it into a small sew-out.
Match the file to the machine
Tell the production team the embroidery machine or format required, along with the fabric or garment type. This lets them prepare the right export and make choices that suit the material rather than treating every job alike.
Quick questions to check before you proceed
What should I send with my artwork?
Send the clearest original available, the finished dimensions, placement, fabric or garment type and the required machine format if you know it.
Can the same file be used at every size?
Not always. Scaling changes the relationship between stitch length, detail and fabric, so a design may need review when the finished size or placement changes.
What should I check before production?
Confirm the spelling, colours, final size, placement and any details that must remain readable. A proof or sample is the best point to catch a change.