
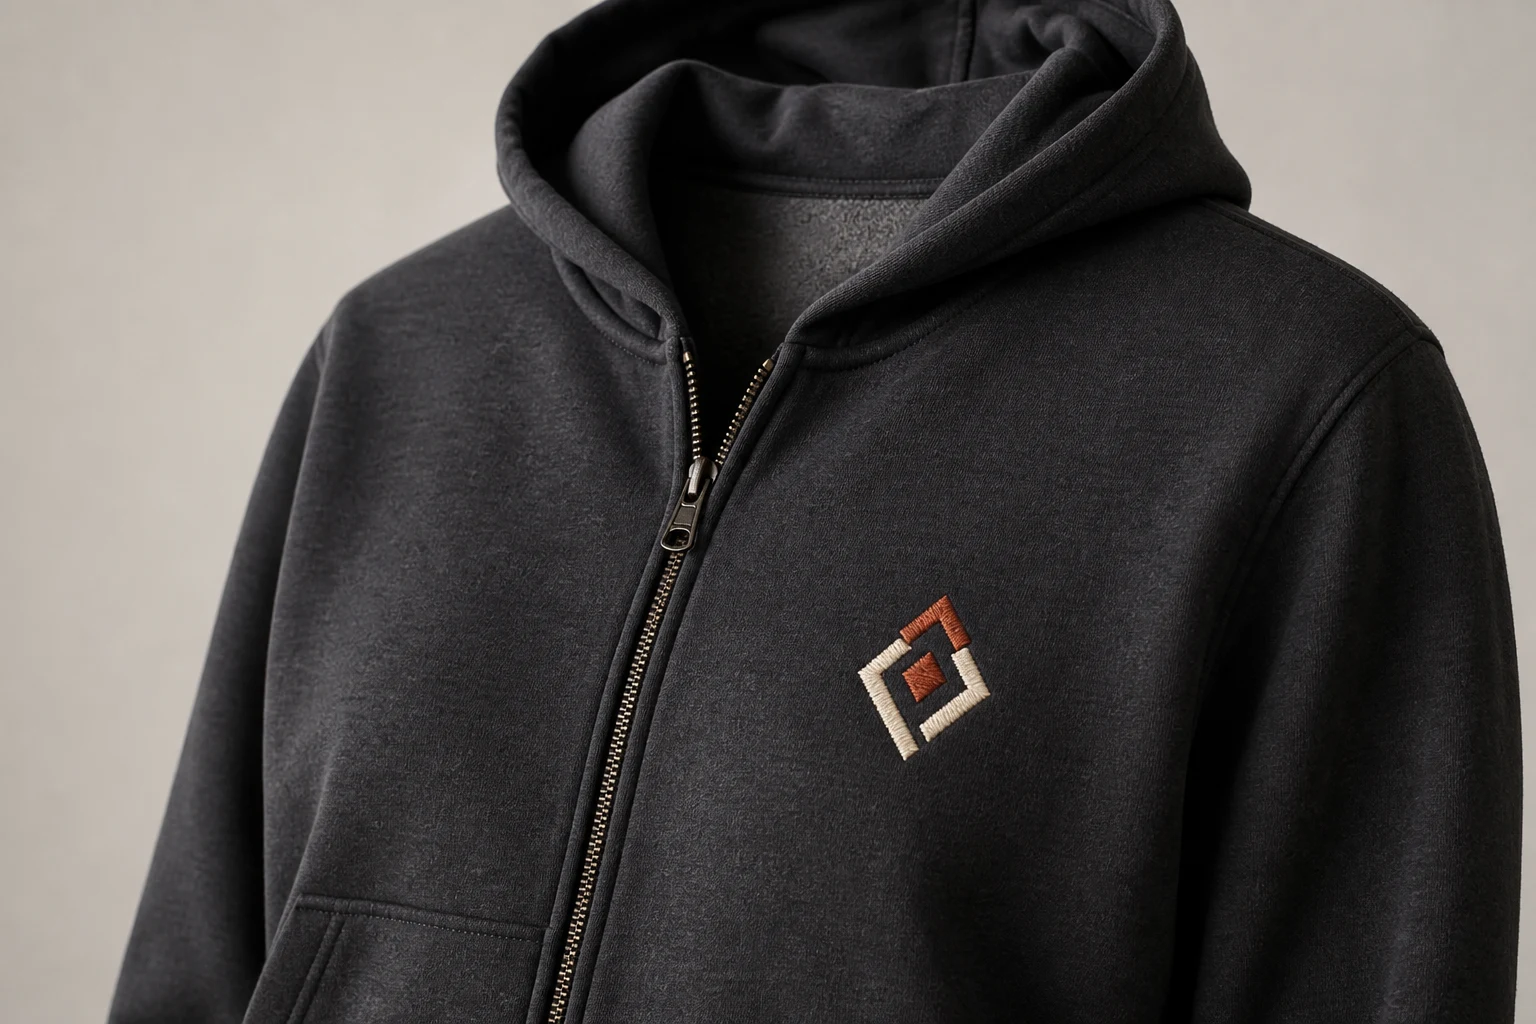
Cover image: AI-generated editorial concept; not a customer project or production proof.
Sweatshirts and jackets need embroidery digitized for the actual fabric, finished design size and usable garment panel. Match the backing and stitch construction to the material, check placement around hoods, pockets and seams, and approve a finished physical sample before production. A file that works on one garment may need adjustments for another.
This guide covers smooth-faced sweatshirts, exposed fleece and denim jackets, with additional checks for lined or technical outerwear.
Start with the fabric and garment construction
Send the digitizer the garment manufacturer, style code, composition and photographs of both sides of the embroidery area. Describe the surface receiving the stitches: a smooth sweatshirt face with a brushed interior presents a different surface from exposed fleece pile.
Garment or fabric | What to assess |
|---|---|
Smooth-faced sweatshirt or hoodie | Stretch, surface texture and backing support; check the hood and front pocket before placement. |
Fleece jacket with exposed pile | Whether fibers obscure lettering and whether topping or additional stitched support is needed. |
Denim jacket | Whether the denim is stable or stretchy, plus bulky seams, pockets and the back yoke. |
Lined, bonded or technical jacket | Access behind the panel, layers that will be stitched together and the manufacturer's decoration guidance. |
Backing choice depends on fabric stability, design characteristics and expected laundering. Madeira identifies cut-away stabilizers for knits, fleece and other stretchy materials, and tear-away options for stable woven fabrics such as denim. Treat those categories as starting points for sampling. Madeira’s embroidery backing guide
For a membrane-containing or coated jacket, obtain the garment manufacturer's decoration instructions before agreeing to embroidery. Have the embroiderer confirm which layers can be accessed and how the panel will be held.
Plan backing, topping and underlay together
Backing supports the fabric
Backing sits behind the embroidery. Choose its type and weight for the actual material and design, including how the finished garment will be cared for. On sweatshirts, also assess comfort where the remaining backing may contact the wearer. Madeira’s backing guidance
Topping helps control exposed fleece pile
Water-soluble topping holds down raised fibers during sewing and helps keep stitches from disappearing into the surface. It is especially relevant to exposed fleece; assess the actual outer face before specifying it for a sweatshirt.
Remove topping according to its product instructions using methods compatible with the garment's care requirements. Madeira describes tearing away the perforated excess and using suitable removal methods for residual film. Madeira’s water-soluble topping instructions
Underlay provides a stitched foundation
Underlay is sewn beneath the visible stitches. It helps stabilize fabric, flatten nap and support the top stitching. When fleece shows through, review the foundation before simply increasing density. Wilcom specifically identifies underlay as a more effective response to show-through than adding top stitches alone. Wilcom’s underlay guidance
Select underlay for each shape and fabric. Avoid automatic rules such as doubling every underlay layer or doubling satin density on all fleece garments.
For particularly plush fleece, discuss a light knockdown fill sewn before the logo to flatten a broader area of pile. Matching the thread to the fabric can help it blend, but approve its visible boundary in the finished sample. It is an option to assess, rather than a requirement for every jacket. Bill Garvin’s Hidden Stitches training, hosted by Gunold
Choose stitches and compensation for the design
Satin, fill and running stitches
Satin stitches suit narrow columns, borders and suitable lettering. Fill stitches such as tatami cover larger shapes with rows of stitches. Running stitches provide lines and connecting paths. One sweatshirt or jacket design may use all three. Hatch’s embroidery glossary
Choose the construction at the intended finished size. Ask the digitizer to review broad satin areas, narrow gaps and overlapping fills instead of applying one stitch-length recipe to the whole garment.
Push and pull compensation
Stitching can draw fabric inward along the stitch direction and push a filled area outward perpendicular to it. Compensation adjusts the embroidery shapes to account for these effects. Fabric, hooping, backing, design size and stitch construction all influence the result. Hatch’s explanation of push and pull
Use a sew-out to identify where adjustment is needed. If a satin column looks too narrow, review its drawn width as well as compensation. If outlines and fills separate, investigate fabric movement and support before changing the file. A single compensation value cannot establish the correct setup for every sweatshirt and jacket.
Check placement on the actual garment
Print a paper template at the proposed finished dimensions. Lay the garment naturally, close any zipper and check the position on representative sizes and cuts. Mark whether each measurement refers to the design's center or an edge.
Sweatshirts and hoodies
For a left-chest design, assess its balance against the neckline, armhole and center front. For a larger front design, check clearance above a kangaroo pocket and around any zipper.
On the back of a hoodie, lower the hood into its usual resting position before approving the template. Choose a location that keeps the important artwork visible. A fixed distance below the neckline will not suit every hood shape or garment size.
Jackets
For front embroidery, check pocket openings, zipper clearance and access behind the chosen panel. Ask whether pocket bags or loose lining can be moved clear: stitching through them unintentionally can restrict their function.
For a jacket back, assess the available panel below the yoke and between seams. Confirm that the complete design fits the machine's usable sewing area. A larger garment label alone does not establish the right embroidery dimensions.
For orders coordinated across the US, Canada and UK, state units explicitly. For example, 3 inches equals 76.2 mm; this is a conversion example, not a recommended chest-logo width. Record both width and height on the approved layout.
Match artwork complexity to finished size
A large jacket-back layout offers more room to separate lettering, fine shapes and areas of color blending. A small chest version should receive its own review. Detailed artwork does not automatically sew better than a simple, single-color design.
Review fine strokes, letter openings, narrow gaps and taglines at actual size. Ask for approved simplifications where necessary. Wilcom identifies density, underlay and pull compensation as fabric-specific lettering settings, including for fleece. Wilcom’s production-ready lettering guidance
When comparing versions of a detailed design, look for which shapes and spaces remain distinguishable as the artwork becomes smaller:

Treat each intended size as a separate approval decision. Ask whether the smaller version needs wider details, different lettering or fewer blended areas, and obtain the artwork owner's approval for visible changes. Have a file intended for a cap or another garment reviewed before using it on a sweatshirt or jacket.
Approve a finished sample
A digital preview helps establish wording, colors and layout. Use a physical sew-out to assess the interaction between the file, garment and production setup. Hatch recommends using test stitching to identify areas needing compensation adjustments. Hatch’s sample-based compensation guidance
For a useful approval process:
Confirm artwork, dimensions, thread references and placement.
Test with the intended fabric and production materials; use the actual garment to evaluate access and drape.
Remove topping and trim backing according to the relevant instructions.
Inspect the garment outside the hoop for readability, alignment, coverage and stiffness.
Check the reverse, pocket function and any lining that should remain free.
Assess a sample using the garment's permitted care process where laundering is expected.
Record the accepted file version, garment style, placement and sewing setup.
If lettering disappears into fleece, review size and pile control. If the embroidery feels too stiff, review overlapping stitches and backing. If the panel distorts, investigate holding, support and stitch construction together. These observations guide investigation; none identifies a single cause by itself.
Keep sample photographs and record the backing, topping, needle, thread and machine settings. Repeat the relevant checks when the garment, design size or production materials change.
Prepare your digitizing enquiry
Send the artwork, finished width and height, garment specification, placement photographs and the file format requested by the embroiderer. Identify details that must remain unchanged and explain whether an existing stitch file is being adapted.
Use DigitEMB’s sweatshirt and jacket digitizing service page to discuss the garment and panel. For a project involving other items, see the embroidery digitizing service.
Confirm who will sew the sample and how feedback and revisions will be handled. For corrections, provide front-and-back sample photographs, the file version and the materials used.
Frequently asked questions
Can I use the same file on a sweatshirt and a denim jacket?
Have it reviewed and sampled on both. The artwork may stay the same while backing, underlay or compensation needs adjustment for the different materials.
Does fleece always need more stitch density?
No. Review backing, topping and underlay first, then assess coverage in a finished sample. Adding density alone is not a reliable solution to exposed pile.
What size should a left-chest design be?
Choose dimensions from the usable panel and the detail that must remain readable. Approve an actual-size template on representative garments and confirm sewing access.
Can a large jacket-back design simply be made smaller?
Request a review at the new dimensions. Small lettering, narrow gaps and blended details may need changes, followed by a new sew-out.